August 26, 2025
MiracleMe Team
June 07, 2025
,
MiracleMe Team
Get Flawless Lashes Fast: Easy Self-Adhesive False Eyelashes Tutorial

Source: Prexels
Self-adhesive false eyelashes are a revolutionary invention in modern beauty. They make achieving perfect lashes easier than ever. Whether you're a makeup newbie or a seasoned beauty lover, this guide will walk you through how to choose, apply, and maintain self-adhesive lashes step by step—helping you effortlessly achieve naturally captivating eyes.
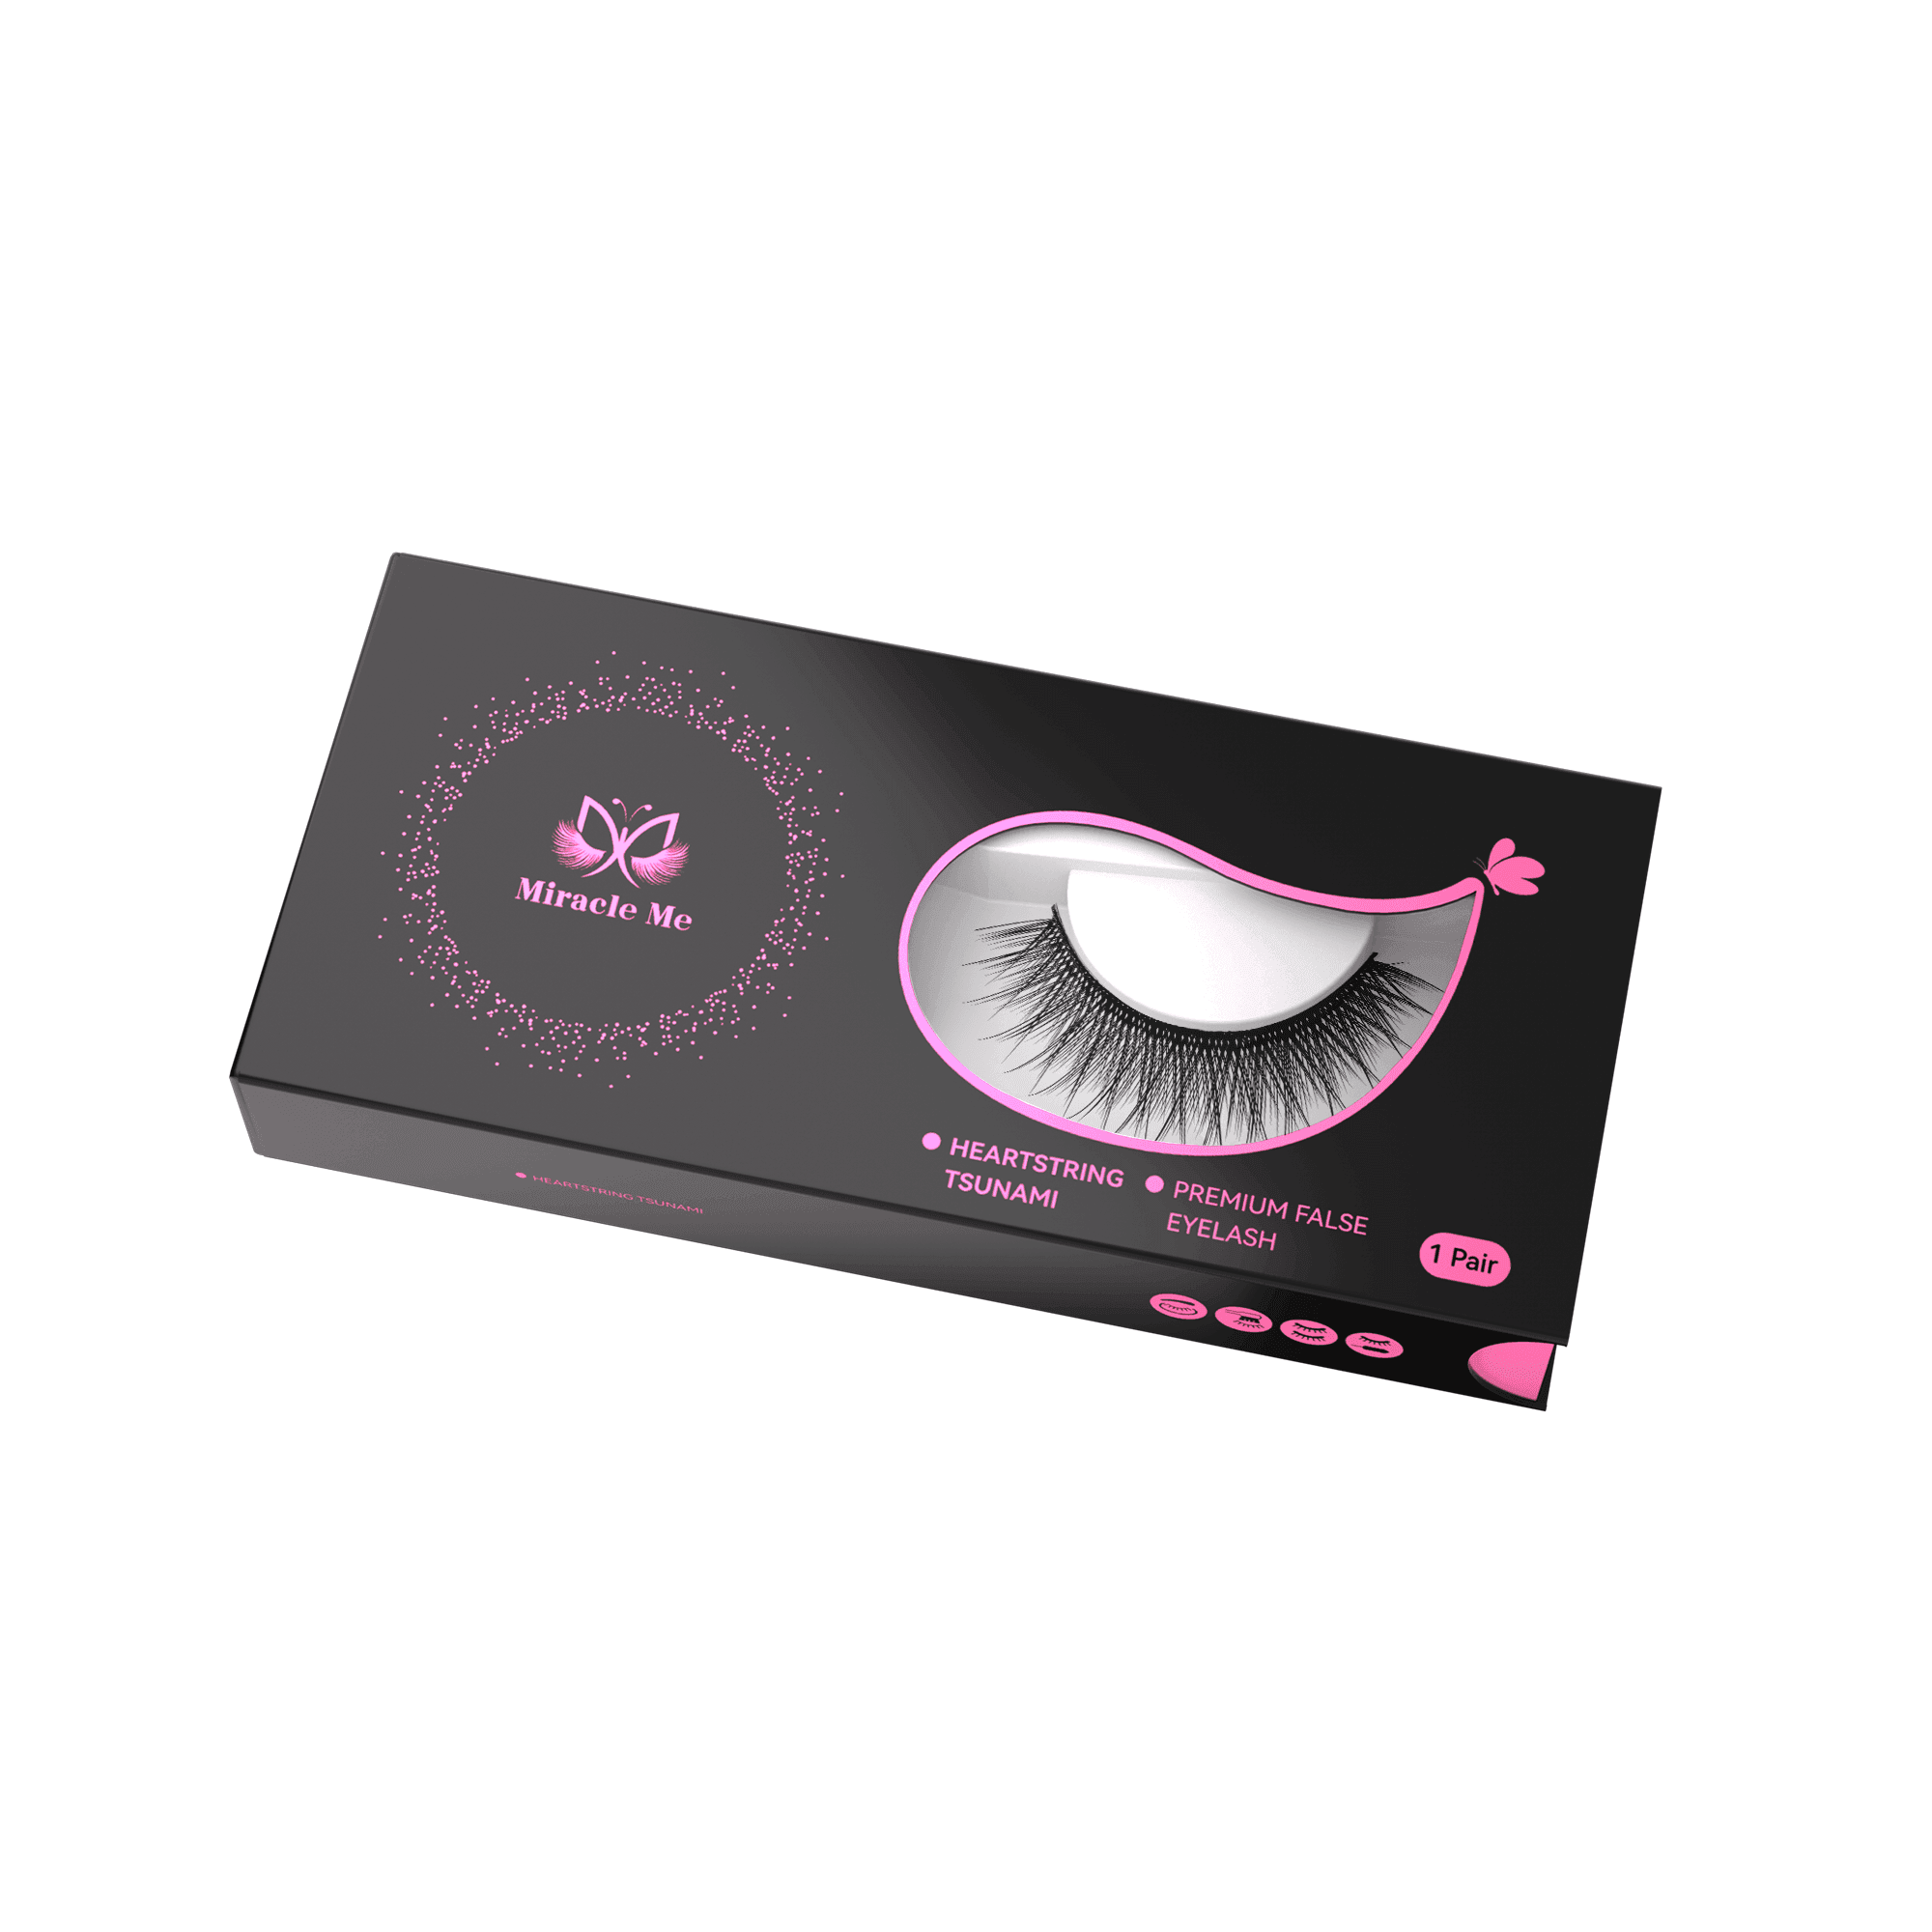
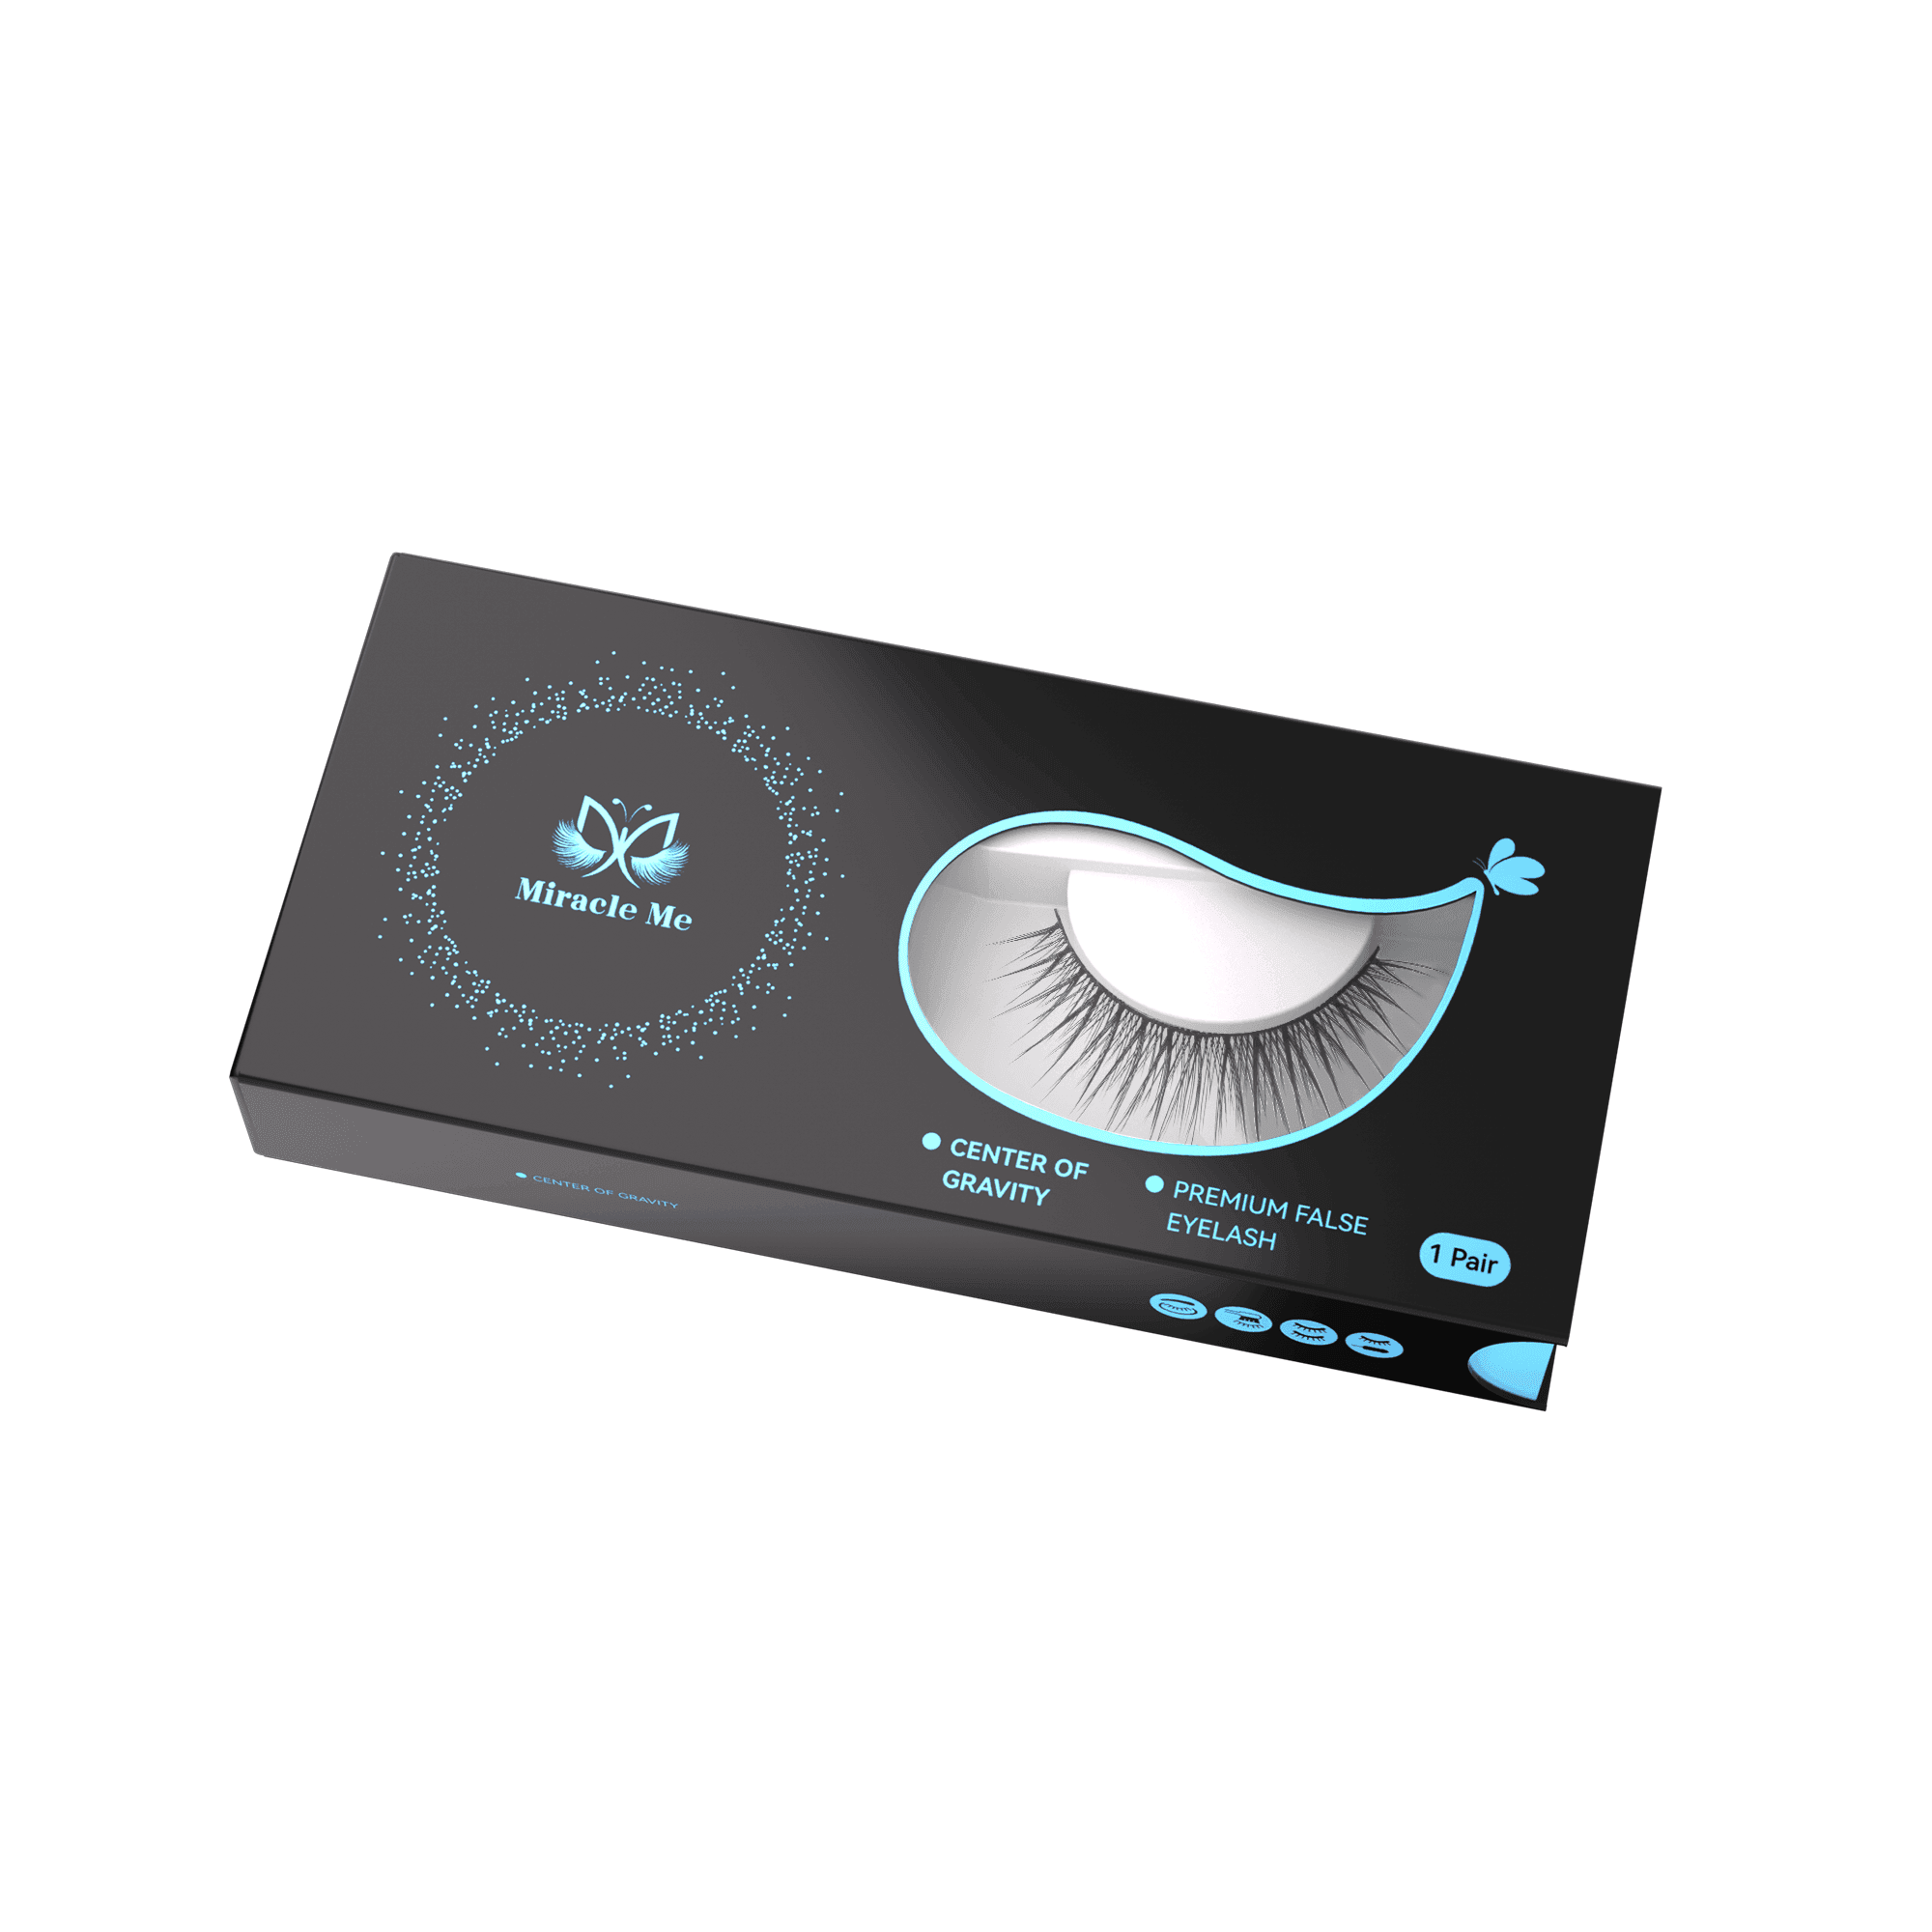
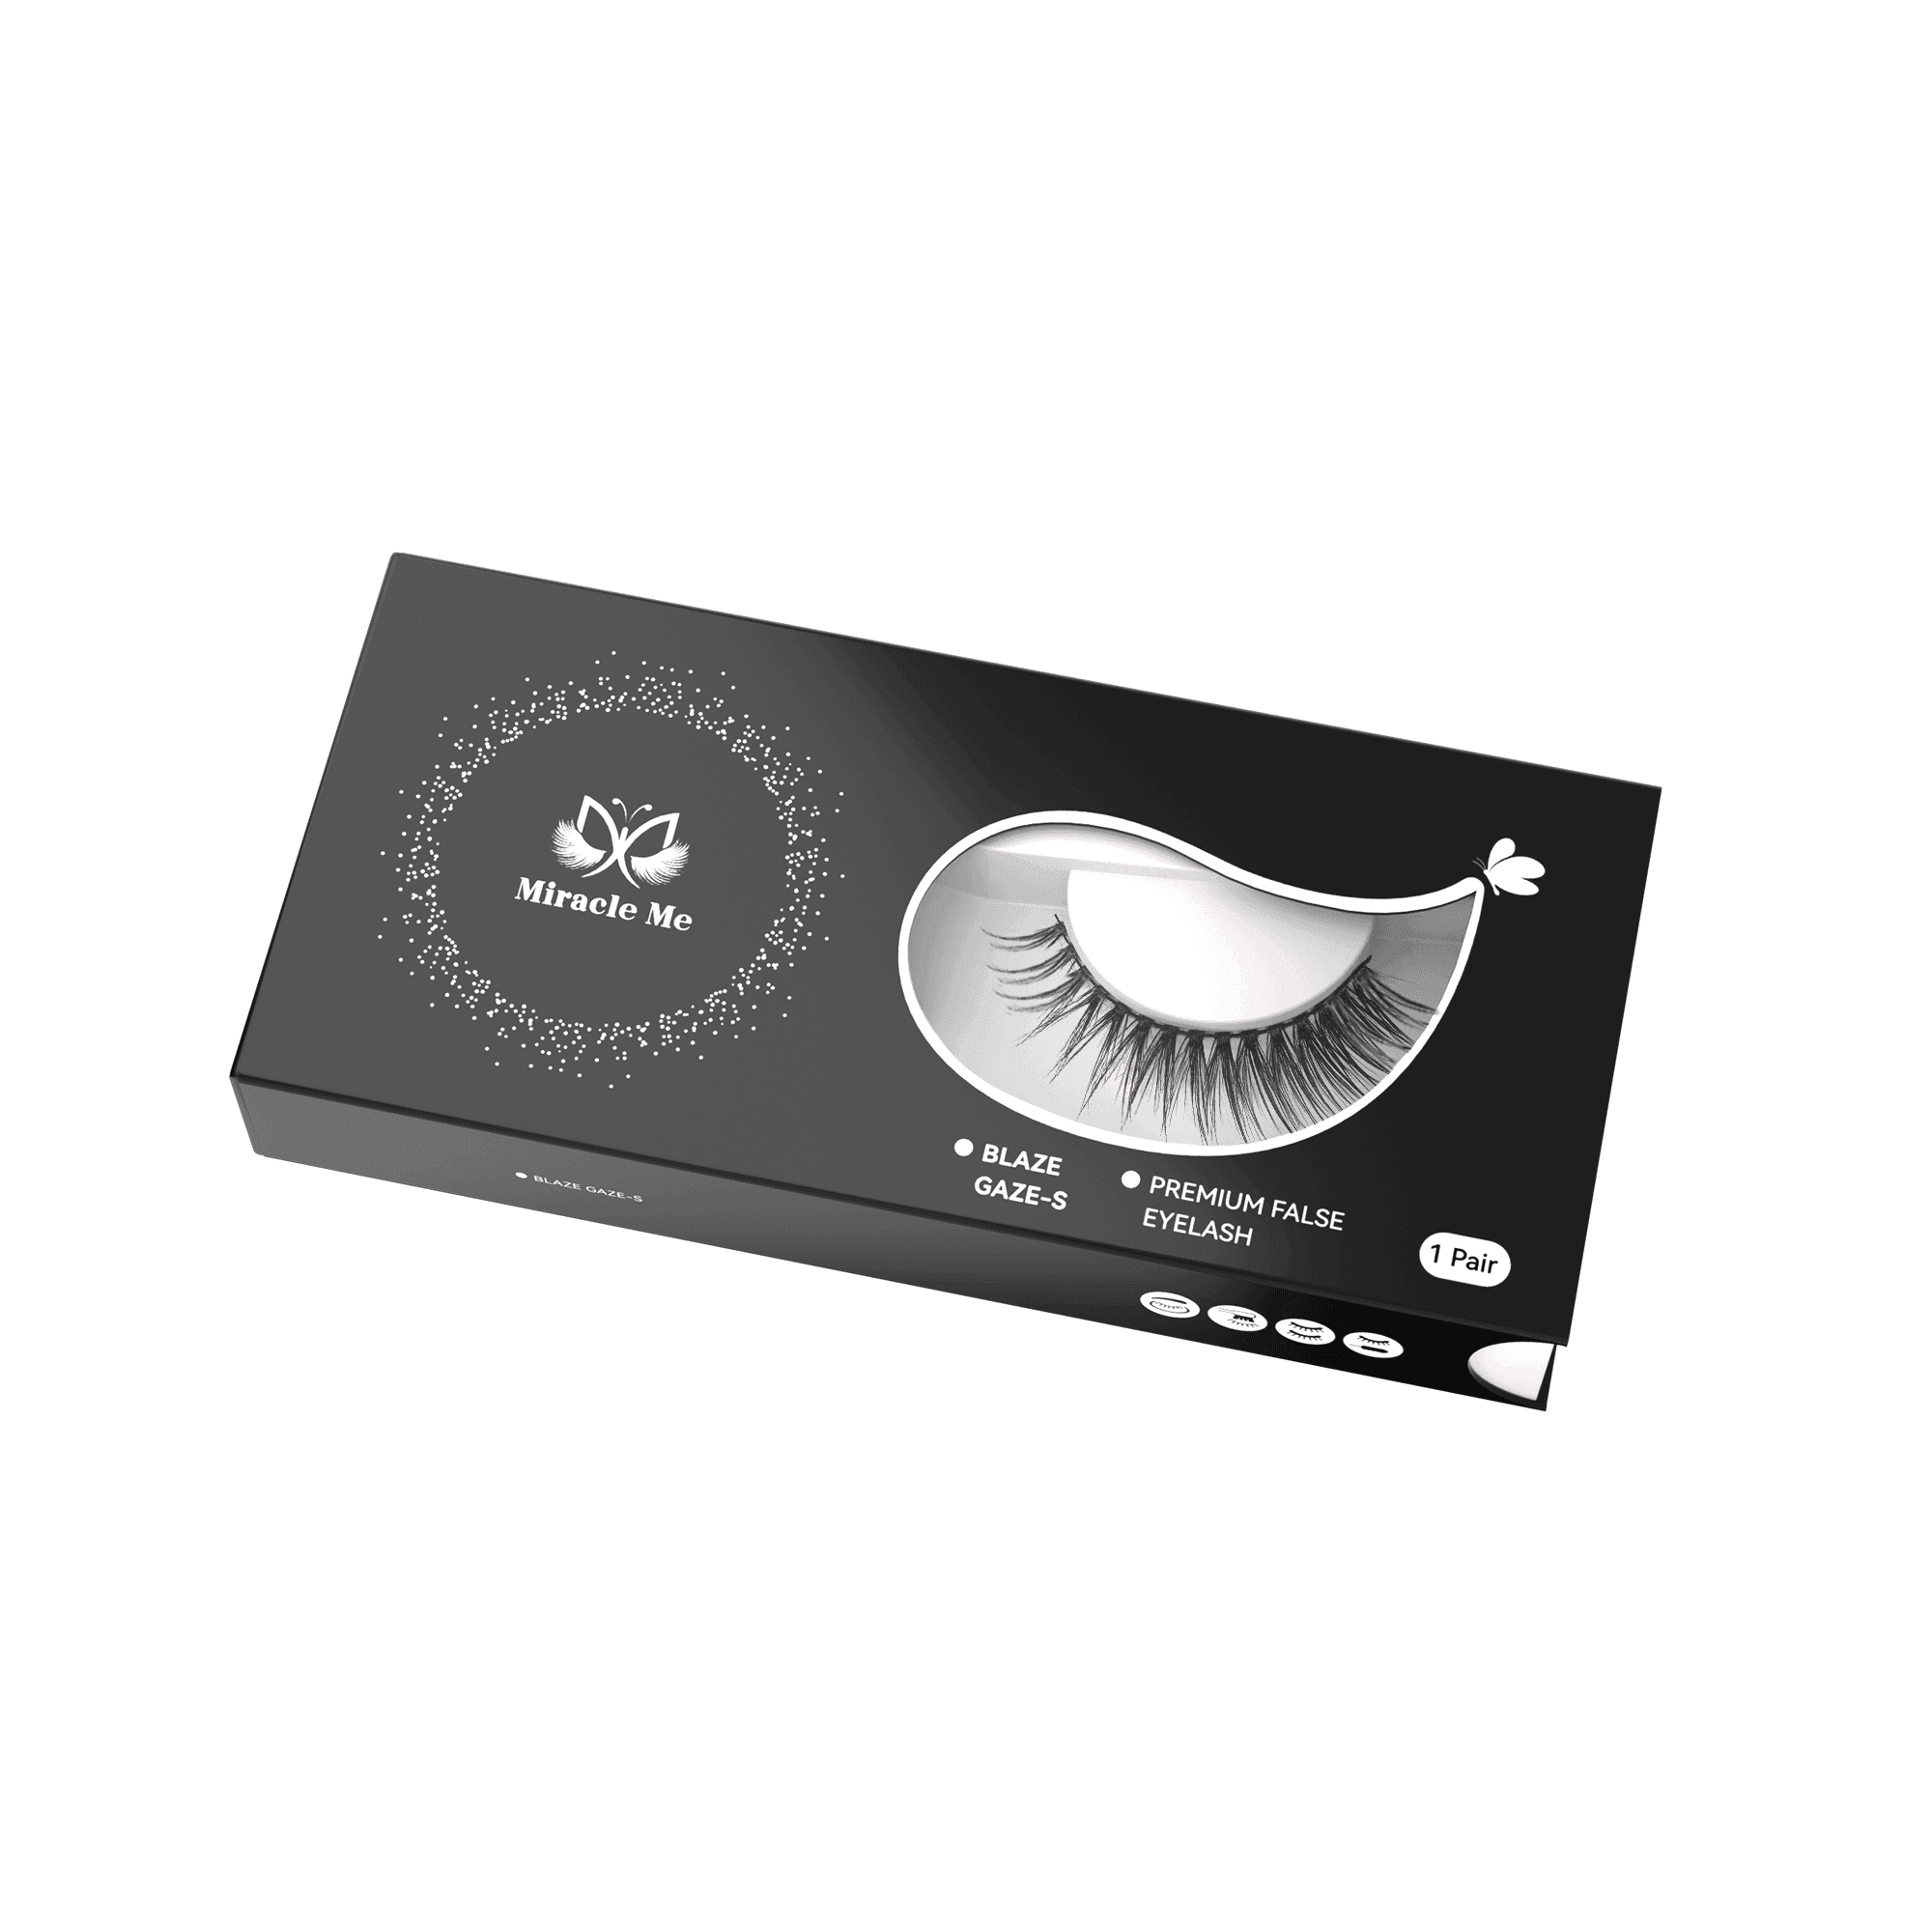
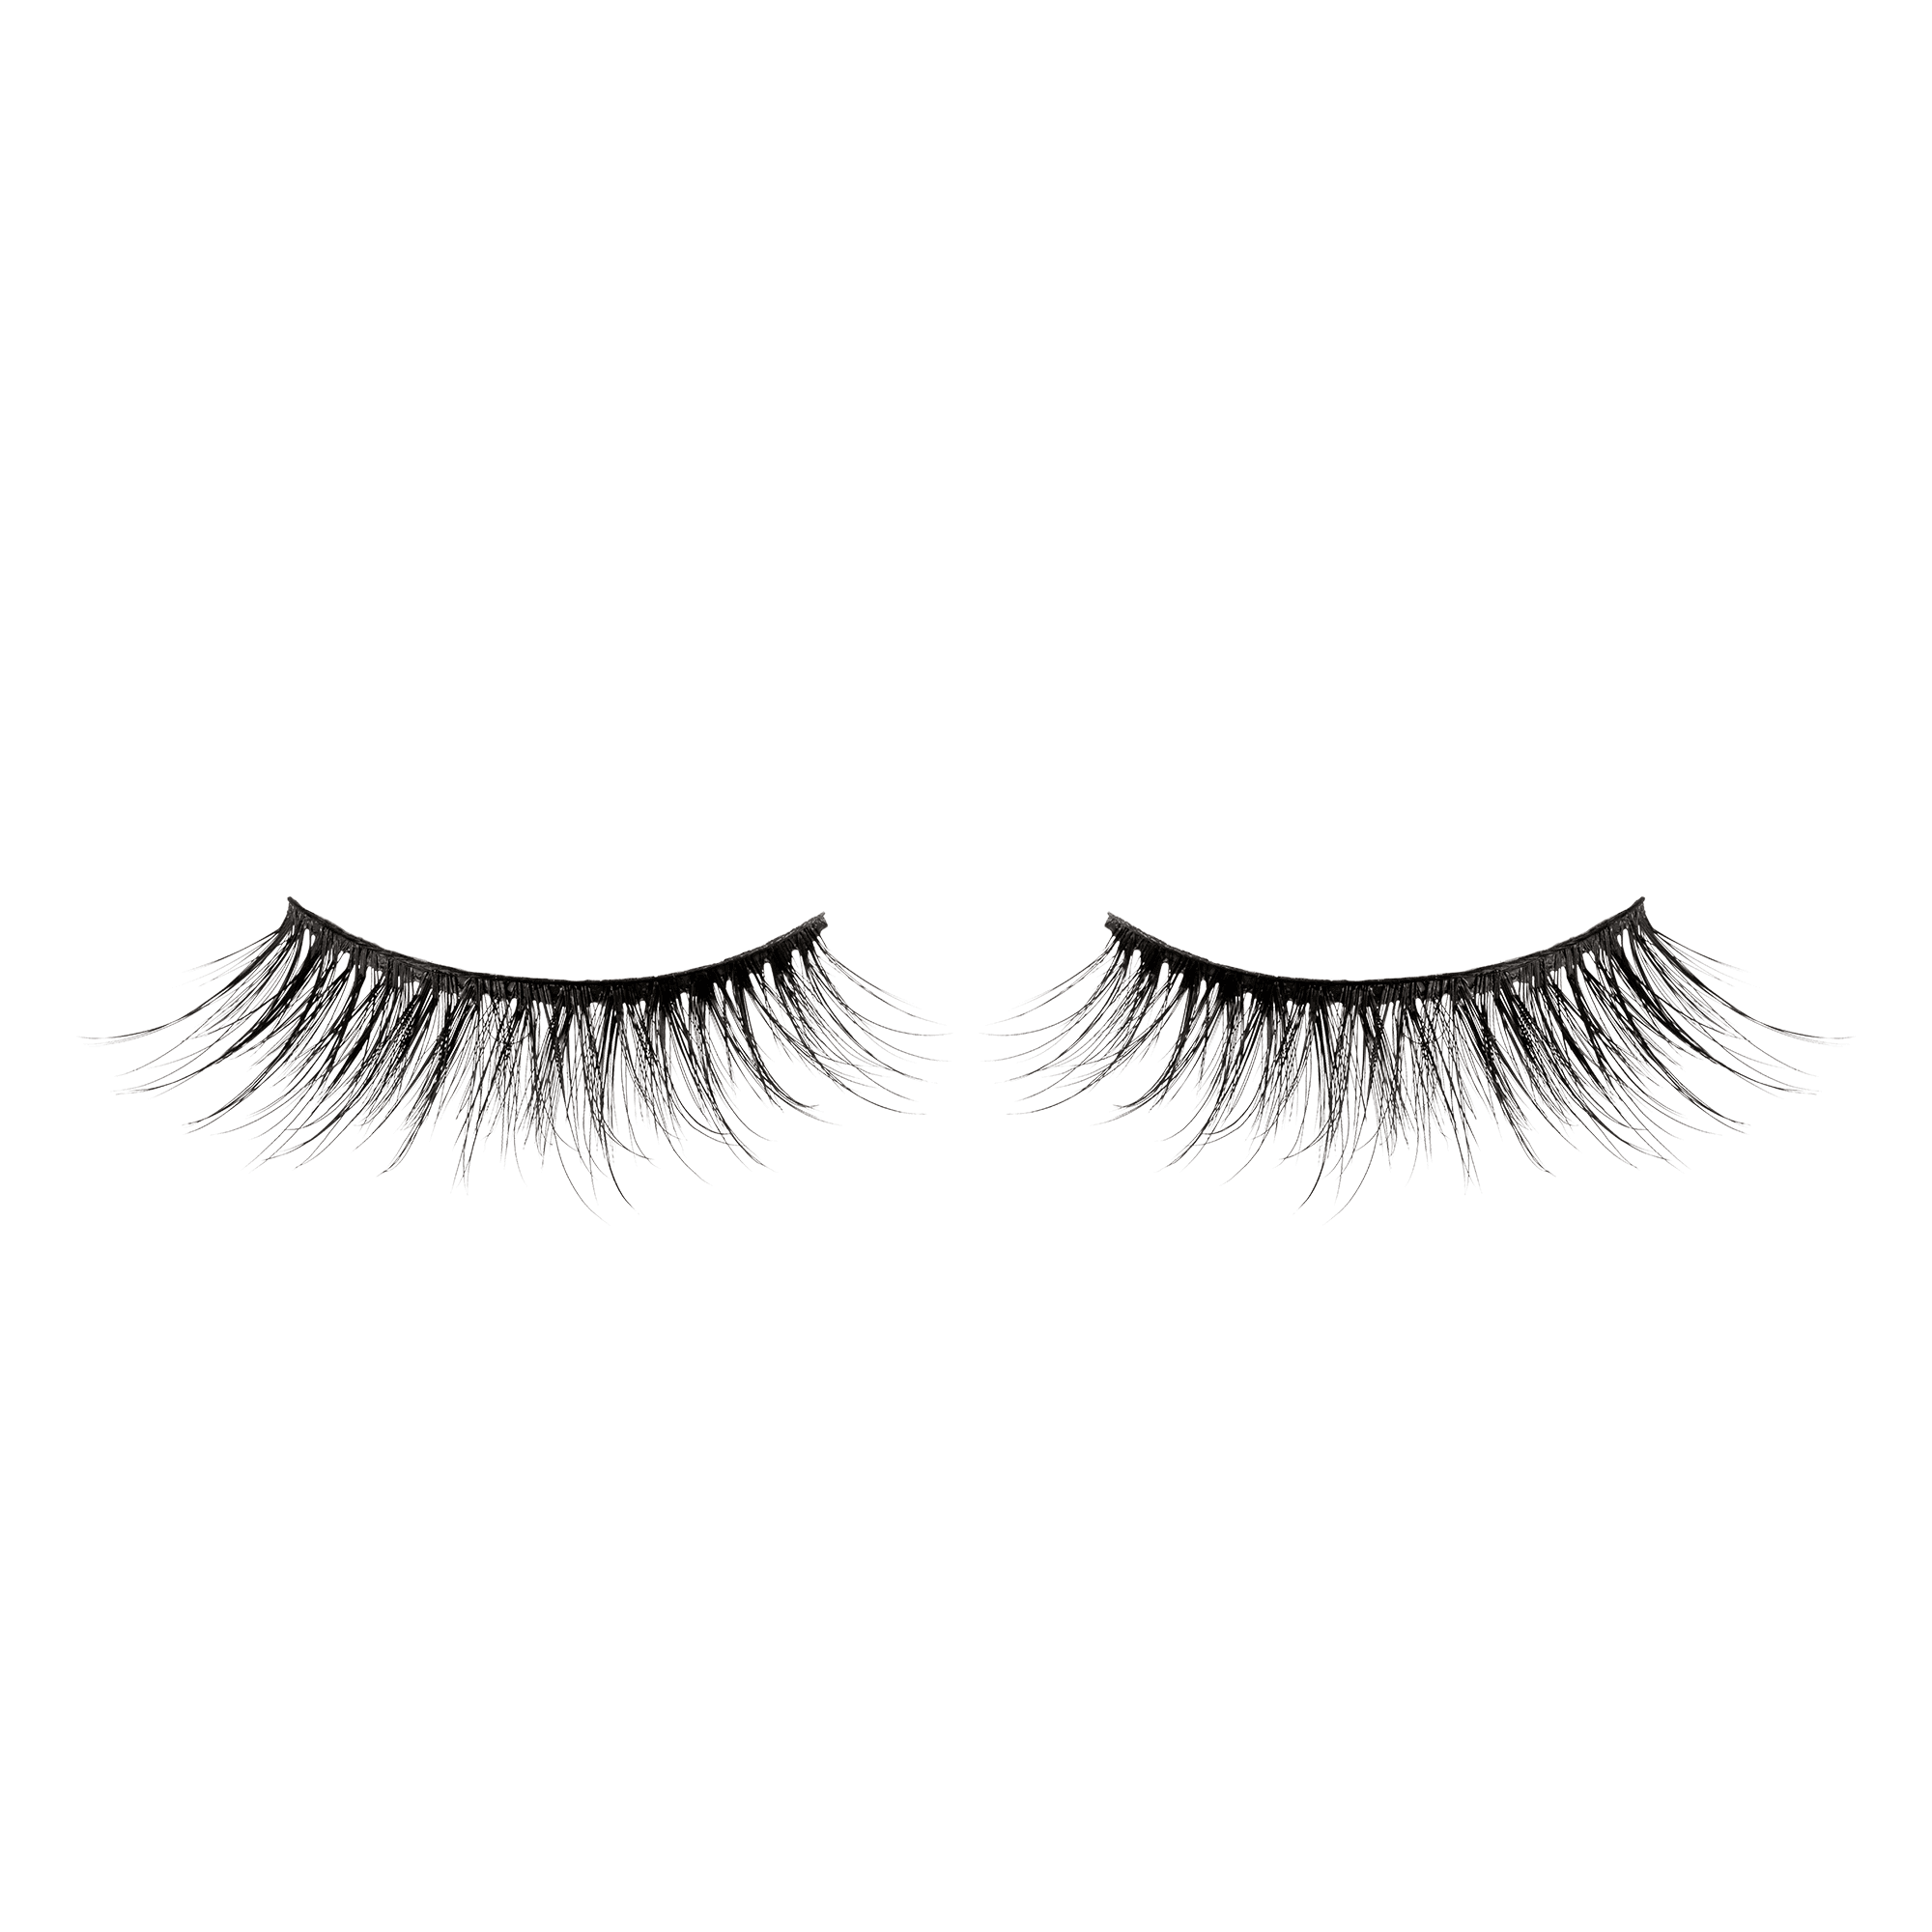
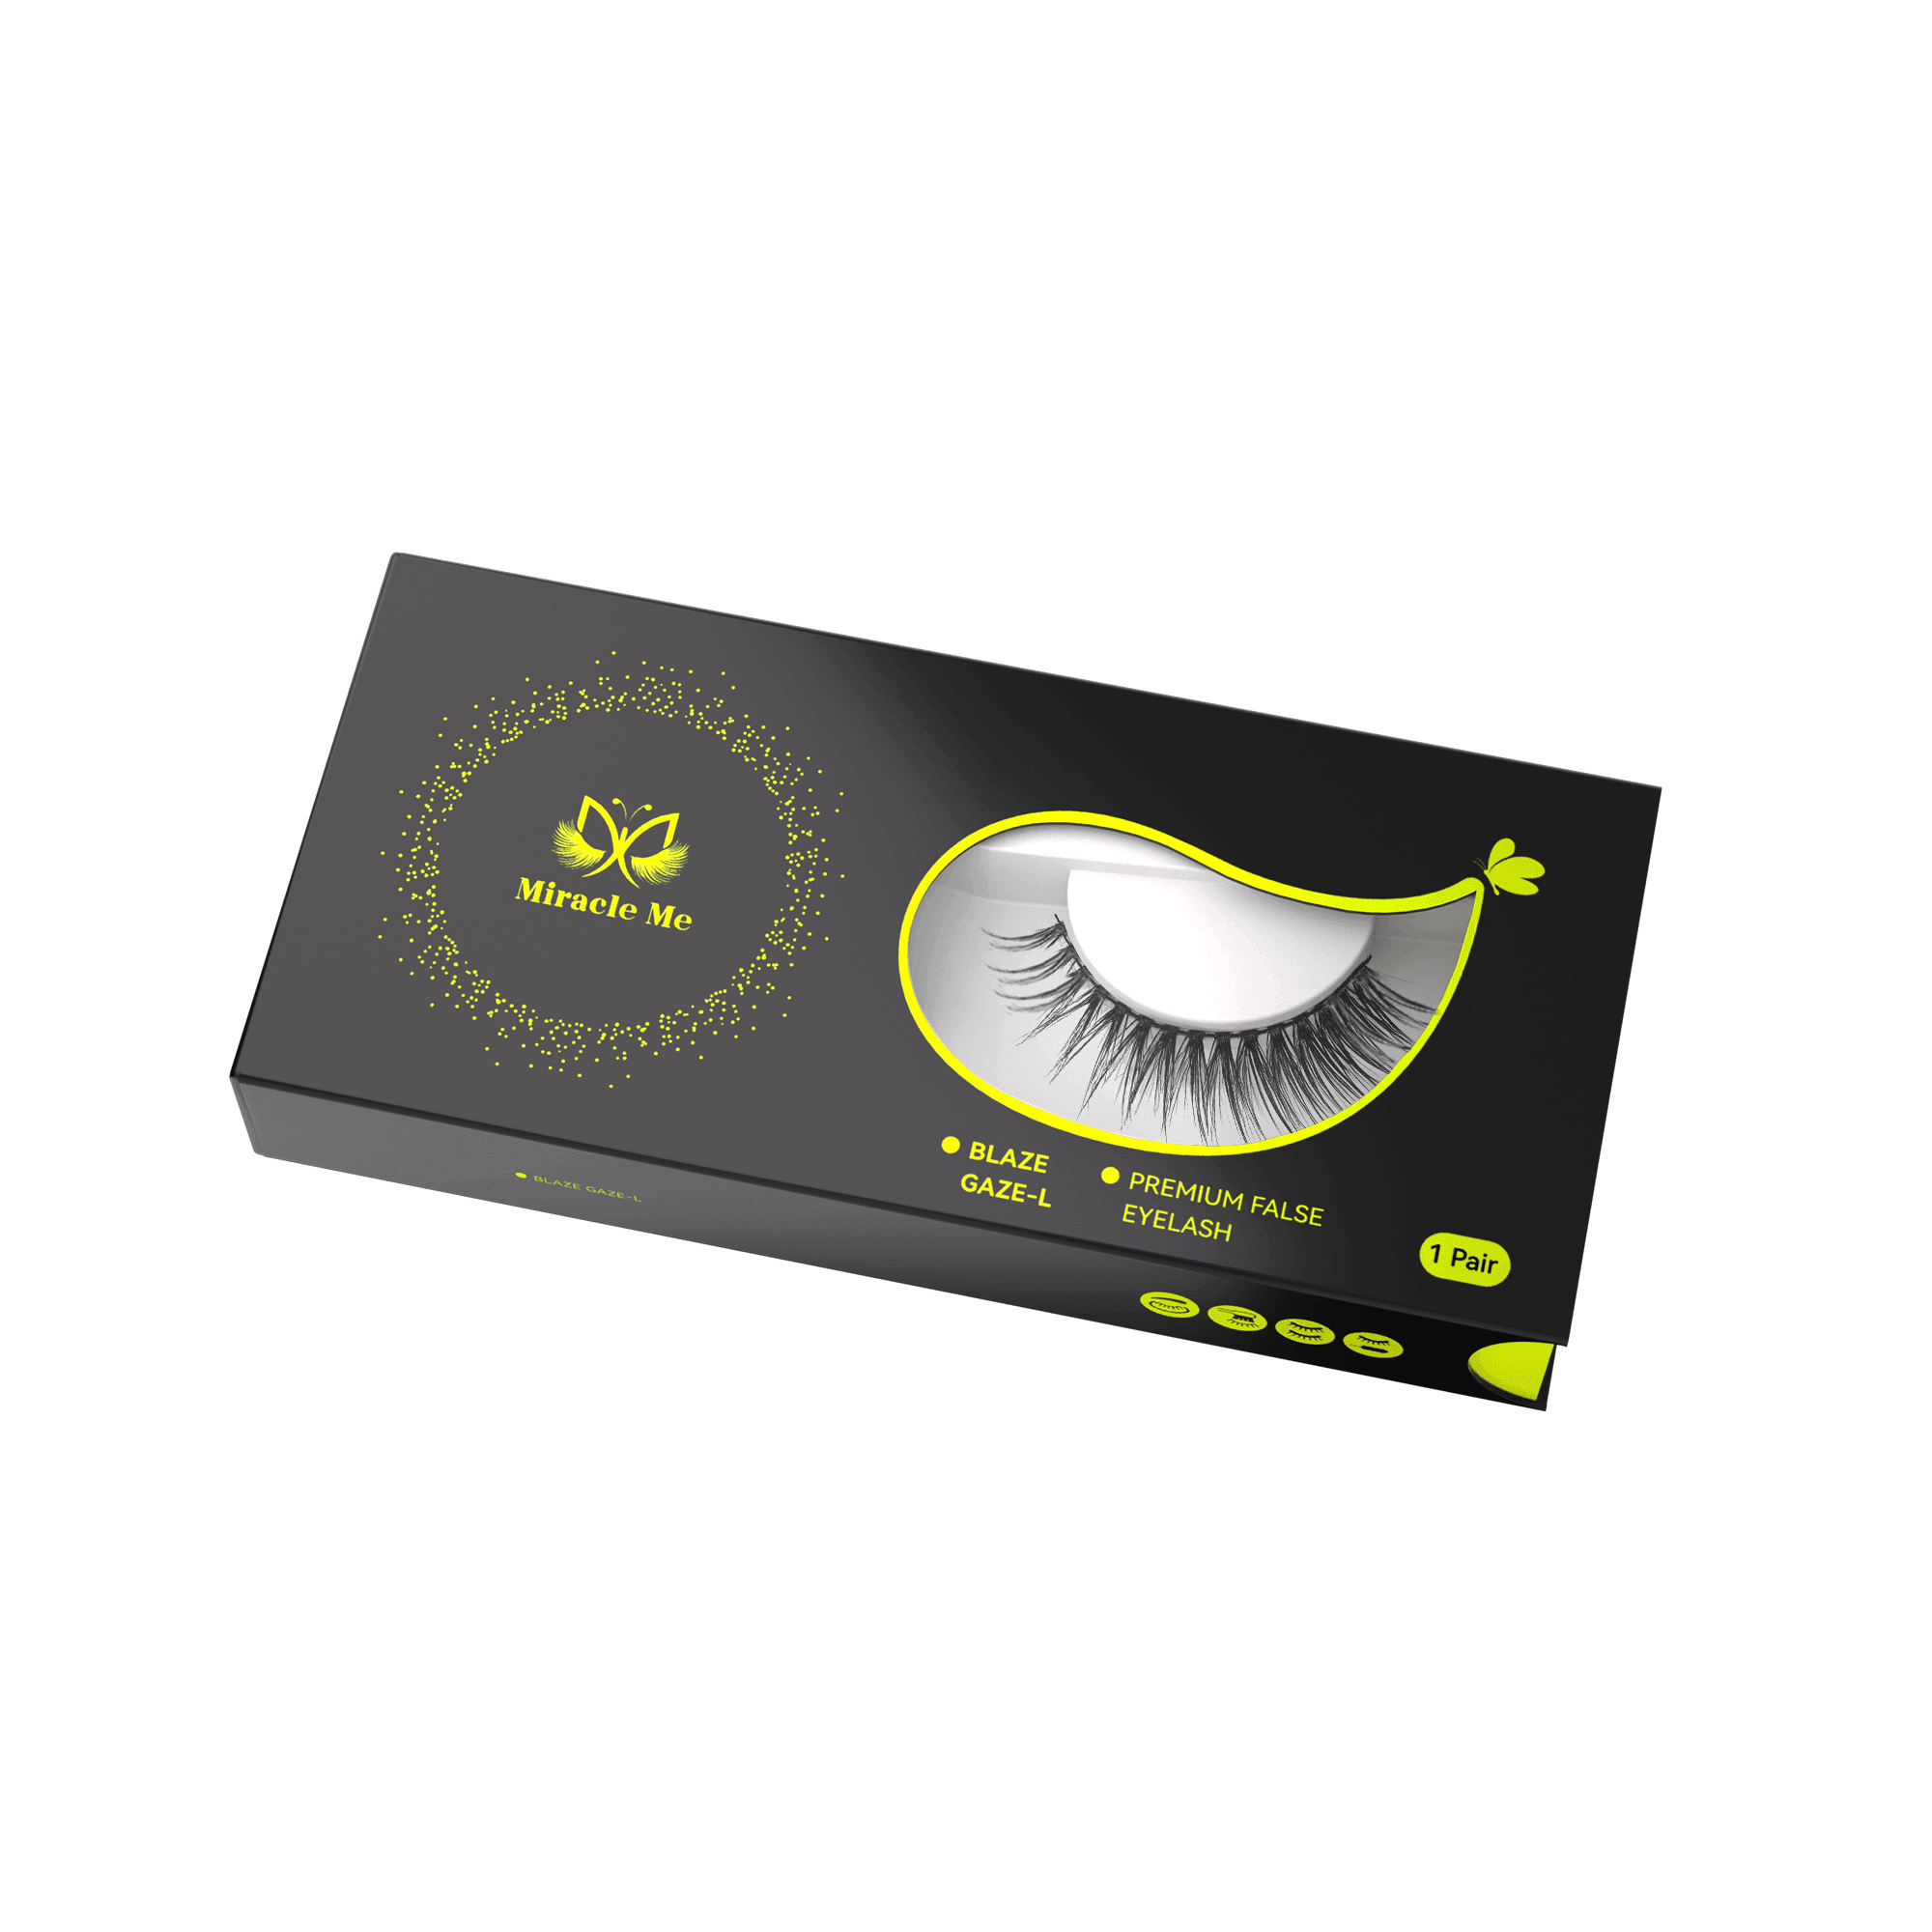
1. What Are Self-Adhesive False Eyelashes?
Self-adhesive lashes are false eyelashes that don’t require traditional lash glue. They usually come with a pre-applied adhesive strip, which simplifies the process by eliminating the need to apply glue and wait for it to dry slightly before wearing. This reduces discomfort and errors that may occur with too much or too little glue.
Compared to traditional lashes, self-adhesive lashes offer several advantages:
- Quicker and easier application
- Less irritation to the eye area
- Can be reused multiple times
- Suitable for sensitive skin
- Easier to adjust and remove daily
2. Step-by-Step Guide to Applying Self-Adhesive False Lashes
Applying self-adhesive lashes is quick and beginner-friendly—no glue, no mess. Follow this step-by-step guide to achieve a secure, natural-looking lash application with confidence and ease.
Preparation:
Good prep leads to better results. Before applying your lashes, take a few simple steps to make sure your eyes and the lashes are ready for smooth, long-lasting wear.
- Clean your eye area: Use a gentle eye makeup remover to thoroughly cleanse the eyelids and natural lashes, ensuring no oil residue remains.
- Curl your lashes: Gently curl your natural lashes with an eyelash curler.
- Measure and trim: Hold the false lashes against your eyelid to measure. Trim any excess to fit your eye shape.
- Prepare your tools: Get tweezers, cotton swabs, and a mirror (a magnifying mirror is recommended).
How to Apply:
Now that you’re prepped, it’s time to apply. Self-adhesive lashes go on in just a few easy steps—perfect for both beginners and busy beauty lovers.

- Pick up the lashes: Carefully remove them from the tray using tweezers.
- Position them: Start from the outer corner of your eye, aligning the lash strip with your natural lash line.
- Secure step-by-step: Press the lashes from the outside in using tweezers.
- Press and set: Use your fingertips to gently press the entire lash band for a firm hold.
- Let it set: Keep your eyes closed for about 30 seconds to allow full adhesion.
Safety Reminders
To ensure safe and effective use of self-adhesive lashes, avoid contact with oil-based products, as they can weaken the adhesive. Do not wear the lashes for longer than the recommended time specified by the product. They are not suitable for use during swimming or in saunas, as moisture and heat may compromise adhesion. If you experience any redness or itching, discontinue use immediately. Additionally, for hygiene reasons, self-adhesive lashes should never be shared with others.
How to Clean and Store Self-Adhesive Lashes
Proper care greatly extends the life of your lashes:
- Daily cleaning: After use, wipe off makeup residue gently with a cotton swab dipped in eye makeup remover.
- Weekly deep clean: Wash with mild soap and water, then air dry naturally.
- Restore stickiness: Use a special adhesive restorer when the glue wears out.
- Storage: Place back in the original case to prevent distortion.
- Lifespan: Can usually be reused 15–20 times. Replace if they lose shape or hairs fall out.
How to Choose the Right Lash Style
Picking the perfect pair of self-adhesive lashes can enhance your features and elevate your entire look. The best style depends on both your eye shape and the occasion. Here’s a quick guide to help you choose:
By Eye Shape:
Everyone’s eyes are unique, and the right lash style can enhance your natural shape beautifully. Matching your lashes to your eye shape ensures a more flattering, comfortable fit. Here are some common eye shapes:
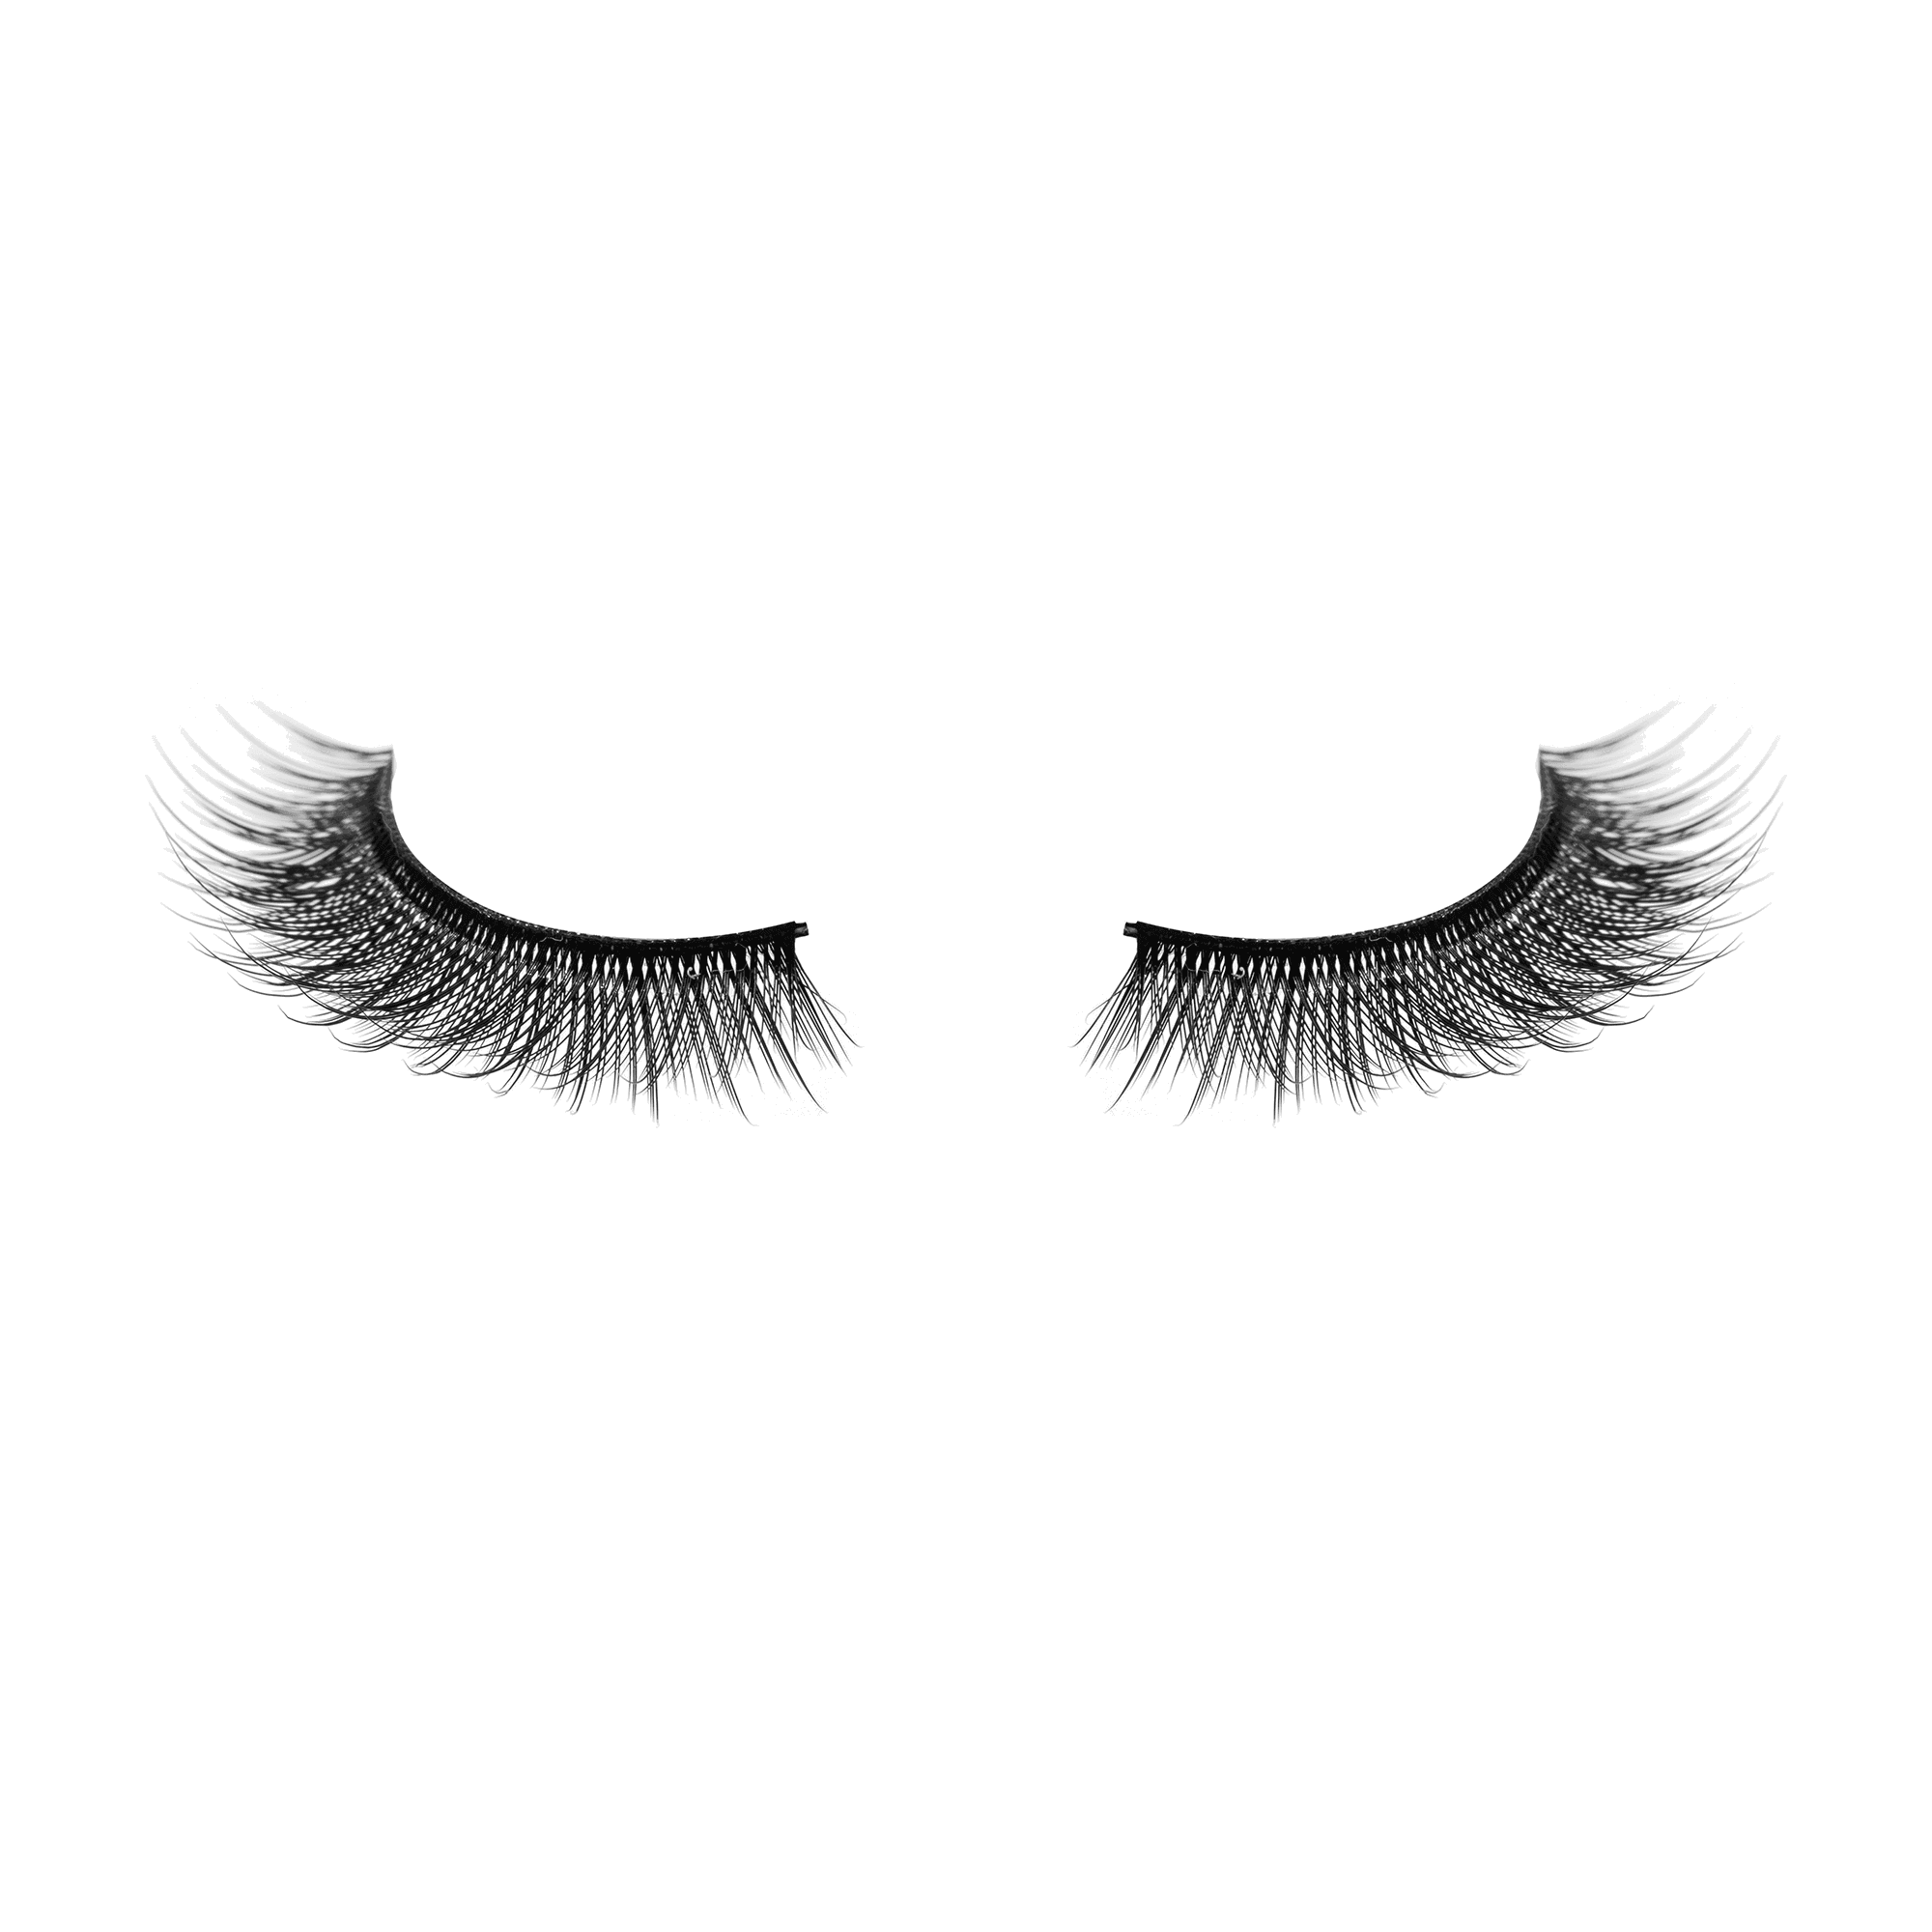
- Almond eyes: Go for lashes with longer outer corners to balance proportions.
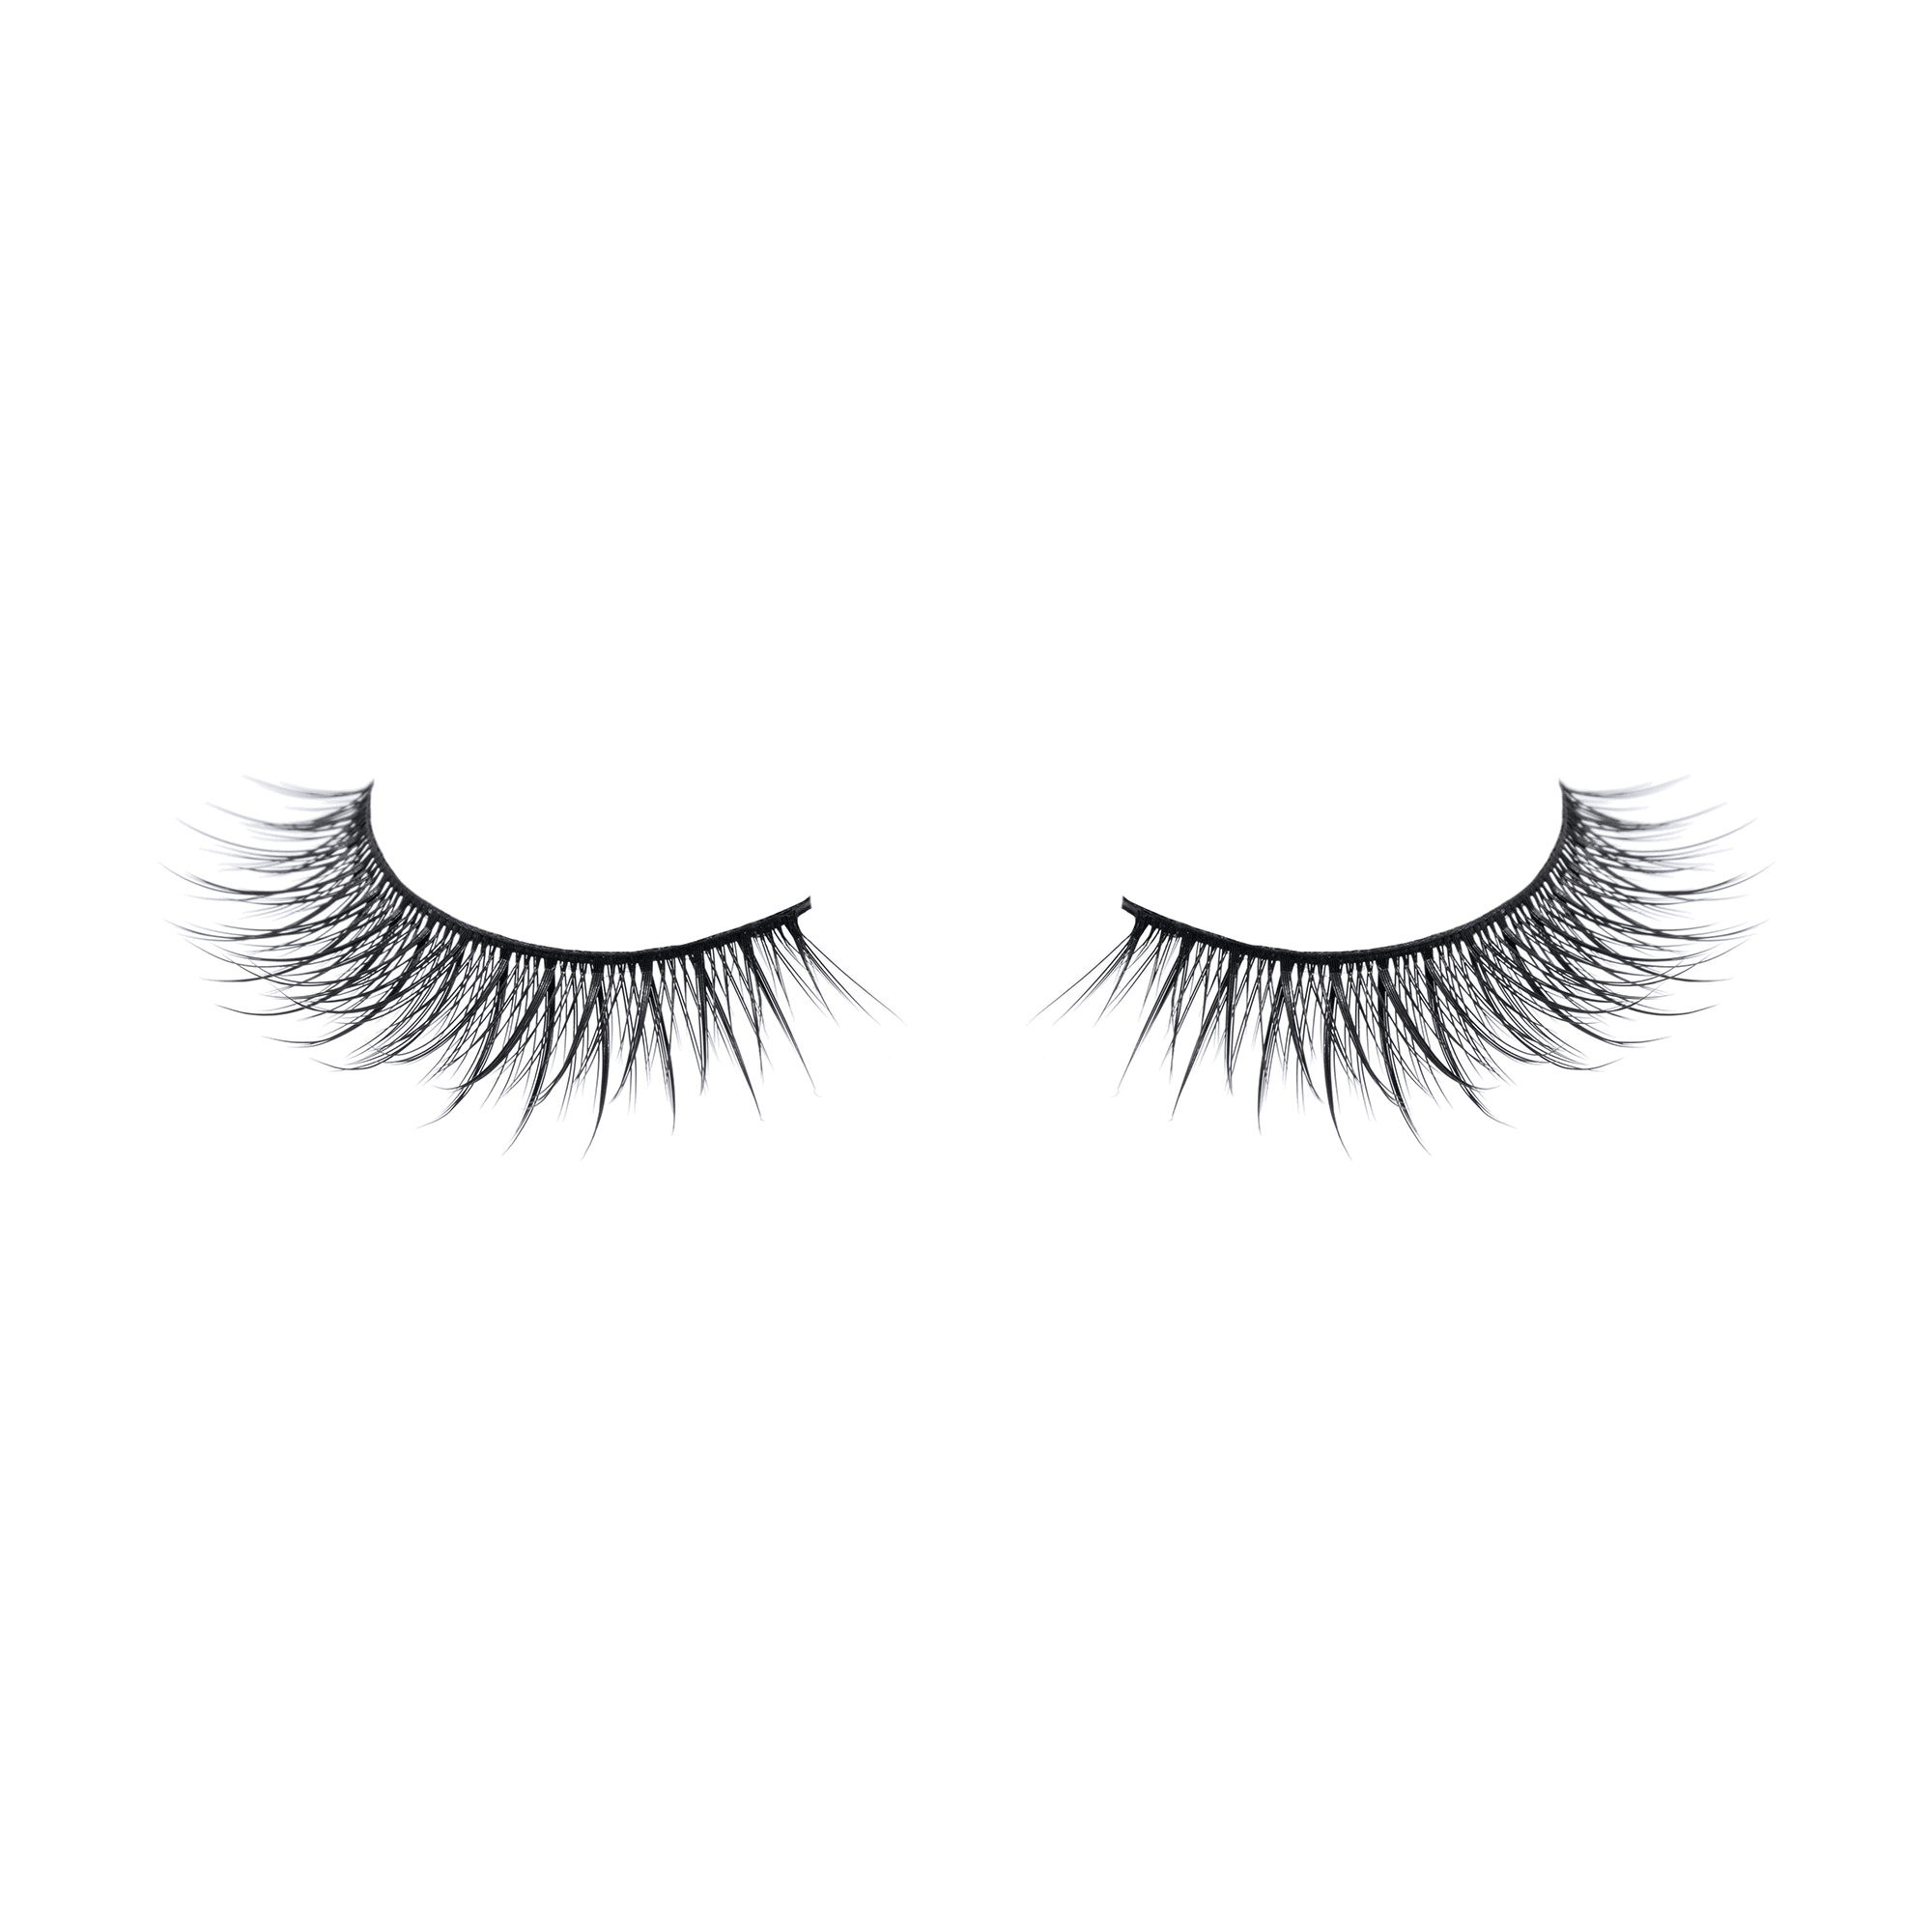
- Upturned eyes: Choose styles with shorter outer corners or evenly distributed volume to avoid exaggerating the upward tilt.
- Round eyes: Choose styles with longer fibers in the center to elongate the eye.
- Monolids: Lightweight and natural-looking lashes are best to avoid heaviness.
- Hooded eyes: Use lifted or cat-eye styles to lift the outer corners.

Source: She's Yar Lash Bar
By Occasion:
Different occasions call for different lash styles. Whether you’re headed to the office or glamming up for a special event, choosing the right lashes helps you strike the perfect balance between natural and dramatic. Here are some common situations and the styles that suit them best:
- Everyday work: Natural brown tones or crisscross patterns.
- Dates & gatherings: Slightly voluminous, longer at the outer ends.
- Evening events/parties: Dramatic feathered or rhinestone designs.
- Photoshoots: Segment lashes for a dimensional look.
How to Remove Self-Adhesive False Lashes
Removing your self-adhesive lashes properly is just as important as applying them. Gentle removal helps prevent irritation and extends the life of your lashes. Follow these simple steps to protect both your eyes and the lashes:
- Prep: Wash your hands and prepare cotton pads and eye makeup remover.
- Loosen adhesive: Use a cotton swab with remover to gently swipe along the lash line.
- Remove slowly: Start from the outer corner and gently peel off—don’t tug.
- Clean eye area: Use makeup remover again to cleanse the eyelid.
- Nourish natural lashes: Apply lash serum or Vaseline to nourish your real lashes.
FAQs
Q: How long do self-adhesive lashes last per wear?
A: Typically 8–12 hours. Quality ones can be reused 15–20 times.
Q: Do self-adhesive lashes damage natural lashes?
A: Not if used correctly. Overuse or rough removal may lead to lash fallout.
Q: Are they suitable for monolids or hooded eyes?
A: Yes! Choose lighter styles and apply directly to the lash line (not the lid).
Q: Can I apply them after eye makeup?
A: Yes, but make sure your eyeliner and shadow are fully set to avoid interfering with adhesion.
Q: Can I wear self-adhesive lashes while swimming?
A: Not recommended—water and oils will reduce stickiness and may cause them to fall off.
Q: My lashes aren’t sticking well. What should I do?
A: Gently warm the lash band with a hairdryer on low heat to soften it and improve its shape. Avoid touching the adhesive strip with your fingers, as natural oils can reduce its stickiness.
Q: The corners of my lashes keep lifting. How can I fix this?
A: Press down firmly on both ends for a few extra seconds. If needed, apply a small amount of clear lash glue for added security.
Q: The lashes feel uncomfortable after applying. What’s wrong?
A: Remove them immediately and check for misaligned placement or stray lash hairs poking the eye. Reapply carefully to avoid irritation.
Q: The adhesive doesn’t seem strong enough. Any solutions?
A: Try using a specialized eye primer on your lash line before application. It helps enhance the grip and prolong wear time.
With this complete guide, you're now equipped to master self-adhesive false eyelashes. Remember, a flawless lash look takes practice. Your first try might not be perfect, but with time and confidence, stunning lashes are just a blink away!