April 18, 2026
MiracleMe Team
May 05, 2025
,
MiracleMe Team
False Lashes Are Easier Than You Think! A 3-Minute Crash Course
Today’s false lashes guide is packed with real, practical tips — I will make sure you master this! Every time I share different lash styles, I notice many of you still aren’t sure how to apply them properly. So today, I’m going to walk you through everything from choosing lash styles, using the right tools, mastering techniques, to brand recommendations. It’s beginner-friendly — if you’ve got hands, you can do this. 👌
Let’s not say it’s magic, but false lashes can instantly enlarge your eyes and balance facial proportions, making your makeup look much more refined.

Before & After
Table of content
1. How to Choose the Right Style of False Lashes?
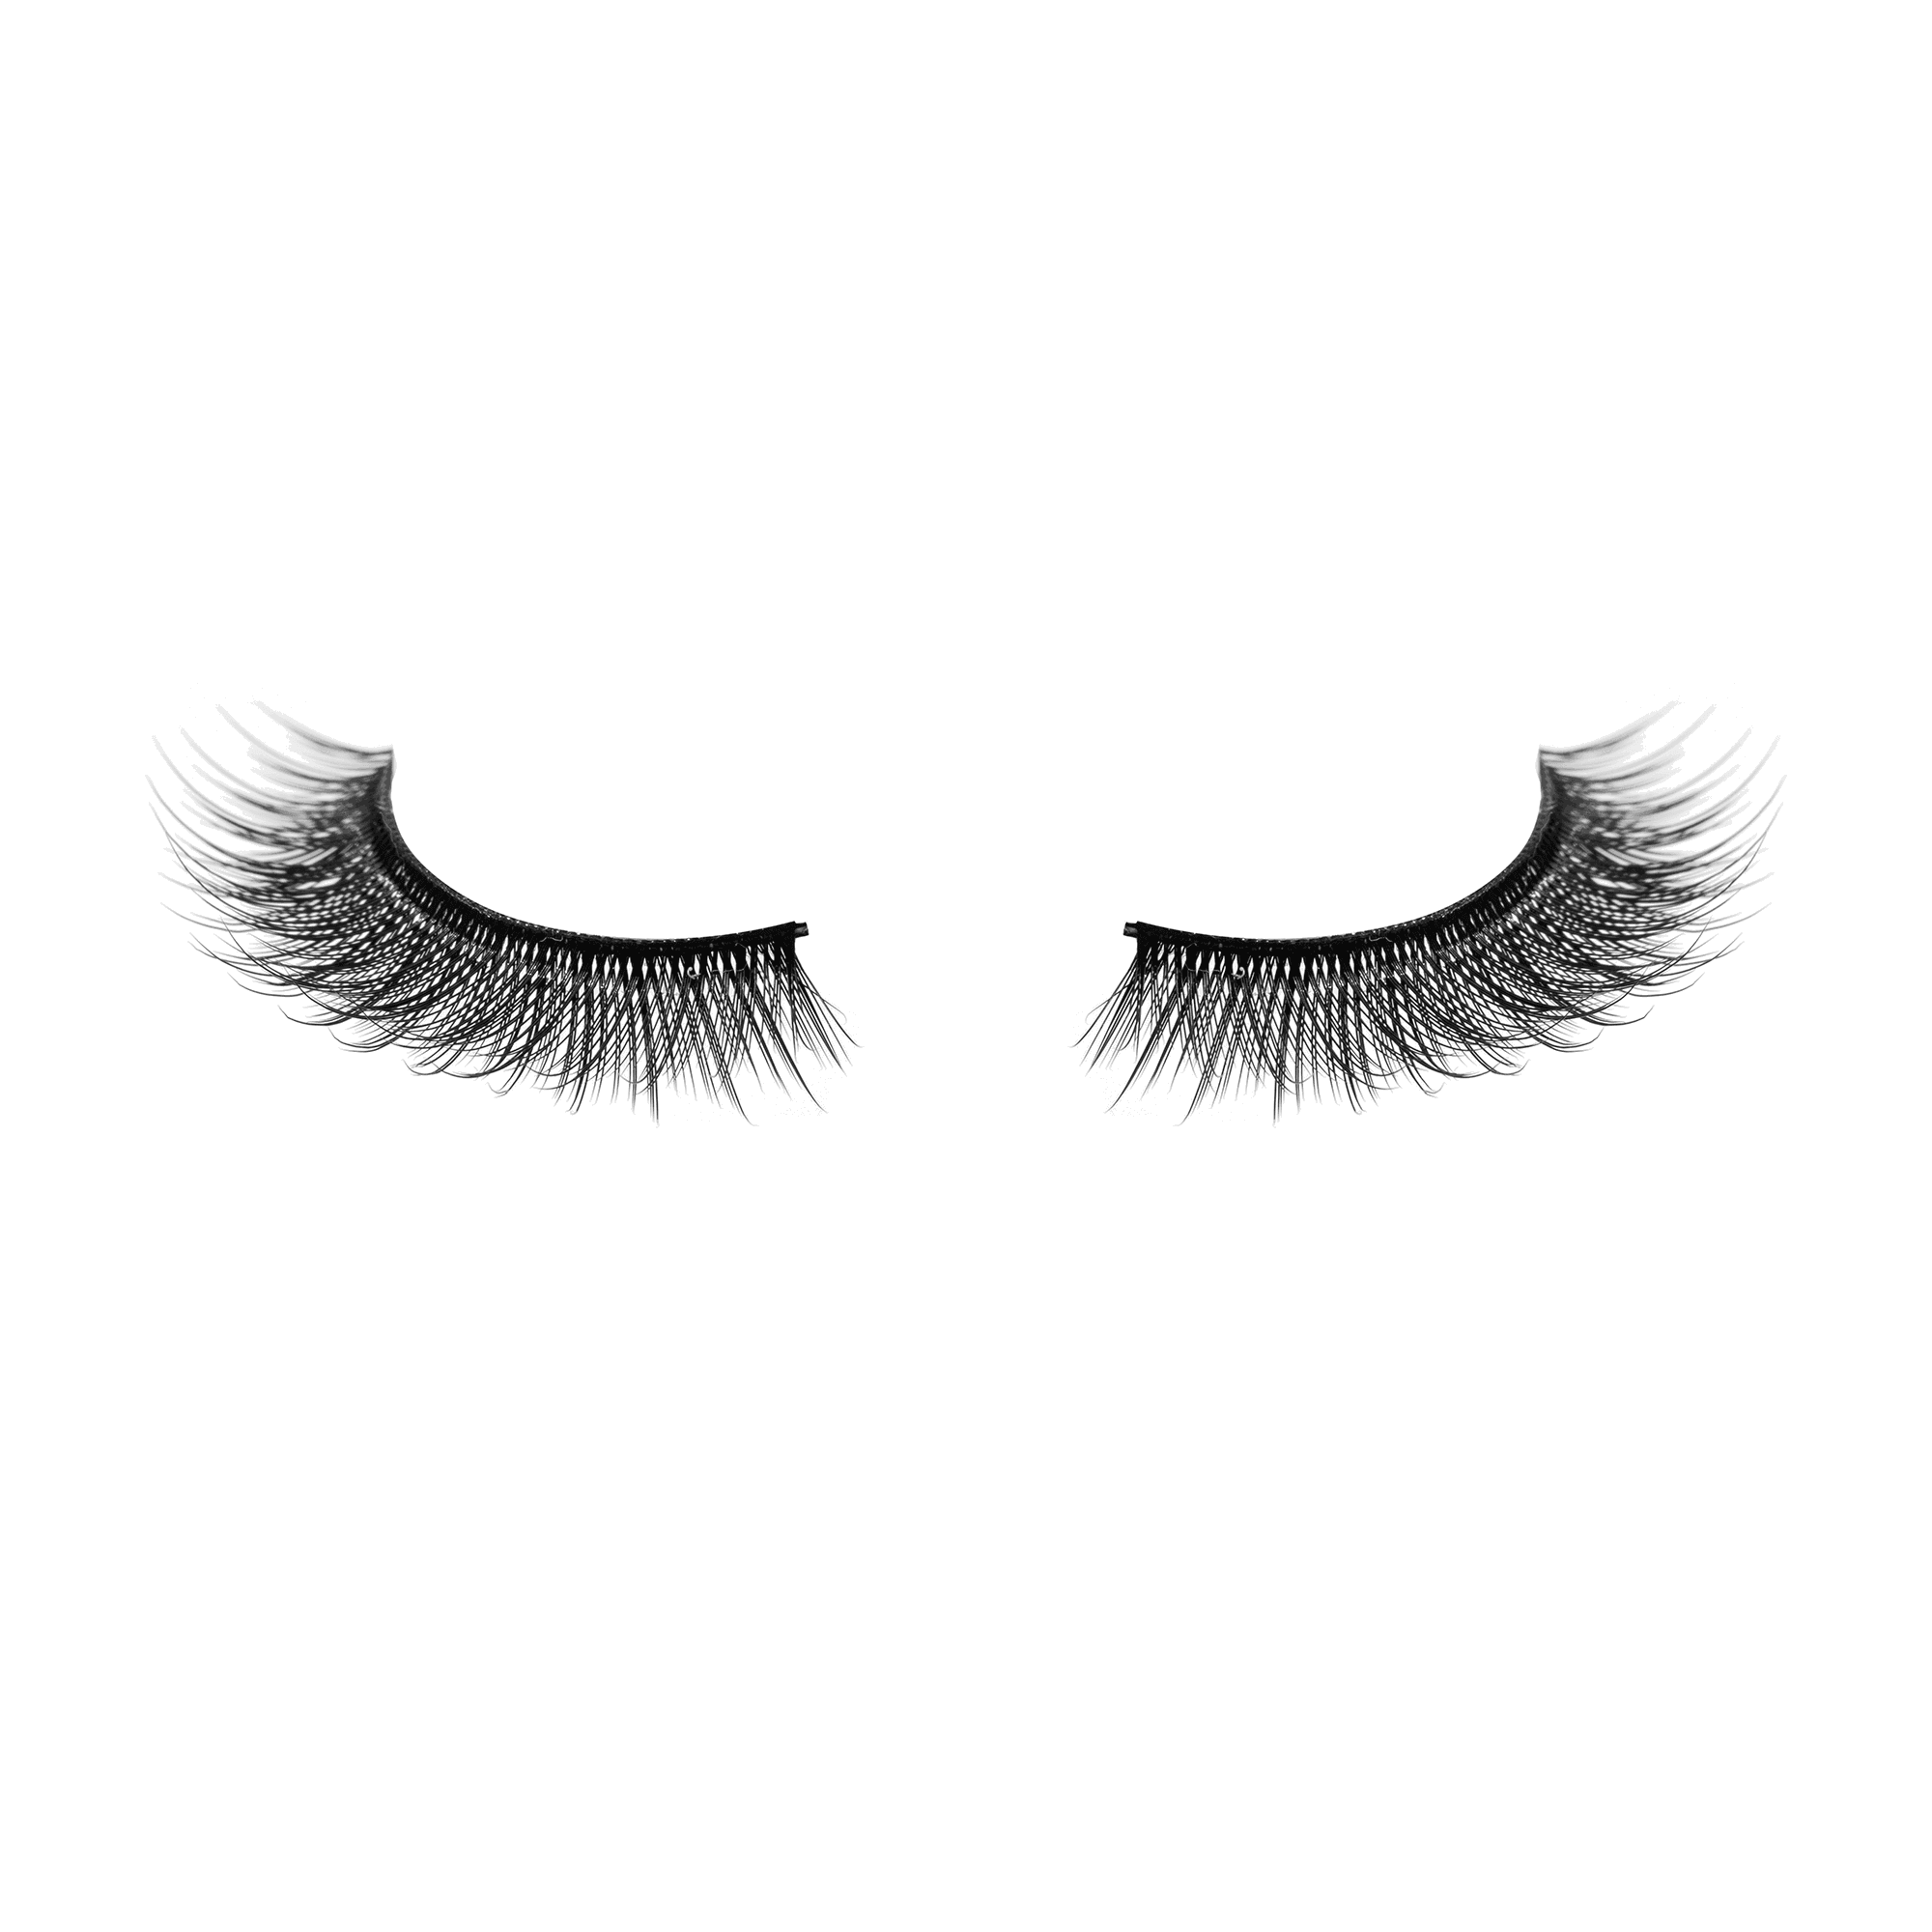
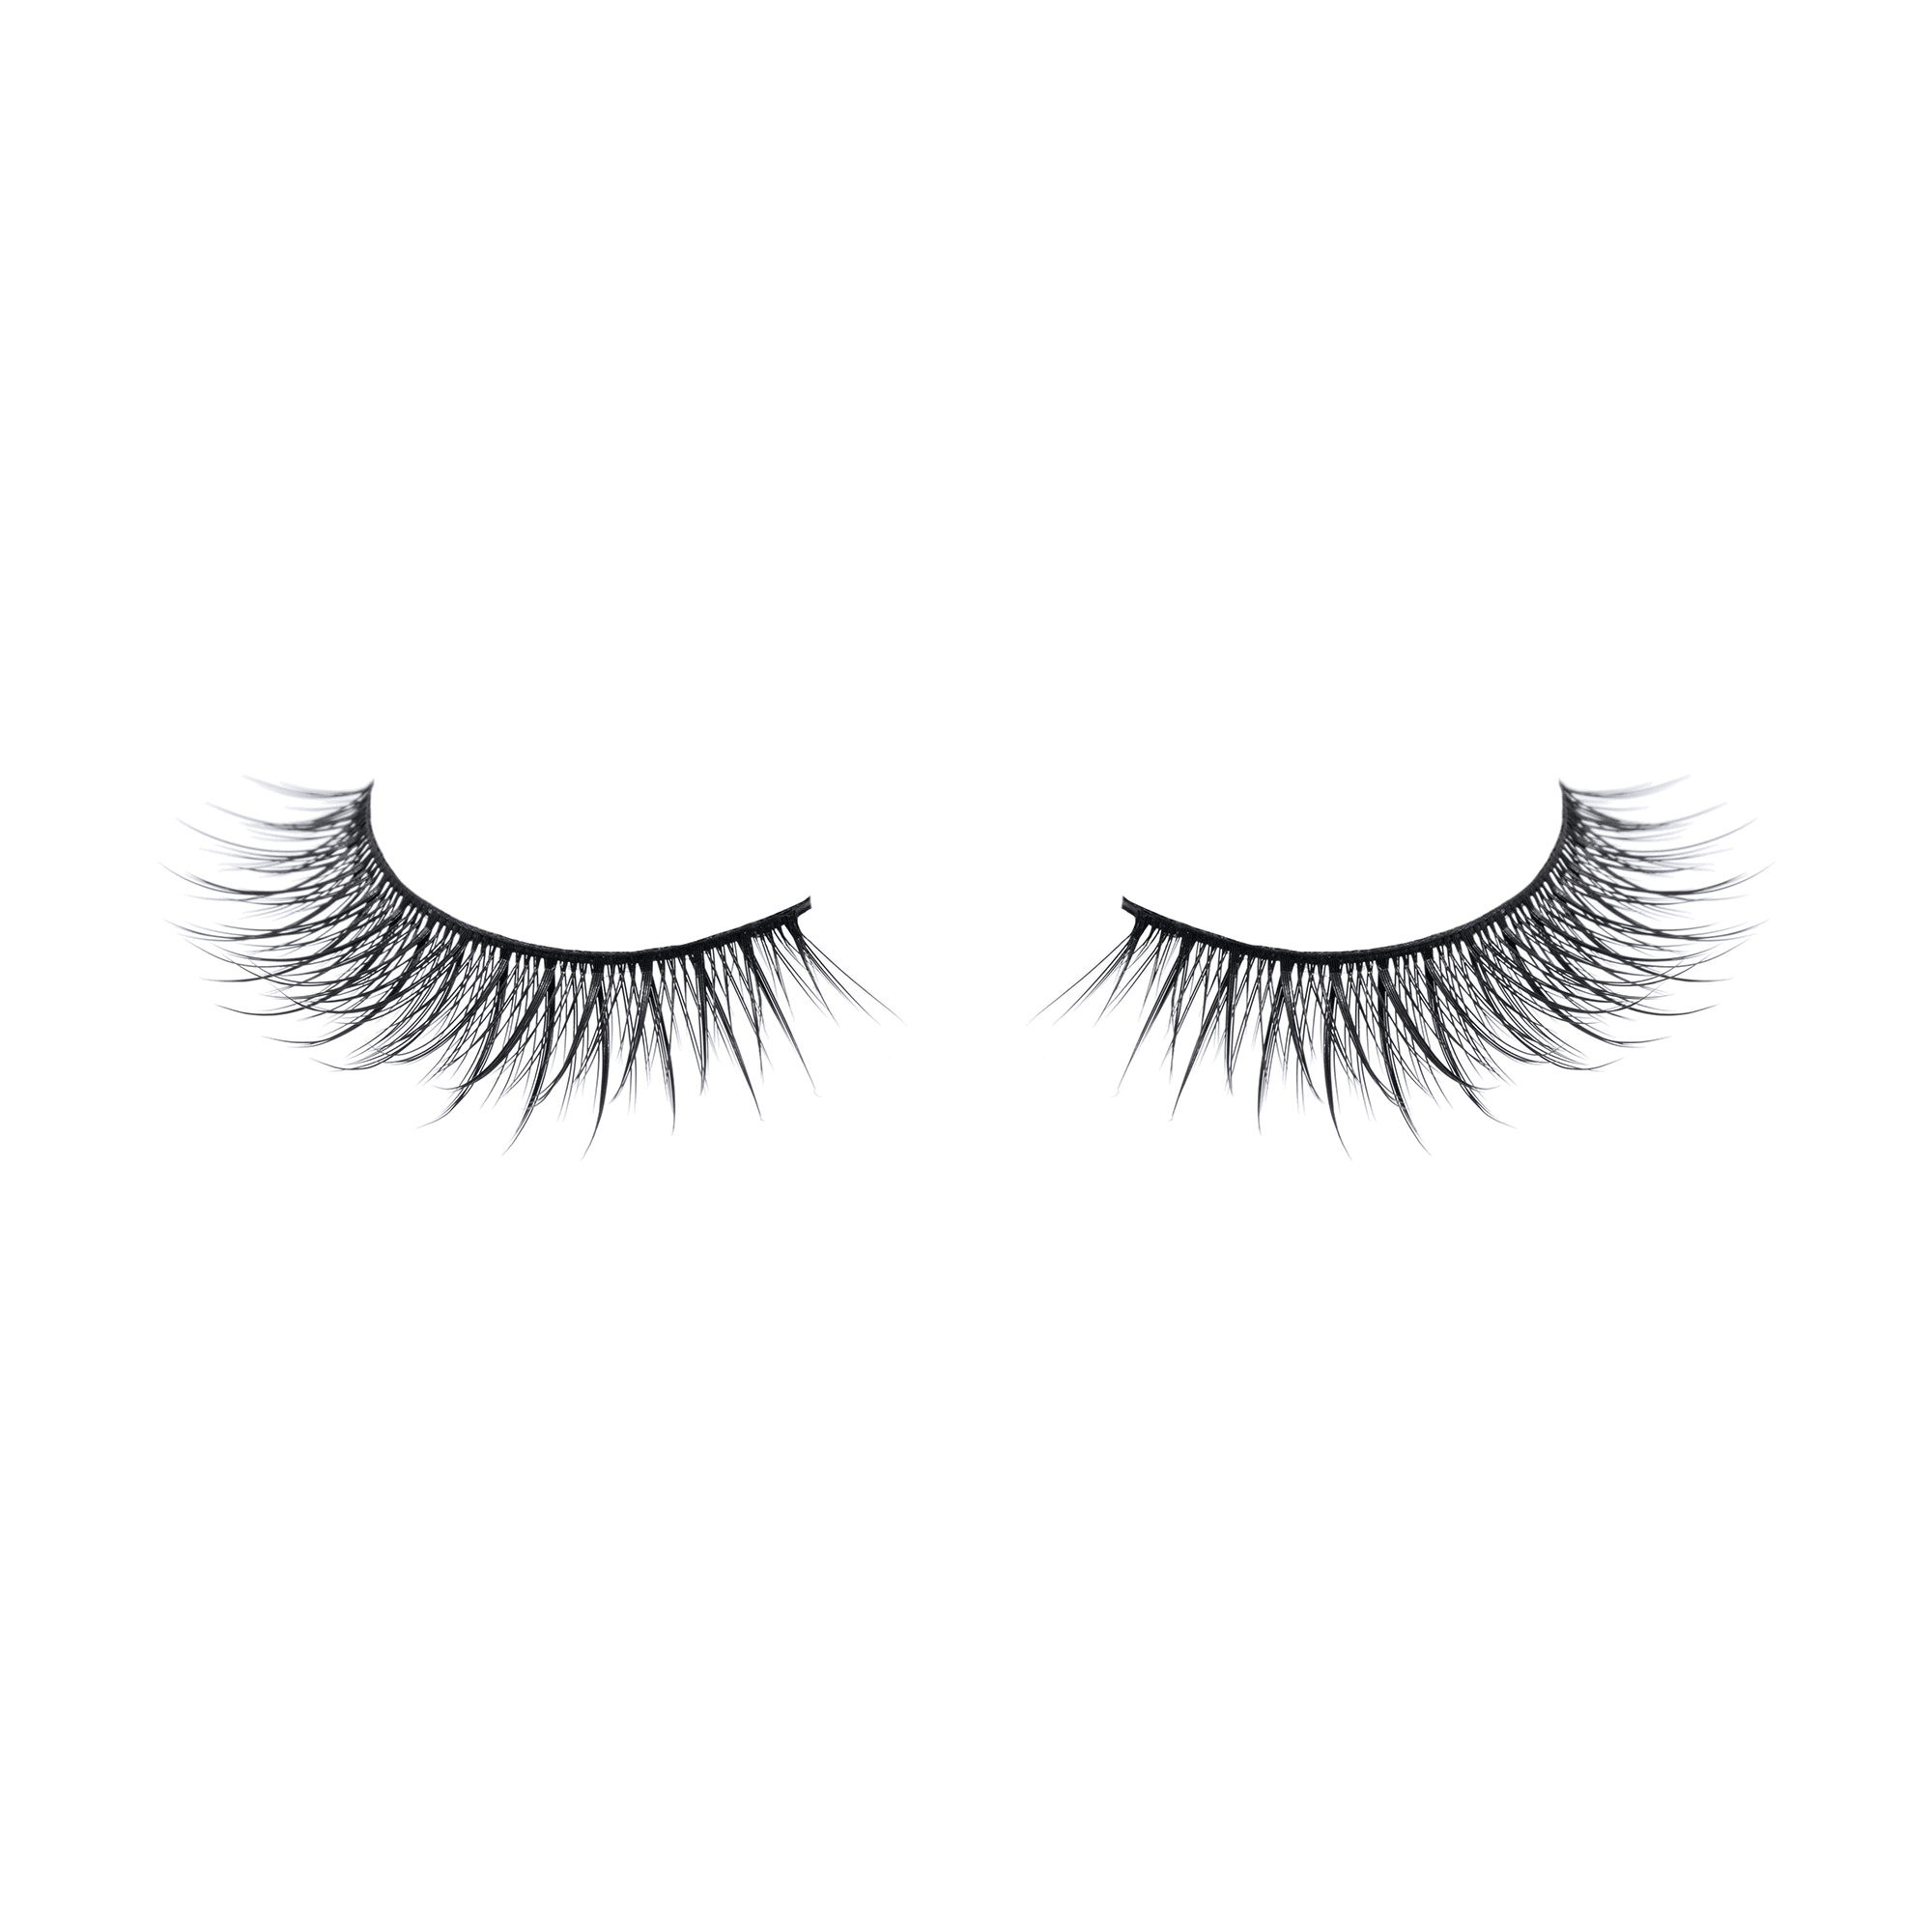
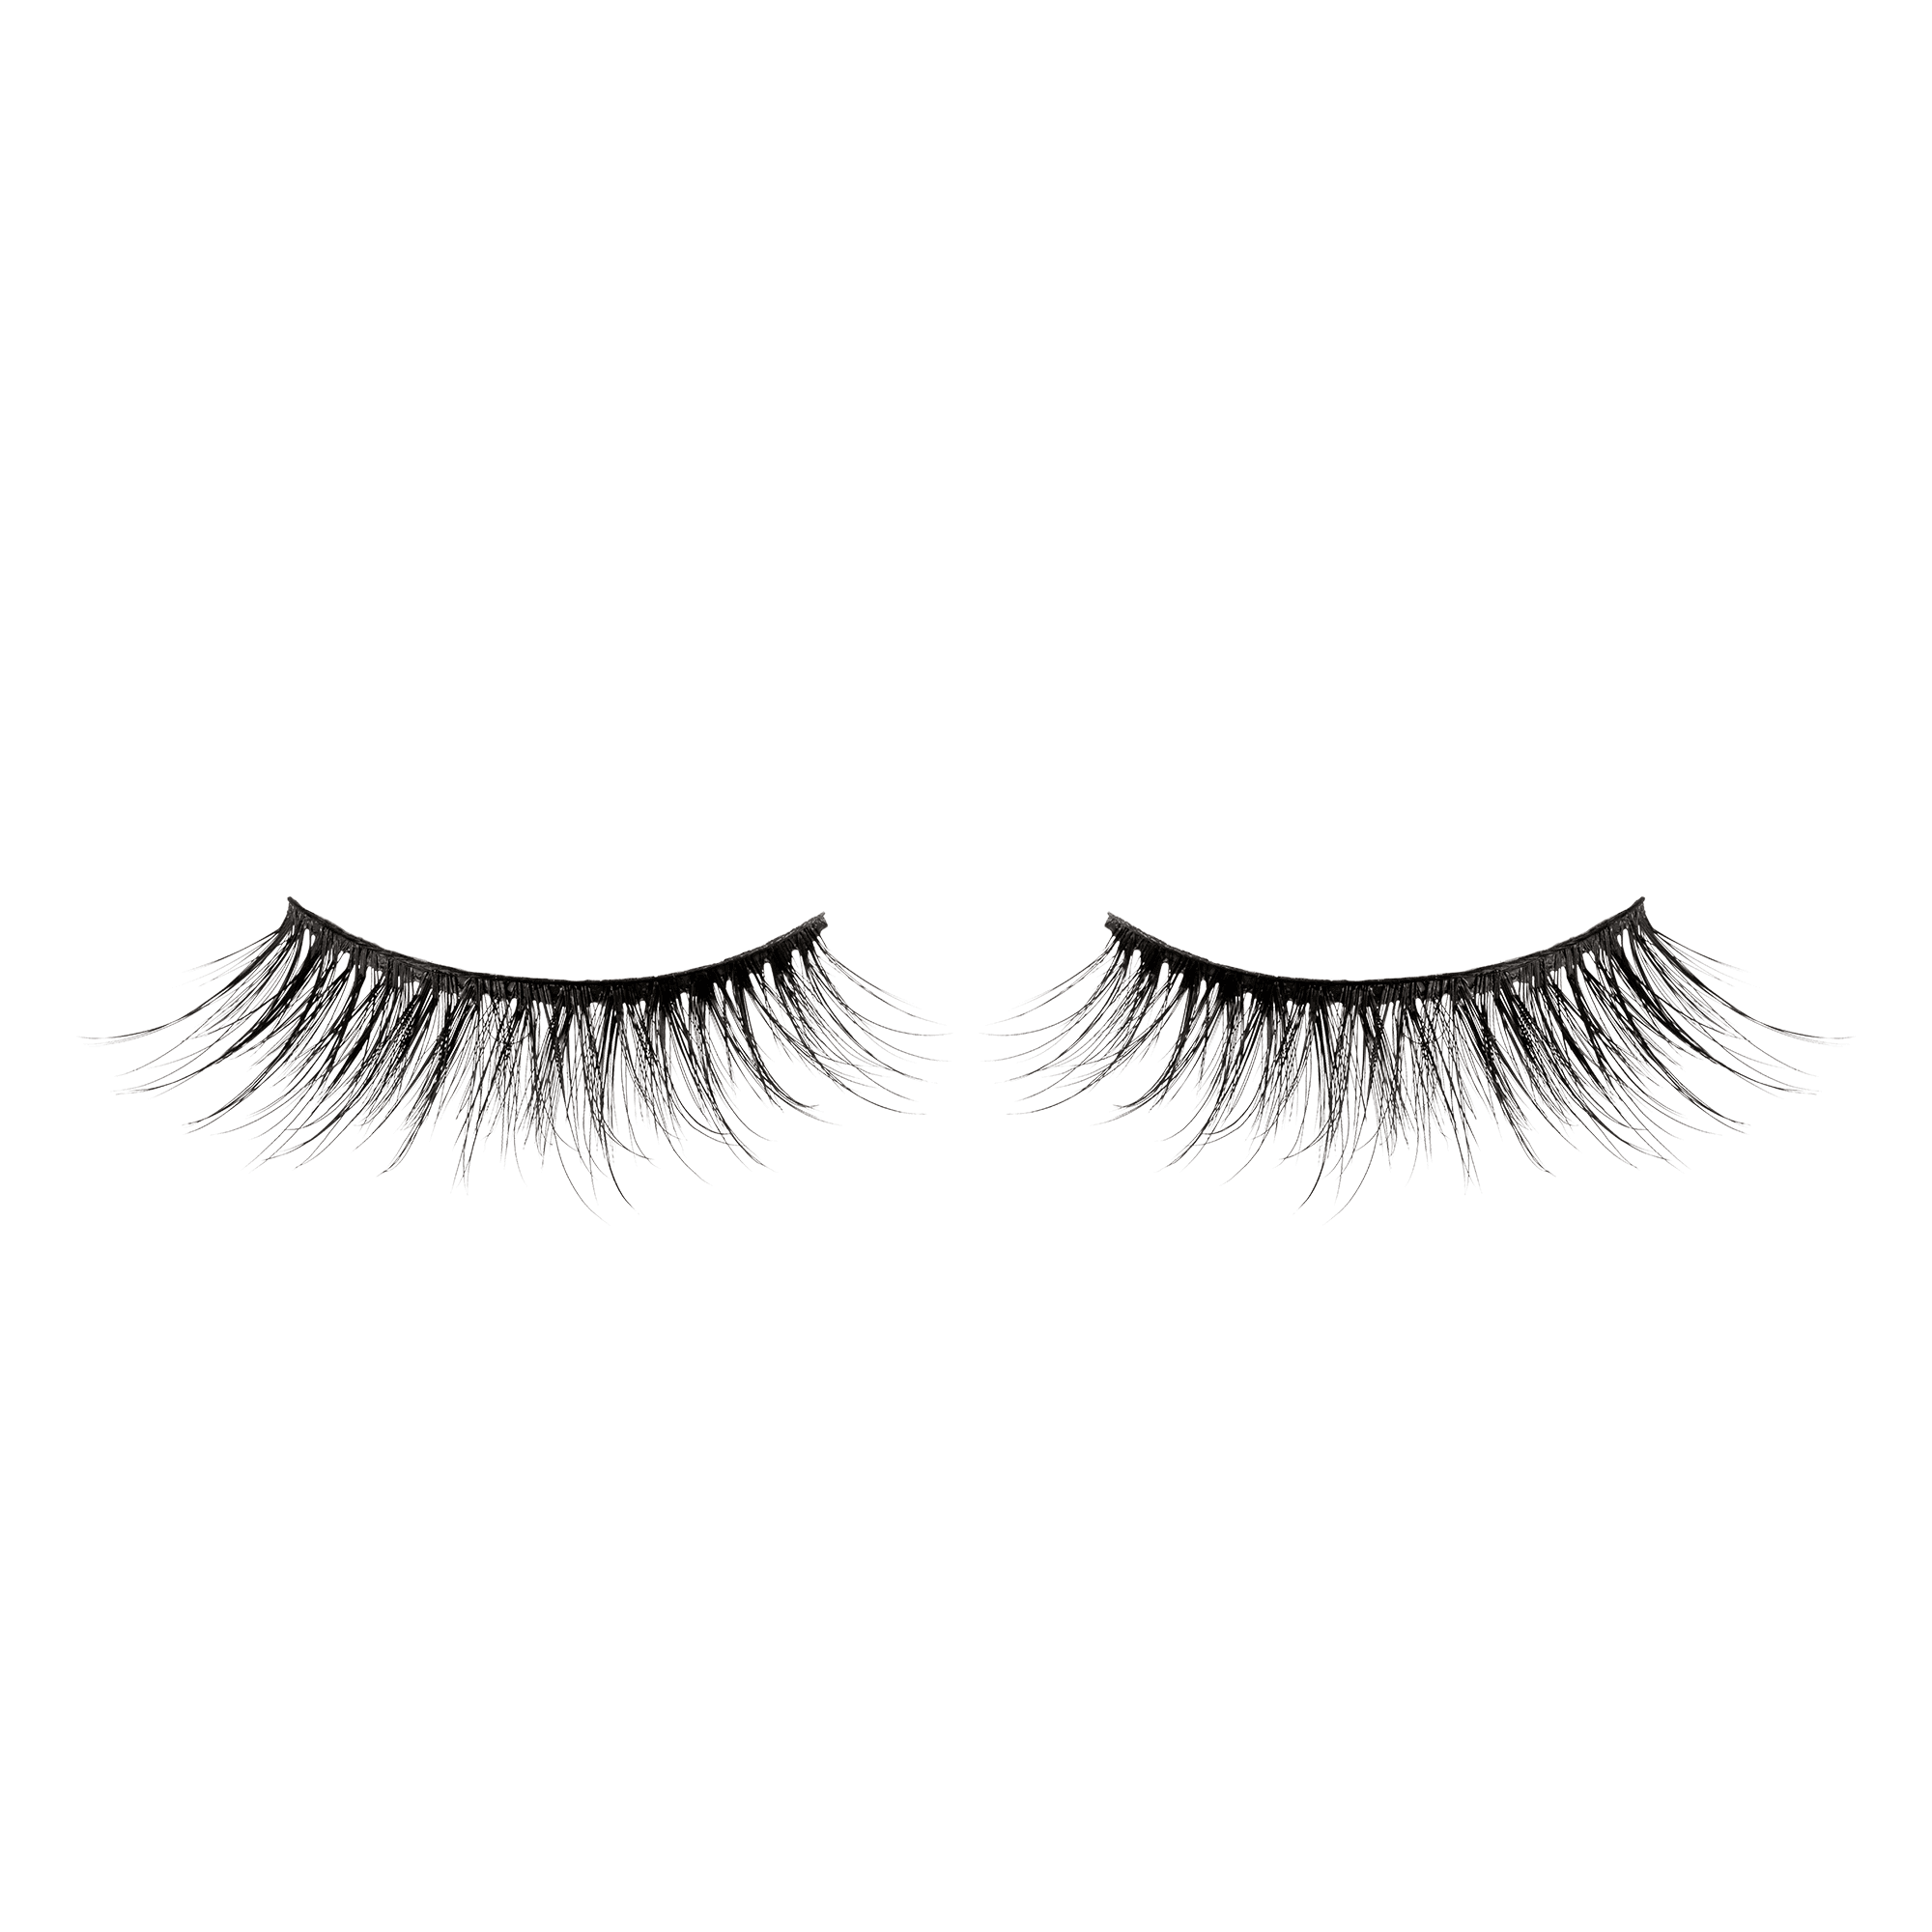
There are three main types of false lashes: strip, cluster and volume lashes (with photos for reference).


Strip Lashes
Pros: Quick to apply, consistent results.
Cons: Can be uncomfortable for long wear, tricky to secure at the ends.
Strip lashes are the classic type, where all the lashes are attached along one lash band. The bands usually come in black or clear, and can be either rigid or flexible:
Black band: Adds a built-in eyeliner effect. Best for those who wear bold eye makeup.
.
Clear band: More natural and breathable, great for a clean makeup look.
.
Rigid band: Offers better support, ideal for heavier lids but less comfortable.
.
Flexible band: Lightweight and comfortable; currently the most popular, but be gentle — it’s less supportive.
These lashes have pre-set lengths, curls, and designs, so the final look is predictable and easy to recreate once you get the hang of it. Perfect for those short on time or who prefer consistent results.
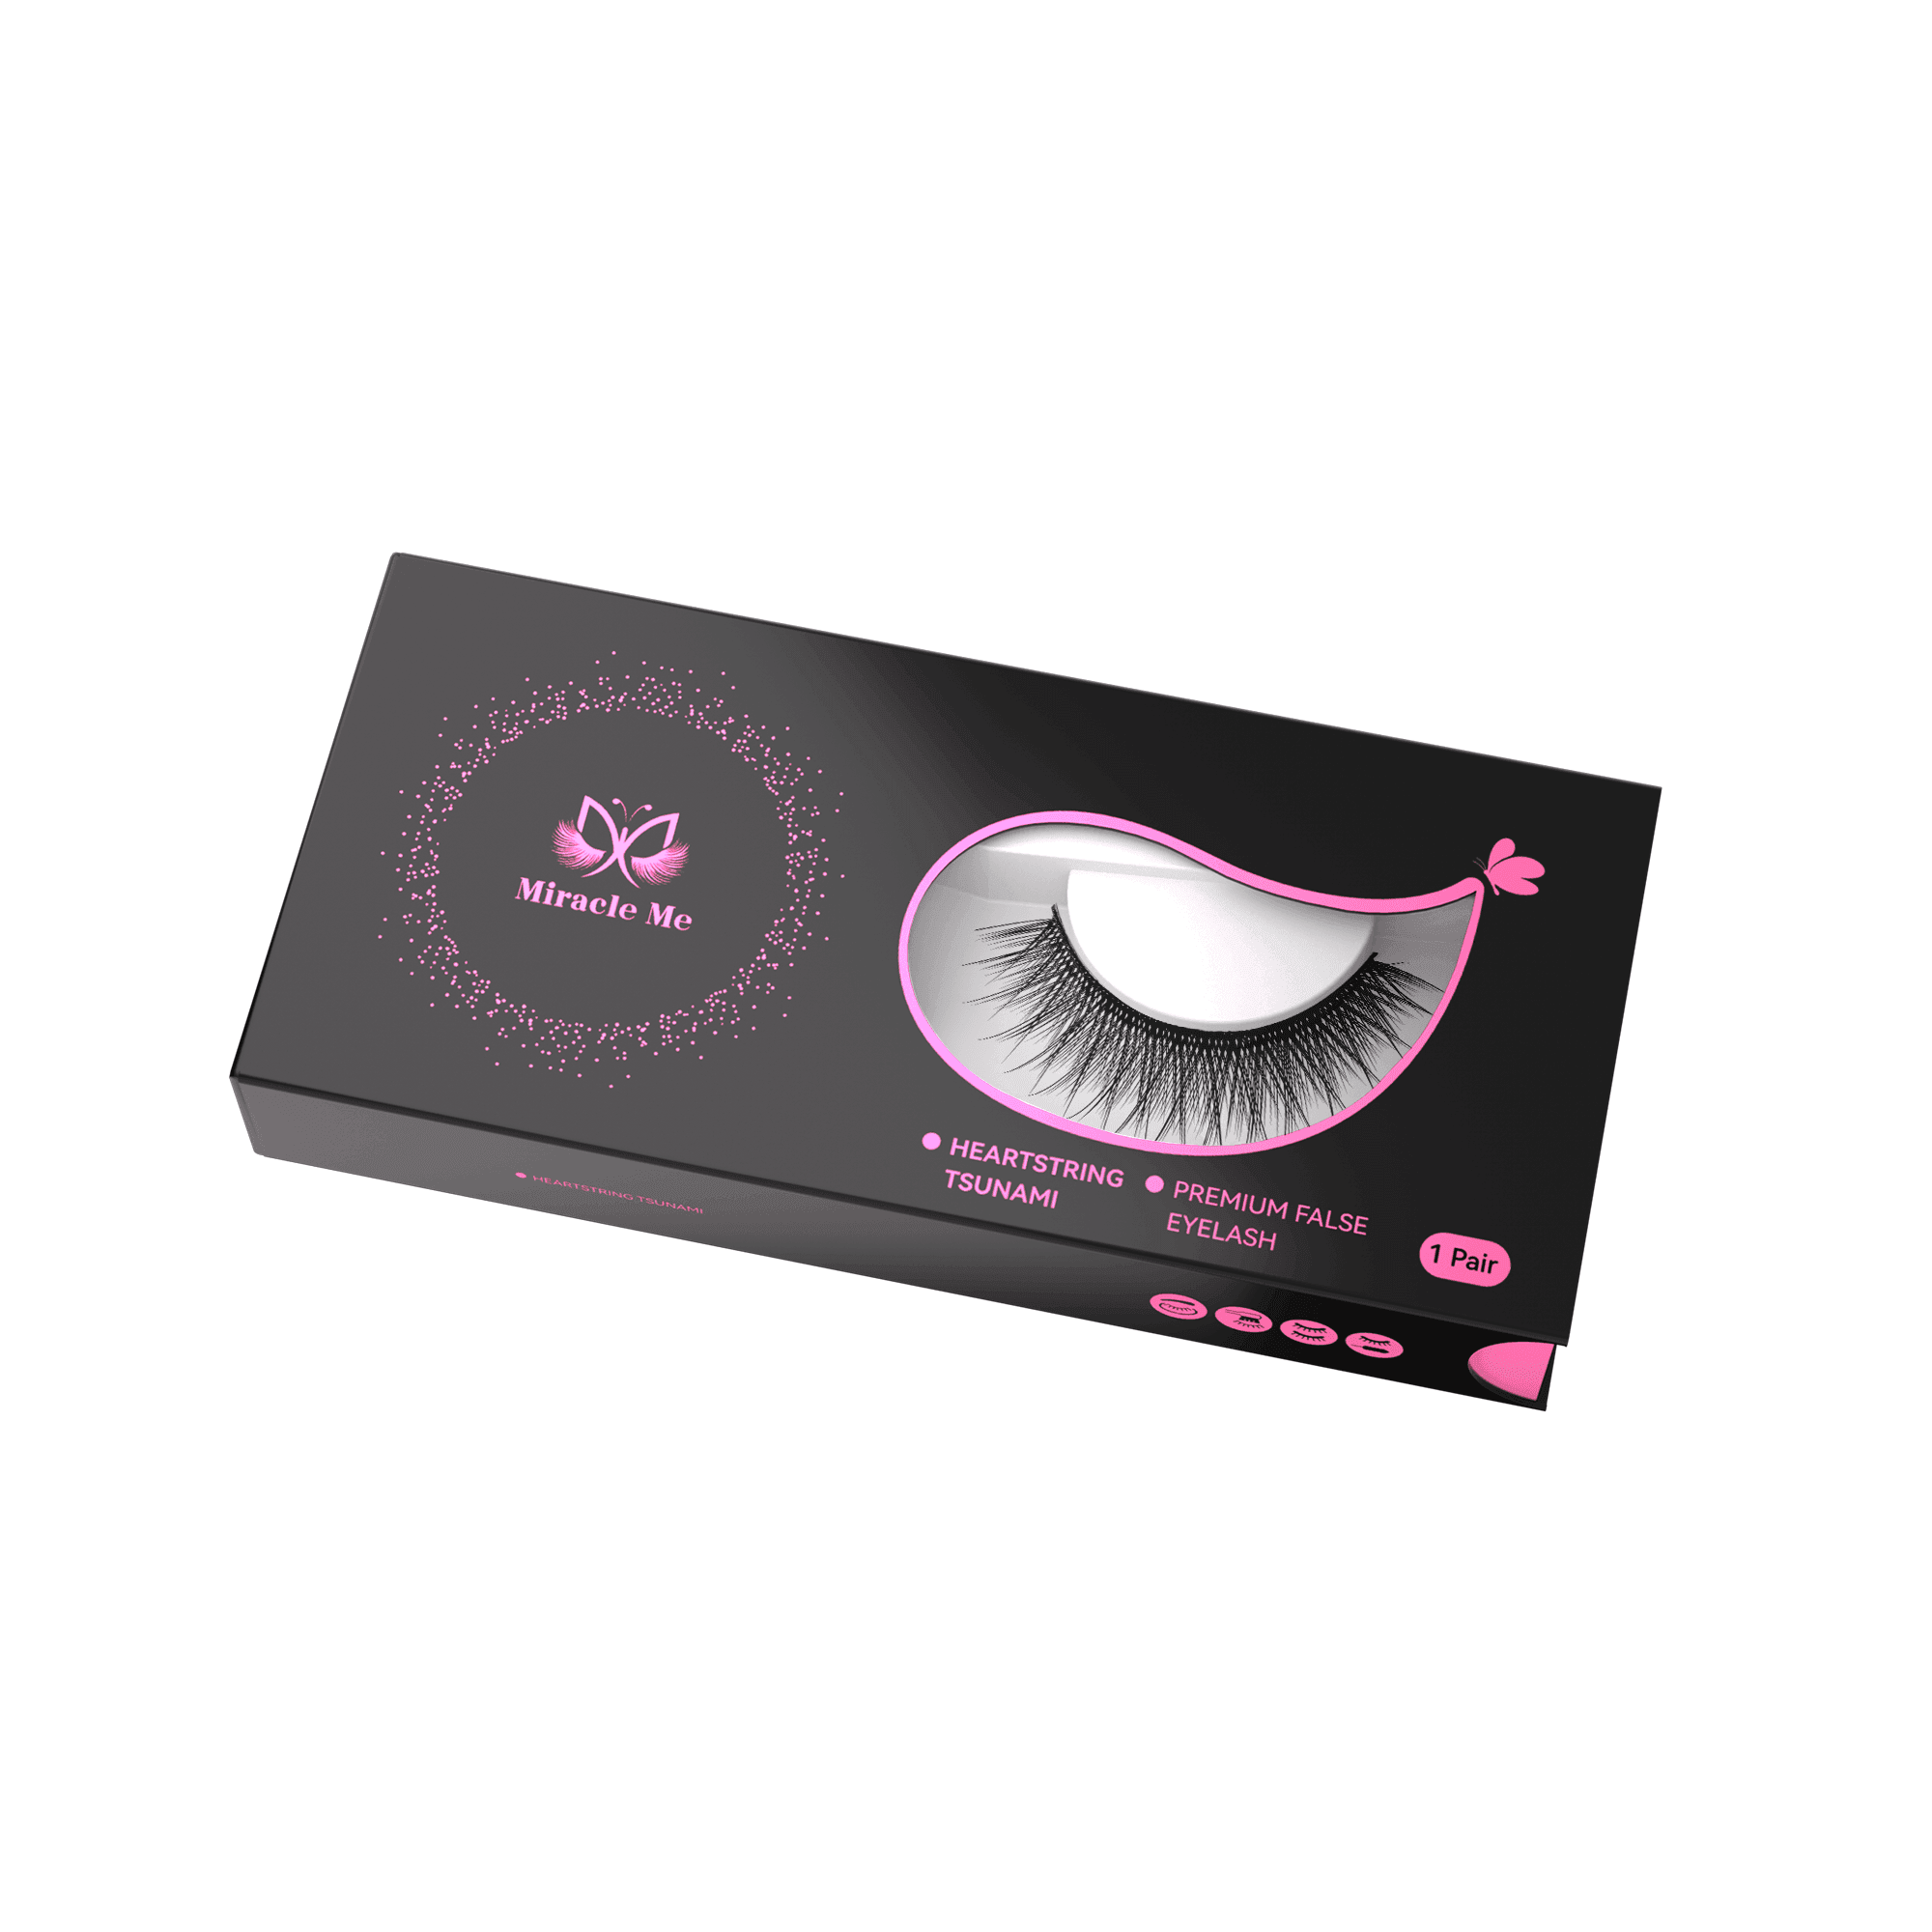
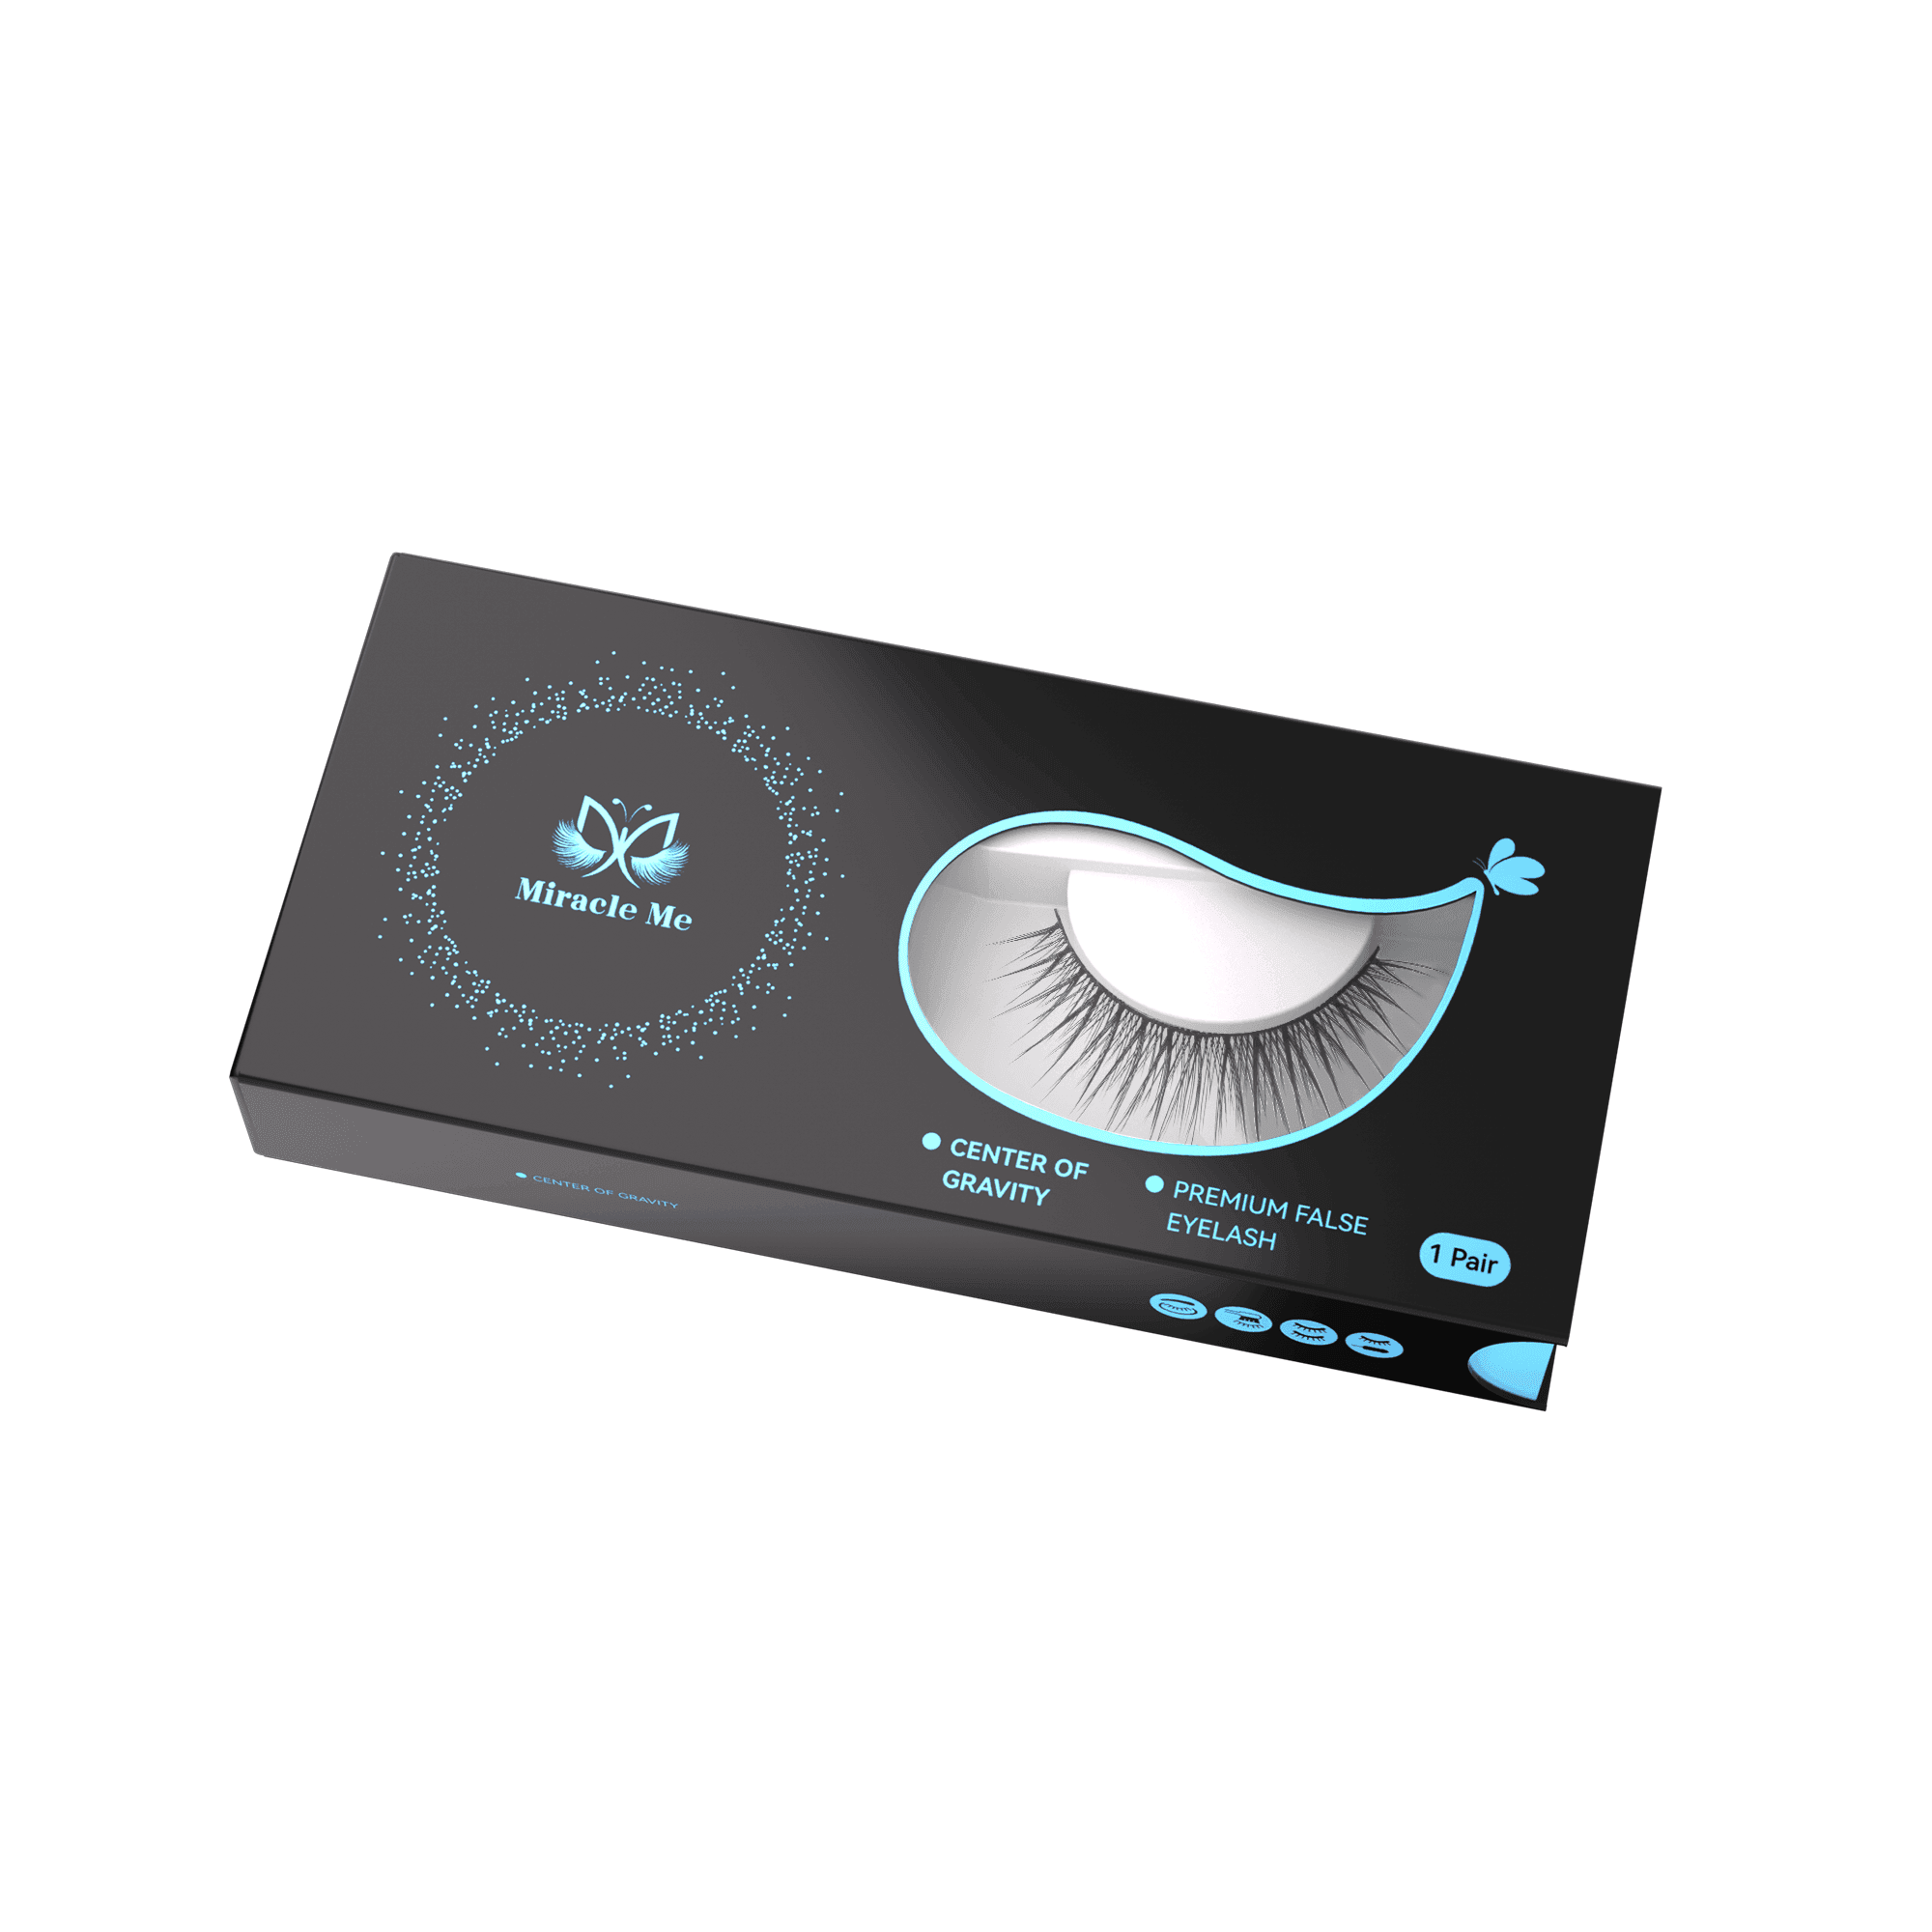
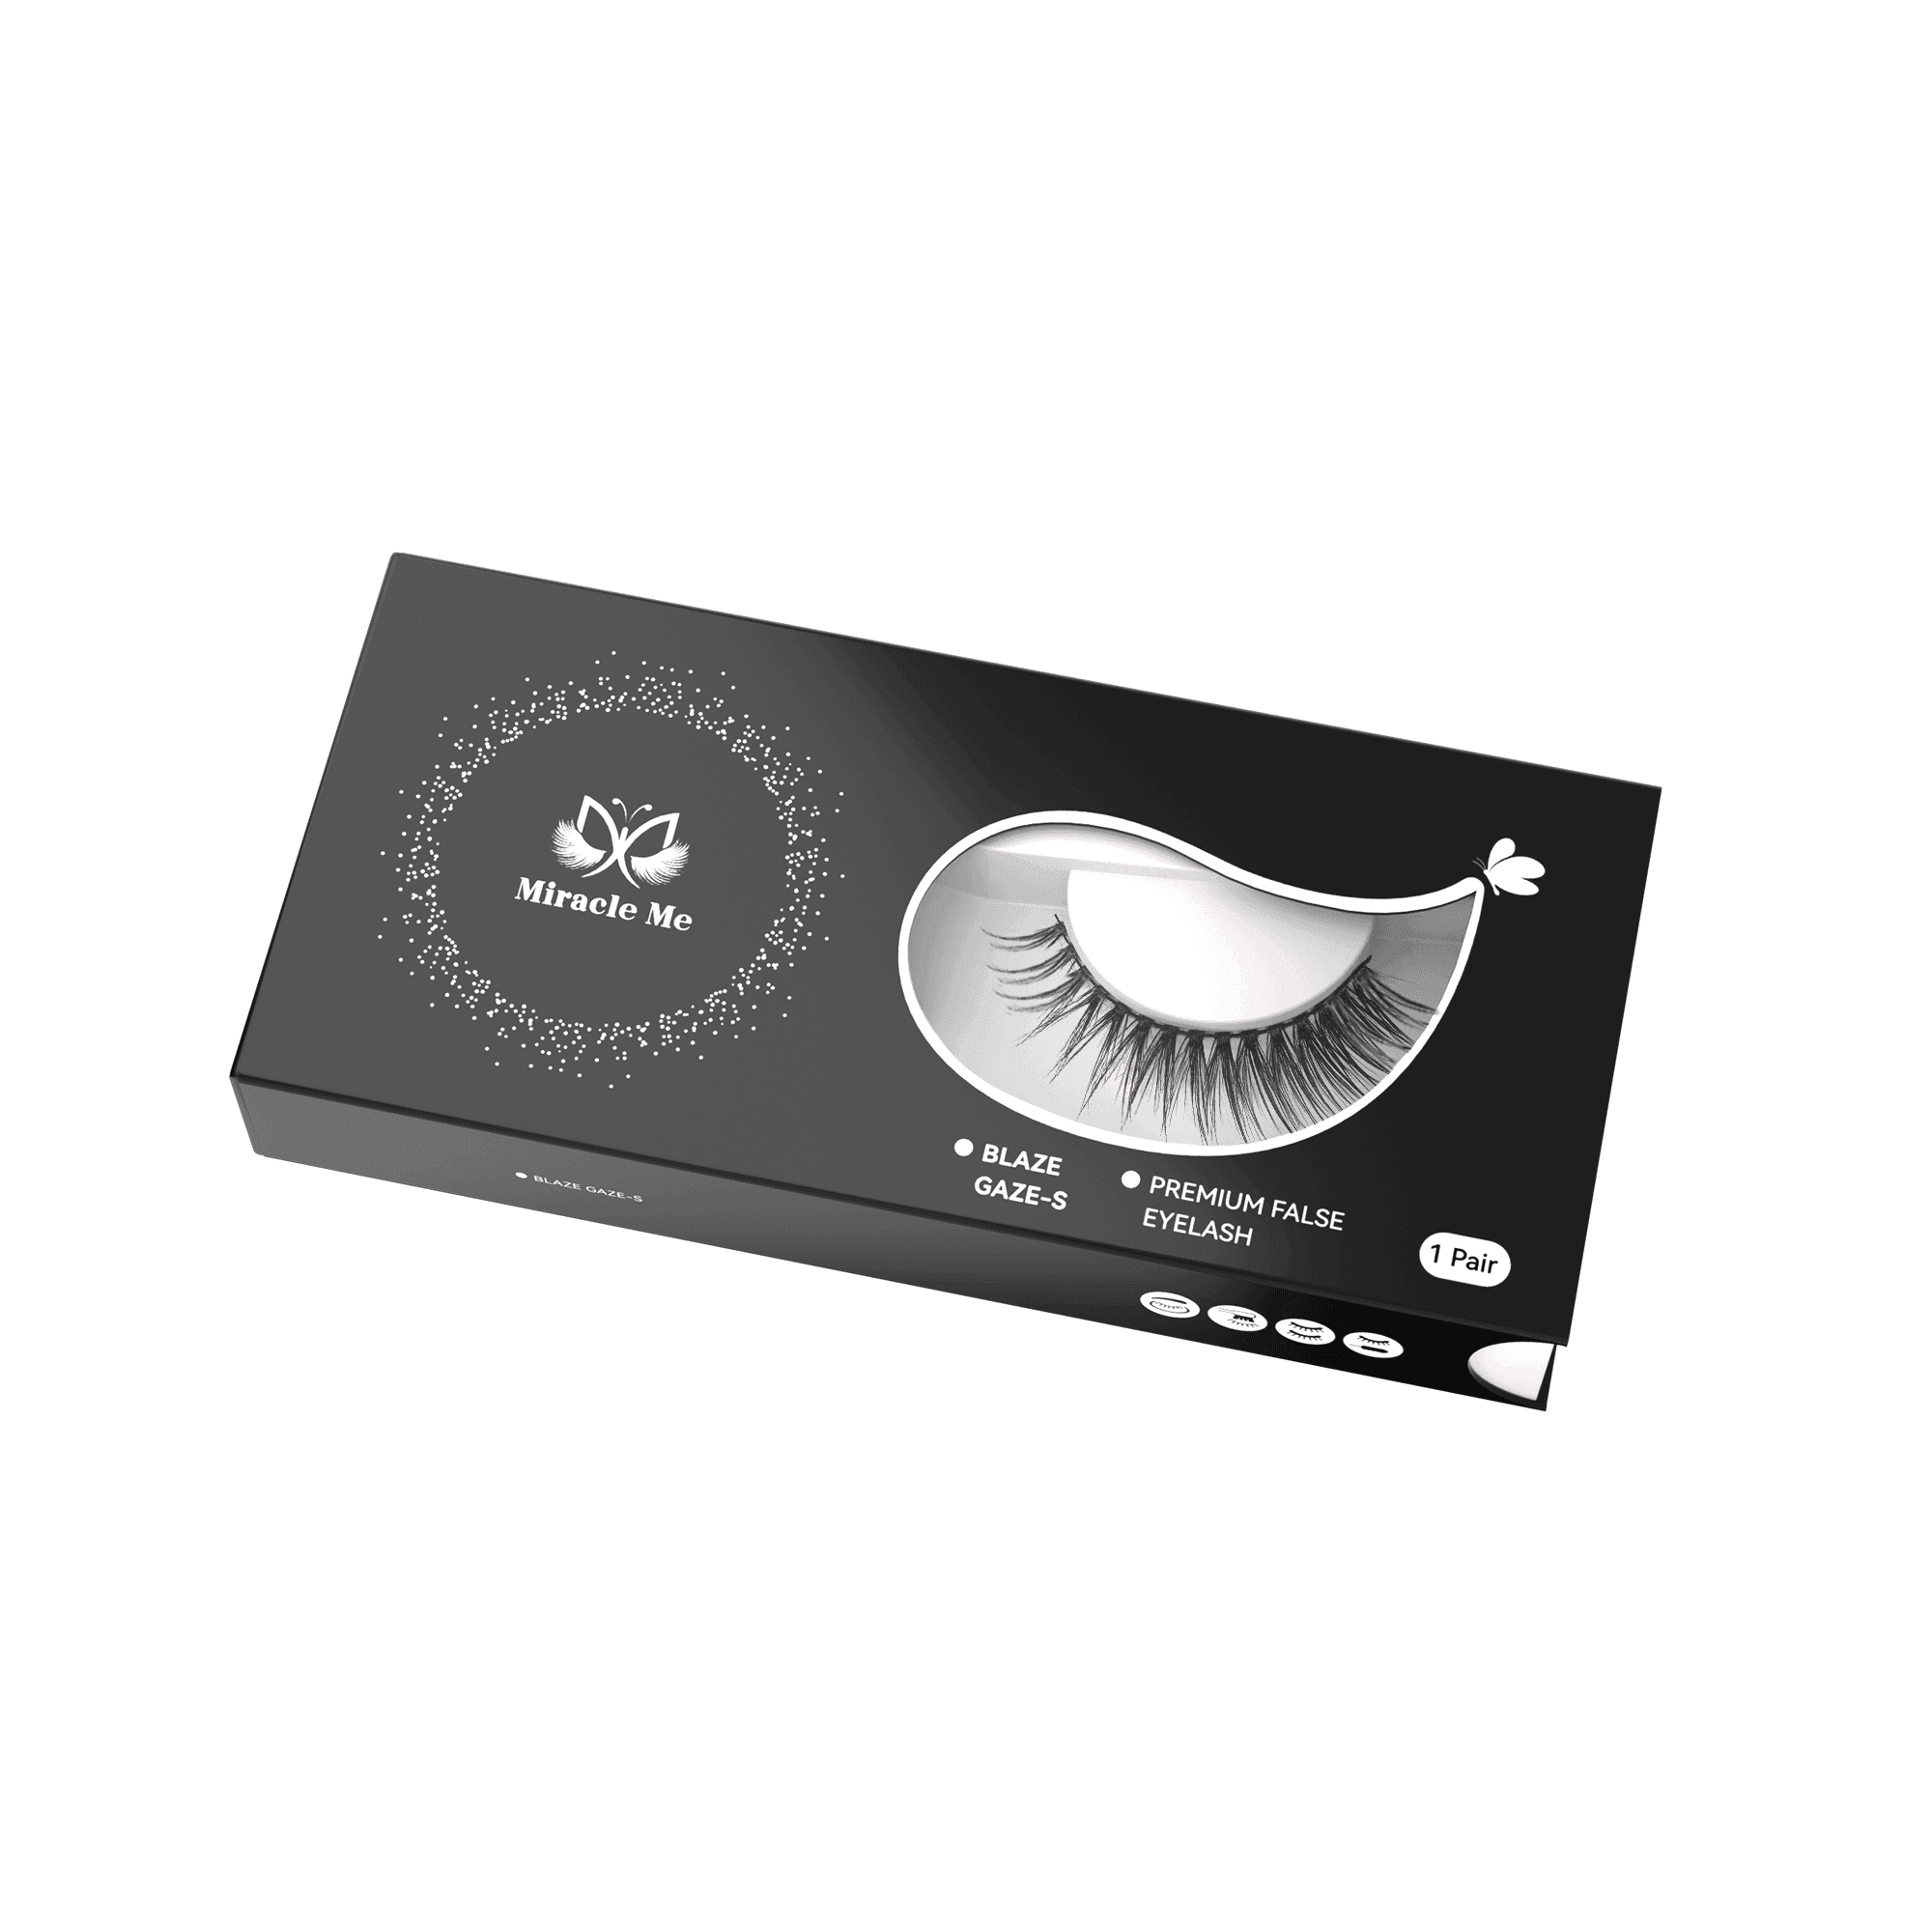
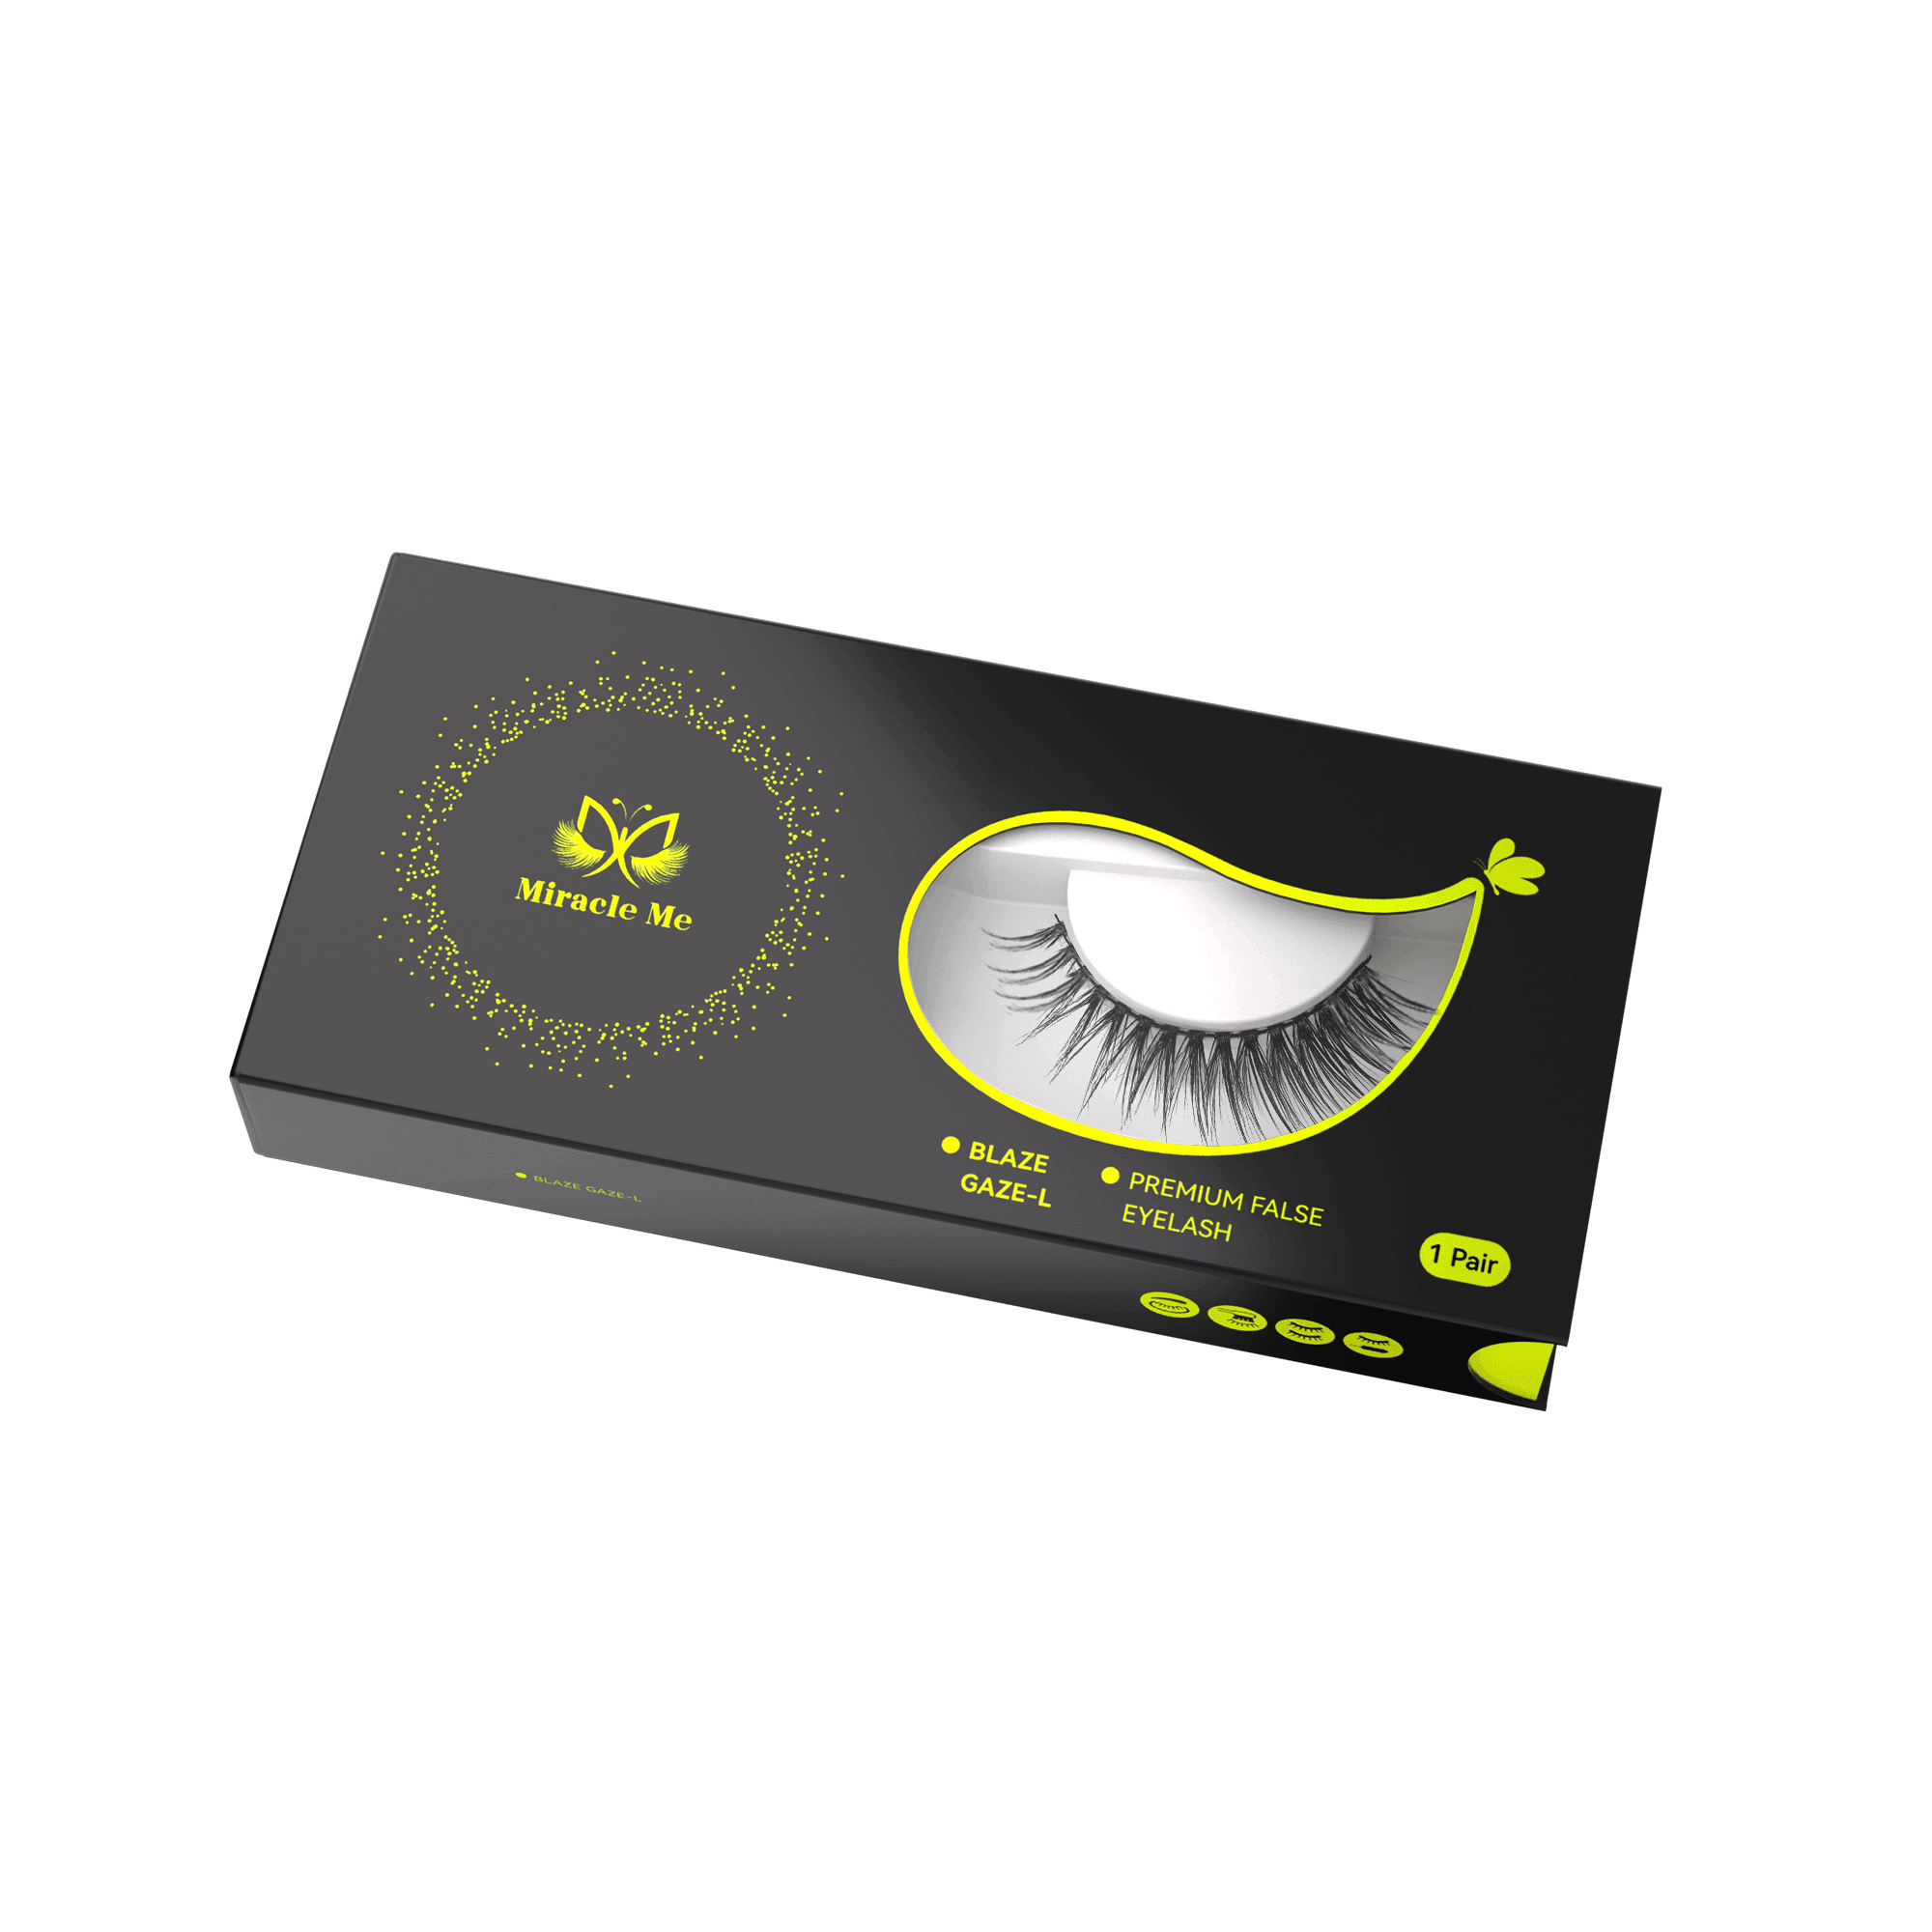
Product tip: Try the 5-pack lashes from MiracleMe, Kara Beauty, or Kiss. They’re all trust-worthy brands with great quality and variety.


Kara Beauty Fabulashes 5 Pairs

However, since false lashes are applied above your natural lashes, they can feel slightly foreign after extended wear, and improper application may cause the inner or outer corners to lift — something that takes a bit of practice to perfect.
Cluster Lashes
Pros: Easier for beginners, customizable, more comfortable, and decent support.
Cluster lashes are essentially strip lashes divided into 3–4 smaller sections, making them more beginner-friendly and less prone to lifting at the corners.
If you struggle with strip lashes, try cutting them into segments for easier application. However, many cluster lashes on the market use thicker, stiffer black bands for better stability, which create a more dramatic effect and aren't as lightweight or breathable as cluster lashes. If the width of your eyes doesn't perfectly align with the length of the cluster lashes, it's best to fill any gaps with eyeliner after application to create a smoother, more natural look.
Product tip: MiracleMe’s Gentle Orchid, Bluefin, and Dandy Lioness segmented lashes have received great feedback. Pick a style you like — they’ll help you save time in the morning cover
{"layoutMobile":2,"layoutDesktop":3,"buttonAlign":"Center","buttonText":"Buy now","productTitle":{"hue":213,"brightness":0.83,"saturation":1},"priceColor":{"hue":0,"saturation":1,"brightness":0},"discountPrice":{"hue":356,"saturation":0.74,"brightness":1},"buttonColor":{"hue":213,"brightness":0.83,"saturation":1},"textBottomColor":{"hue":0,"saturation":0,"brightness":1},"activeTitleButton":true,"moreProduct":"View all","moreProductUrl":"miracleme.store","rowNumber":1,"dynamicProductId":[{"id":"gid://shopify/Product/10140419490102","title":"Gentle Orchid","currencyCode":"USD","amountMax":"29.99","amountMin":"29.99","price":"29.99","compareAtPrice":null,"imagesUrl":"https://cdn.shopify.com/s/files/1/0892/8578/7958/files/Gentle_Orchid_2_648571dc-bdc4-4cc4-8941-ed55fc8678a7.png?v=1745033950&width=600","urlStore":"/products/gentle-orchid-cluster-kitsune-series","altImage":"gentle orchid false eyelash by MiracleMe"},{"id":"gid://shopify/Product/10140415131958","title":"Bluefin Phantom","currencyCode":"USD","amountMax":"29.99","amountMin":"29.99","price":"29.99","compareAtPrice":null,"imagesUrl":"https://cdn.shopify.com/s/files/1/0892/8578/7958/files/Bluefin_Phantom_Self-Adhesive_Eyelashes.png?v=1745298044&width=600","urlStore":"/products/bluefin-phantom-cluster-kitsune-series","altImage":"bluefin phantom self adhesive eyelash by MiracleMe"},{"id":"gid://shopify/Product/10144241385782","title":"Dandy Lioness (Self-Adhesive)","currencyCode":"USD","amountMax":"65.99","amountMin":"65.99","price":"65.99","compareAtPrice":null,"imagesUrl":"https://cdn.shopify.com/s/files/1/0892/8578/7958/files/Dandy_Lioness_Self-Adhesive-Eyelashes.png?v=1745298117&width=600","urlStore":"/products/dandy-lioness-self-adhesive-cluster-supermodel","altImage":"Dandy Lioness self adhesive eyelash by MiracleMe"}],"typeSearch":"product","device":"desktop","decimalsPrice":2,"aspectRatio":"auto","isAutoPlay":false,"isNavigation":false,"isPriceDisplay":false,"rowDynamic":"mot","activeDecimals":false,"positionPrice":false,"currencyCodeCustom":"$","componentId":"undefined","hidden":false,"locked":false,"blockName":"Product"}
Volume Lashes
Pros: Highly customizable, very natural and flattering. Ideal for photo shoots or special occasions.
These have become super trendy in recent years! From A-shaped to fishtail and Y-shaped designs, different lengths and styles can be mixed and matched to perfectly complement your eye shape.
The A-shaped + fishtail combo is a timeless choice and pairs well with most makeup styles. Many brands now offer curated lash palettes with pre-cut lengths — super convenient!
However, they’re the most time-consuming to apply of the three lash types. I almost cried the first time I tried them 😭, and low-quality clusters that fall apart when pinched can really test your patience.
Tip: Beginners should start with cluster lashes to build confidence before attempting individuals.
To wrap things up, here’s a quick summary of the pros and cons of the three lash types — by now, you should have no trouble picking the one that works best for you.
| Lash Type | Suitable For | Pros | Cons |
| Strip Lash | Beginners and experienced users | - Stable makeup effect, efficient to apply - Great for monolids or puffy eyelids needing lift - Comes in stiff (better support) and soft bands (more comfort) - Pre-set styles, hassle-free - Quick and easy after practice | - Noticeable lash band upon close inspection - Prone to lifting at inner and outer corners |
| Cluster Lash | Beginner-friendly | - Great for time-saving or long-wear needs - Some styles offer support with firmer bands - Lightweight and comfortable in certain designs - No lifting issues - Fast to apply, low error rate | - Black bands can create a visible eyeliner effect - Limited style variety |
| Volume Lash | Users seeking customizable styles Those with sensitive eyes | - Fully DIY customizable - Extremely comfortable and non-irritating - Seamless and natural look even up close | - Weak or no structural support - Time-consuming, not beginner-friendly |
2. Tools Matter – A Lot!
A lot of people struggle with lash application and end up blaming themselves, but it could be the tools! The right tools can make the process much quicker and way easier.
Lash Curler
Choose a curler that suits your eye shape and can effectively curl your natural lashes. I recommend ones with scissor handles for better control and enough space to use even after applying lashes. I currently use the Everbab curler — it fits me perfectly and gives a strong curl.

If your lashes fall flat easily, consider an Eyecurl heated lash curler to shape and set your lashes better. It makes a big difference!

Lash Glue
I get asked about this all the time! Honestly, once you get the hang of it, even the glue that comes with lashes works just fine 😂. But for beginners or those with sensitive eyes, I always recommend DUP or DUO:
- DUP: Super strong hold and safe ingredients — lashes stay put all day.
- DUO: A staple in many makeup artists' kits. Not as strong as DUP, but gentler and suitable for sensitive eyes. It also doubles as eyelid glue.

Tweezers
Often overlooked, but let me say it loud — good tweezers are a game-changer!
I own several types: flat tip, curved “golden feather” (L-shape), and dolphin-style tweezers.
- Golden feather tweezers are great for beginners — versatile and effective. Just make sure the tips are thin for better grip.
-
Dolphin tweezers are my personal favorite: super lightweight and thin, they don’t block your view and make it easy to fine-tune lash placement. Ideal for A-shaped, fairy, or lower lashes.

3. How to Apply False Lashes – Step by Step
You’ve probably seen lash tutorials before — the typical steps are:
Curl lashes → Pick & glue lashes → Apply → Final touch-up
Practice makes perfect, but these tips will definitely speed things up:
Step 1: Curl Your Natural Lashes
No matter which style you’re applying, always curl your lashes first. No need to be too meticulous — just enough so your natural lashes don’t sit separately from the falsies.

Use just a tiny bit of lash primer or clear mascara at the roots — too much product will compromise the lash effect.

Step 2: Apply the Lashes
For Strip Lashes:
- Never pull from the middle! Use tweezers to gently lift the ends of the lash band.

- Place the strip in a lash holder or tool to secure it, and trim any excess from the ends to match your eye shape.

- Apply glue to the front and bottom edges of the band, then let it sit for a few seconds until it becomes tacky before applying.

- Stick the lash band just above your natural lash line. Leave a slight gap at the inner corner to avoid discomfort.

- Press both ends gently toward your lid using tweezers for a secure fit
For Cluster Lashes:
- Super quick to apply and more durable — great for beginners.
- Instead of brushing glue directly on the lash band, put some on the glue cap and dip the segments in. (This gives you more control and avoids drying out before you finish).
- Apply the longest segment to the outer third of your lash line, then add the others toward the inner corner.

Step 3: Final Touches
Once the lashes are on, lightly clamp them together with your real lashes using a curler (don’t squeeze too hard). This blends and lifts them.
Add a bit of lash primer at the base for extra hold — your lashes will stay perfect all day.

Summary: Key Points for Each Lash Type
- Strip: Quick and stable but requires practice to avoid lifting.
- Cluster: Best for beginners, customizable, and forgiving.
-
Volume: Ultimate flexibility and natural effect, but time-consuming and advanced.
| Lash Type | Strip Lashes | Cluster Lashes | Volume Lashes |
| Needs | For those who need support for their eyelids and require high makeup stability | For beginners or those in a rush | For those seeking comfort and a natural look |
| Application Technique | 1. Curl natural lashes first, then apply mascara to set the base. | 1. Gently pick up the lash from both ends with tweezers, trimming to fit your eye shape if needed. | 1. Beginners can use a lash applicator. Apply glue only to the front and bottom edges, wait until semi-dry before applying. Finally, use the lash curler to blend natural and false lashes together. |
| 2. Curl natural lashes first, then apply mascara to set the base. | 2. First use the golden tweezers to separate the lash band from the strip, then apply glue. | 2. For stiff band styles, follow the strip lash method; for soft bands, refer to individual flare lash. | |
| 3. Apply glue only to the front and bottom edges, wait until semi-dry before applying. | 3. Start by applying glue to the middle section, then proceed with the inner and outer ends. | 3. Finish by using the lash curler to blend natural and false lashes together. | |
| 4. Curl natural lashes first, then apply mascara to set the base. | 4. Apply glue only above the natural lash line, wait until semi-dry before applying lashes. | 4. Apply the glue directly on the lashes, but avoid contact with the inner eyelid. Finish by using the lash curler to blend natural and false lashes together. |
With the right tools and a little practice, false lashes will become your secret weapon for brighter, more defined eyes. You’ve got this! 💪