April 18, 2026
MiracleMe Team
July 21, 2025
,
MiracleMe Team
If I Can Apply Self-Adhesive Lashes, So Can You

You might think applying lashes sounds tricky, but you can absolutely do this—even if you’ve never tried before. Self-adhesive lashes take the stress out of the process. Most users say they’re much faster and easier than the old glue-on kind. In fact, many people finish in just a few minutes. You don’t need special skills—just a little patience and a willingness to try. Ready? Let’s walk through it together!
Key Takeaways
- Choose lightweight, comfortable self-adhesive lashes that fit your eye shape and style.
- Clean and curl your natural lashes before applying to help lashes stick and look natural.
- Measure and trim the lash band carefully for a perfect, comfortable fit.
- Start applying lashes at the inner corner and press gently along the lash line for best results.
- Practice regularly and be patient; applying self-adhesive lashes gets easier with time.
Self-Adhesive Lashes Prep

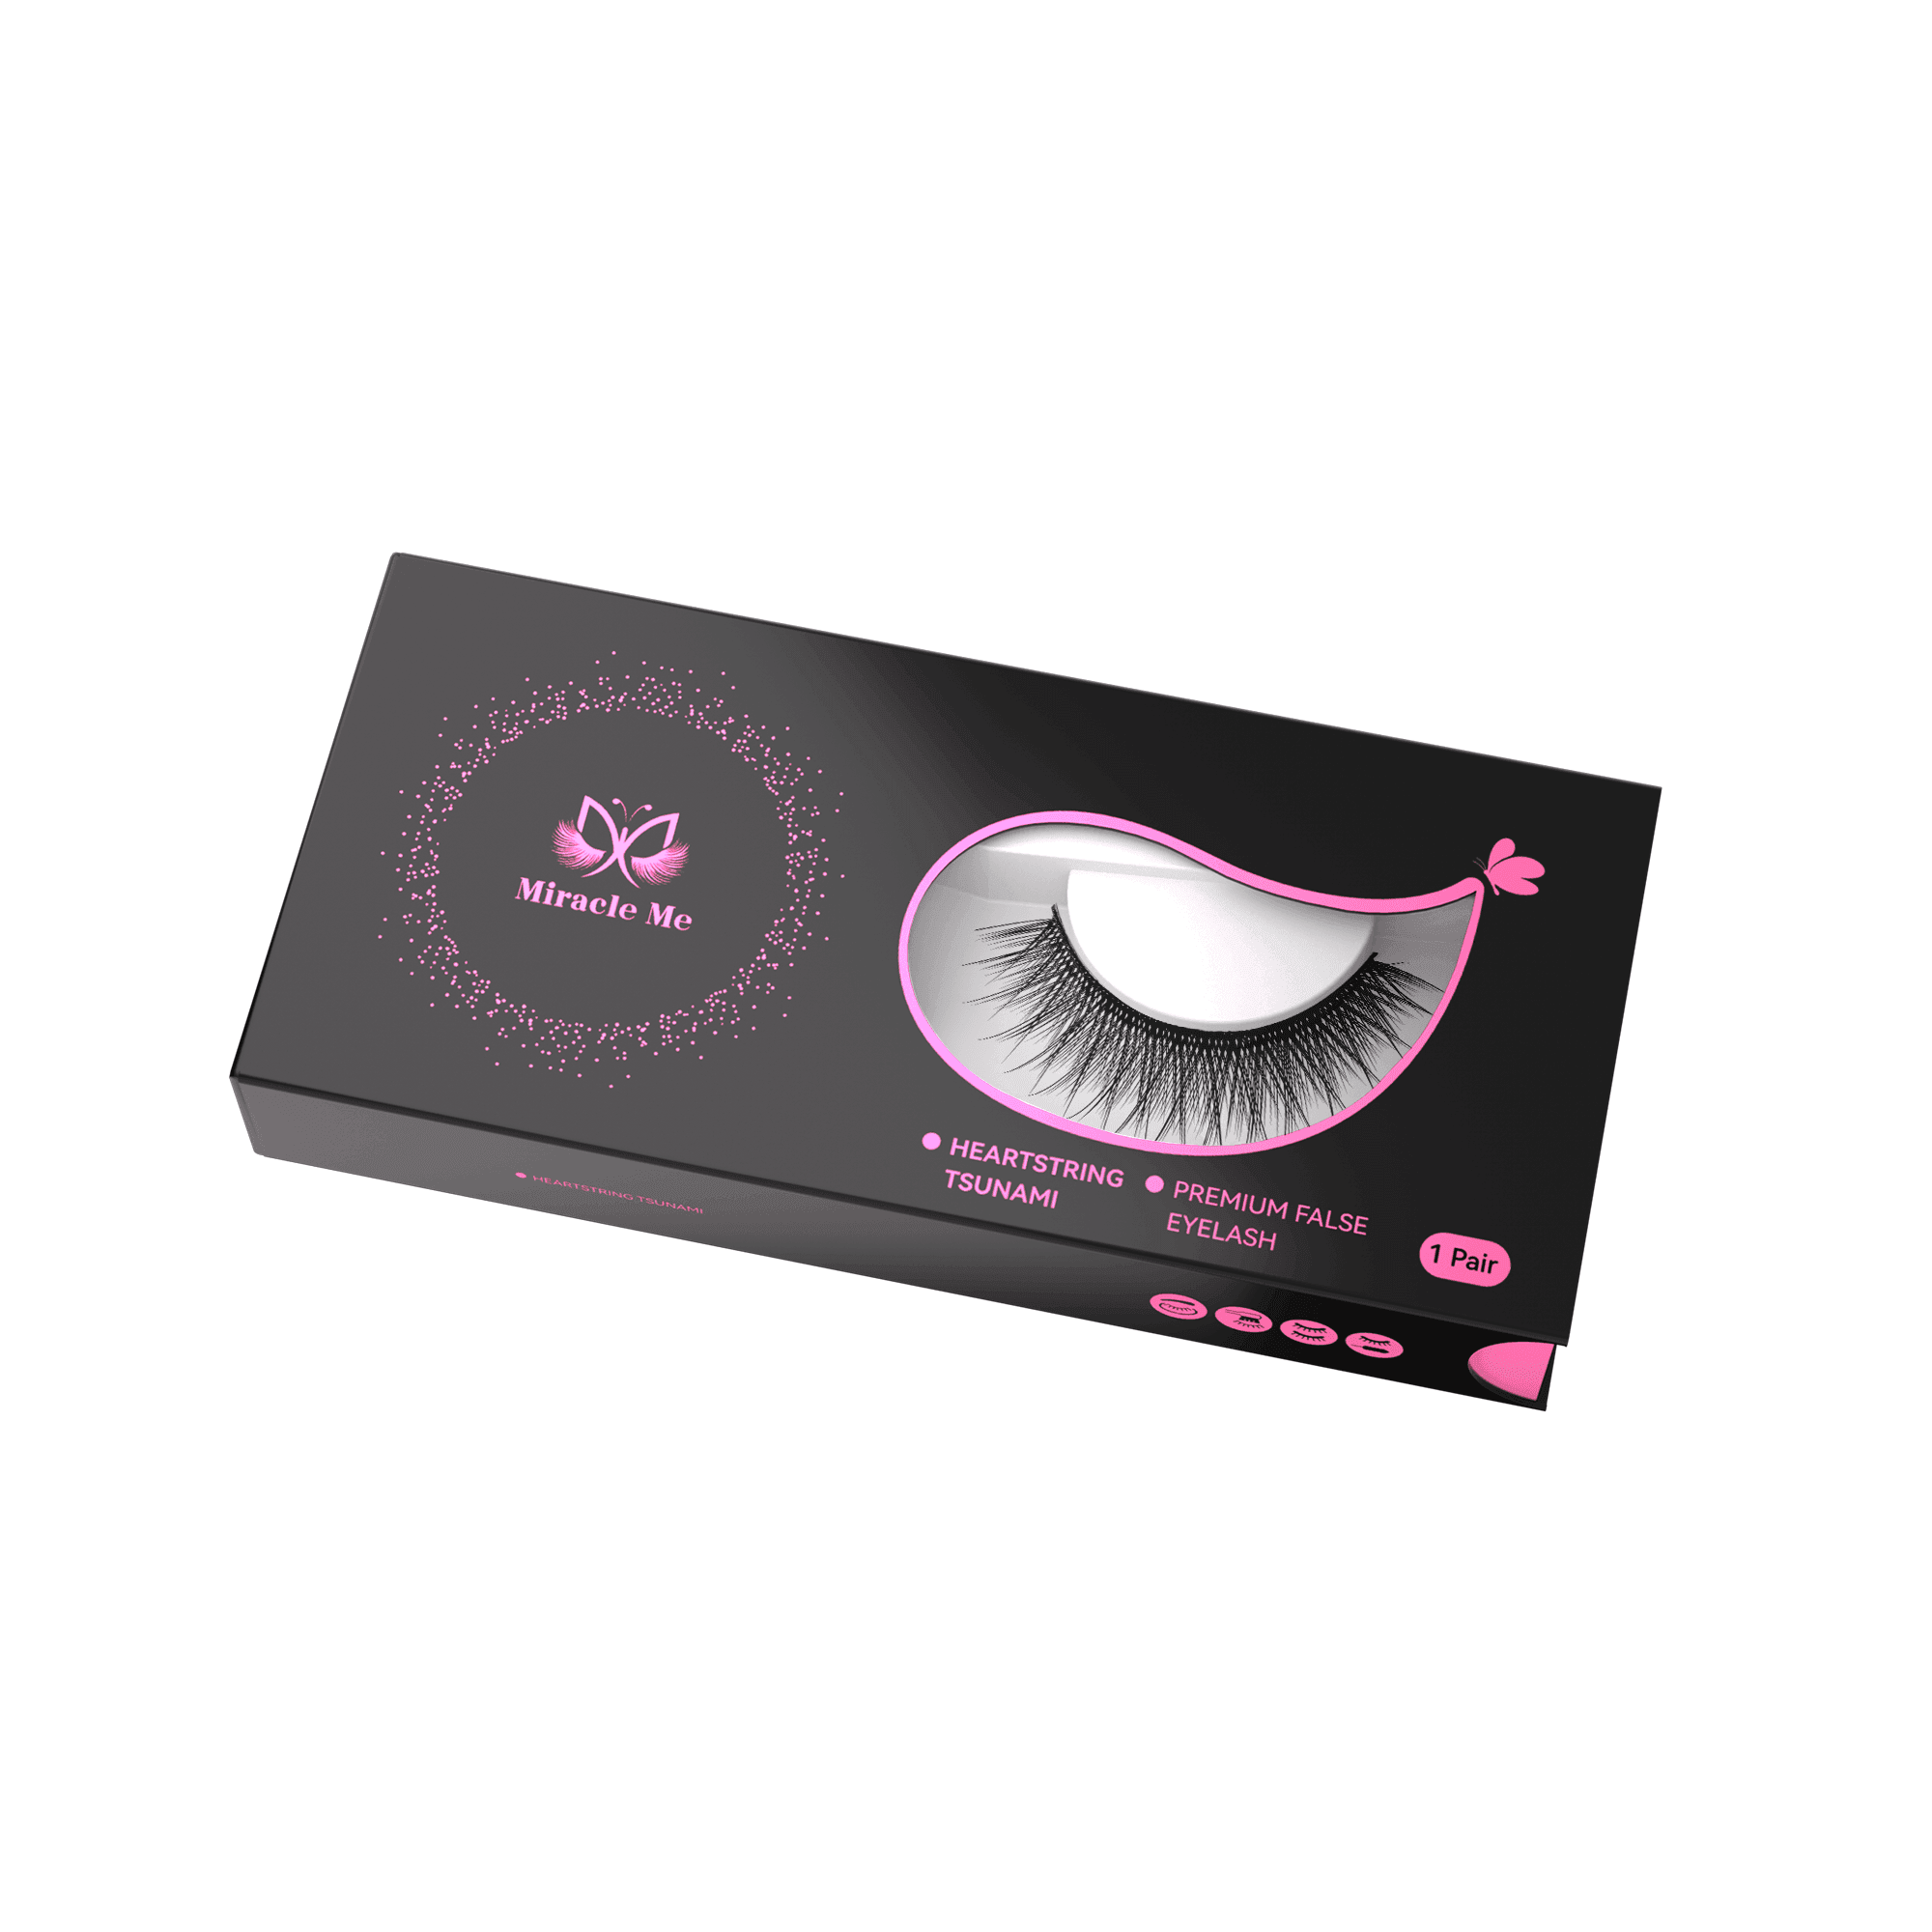
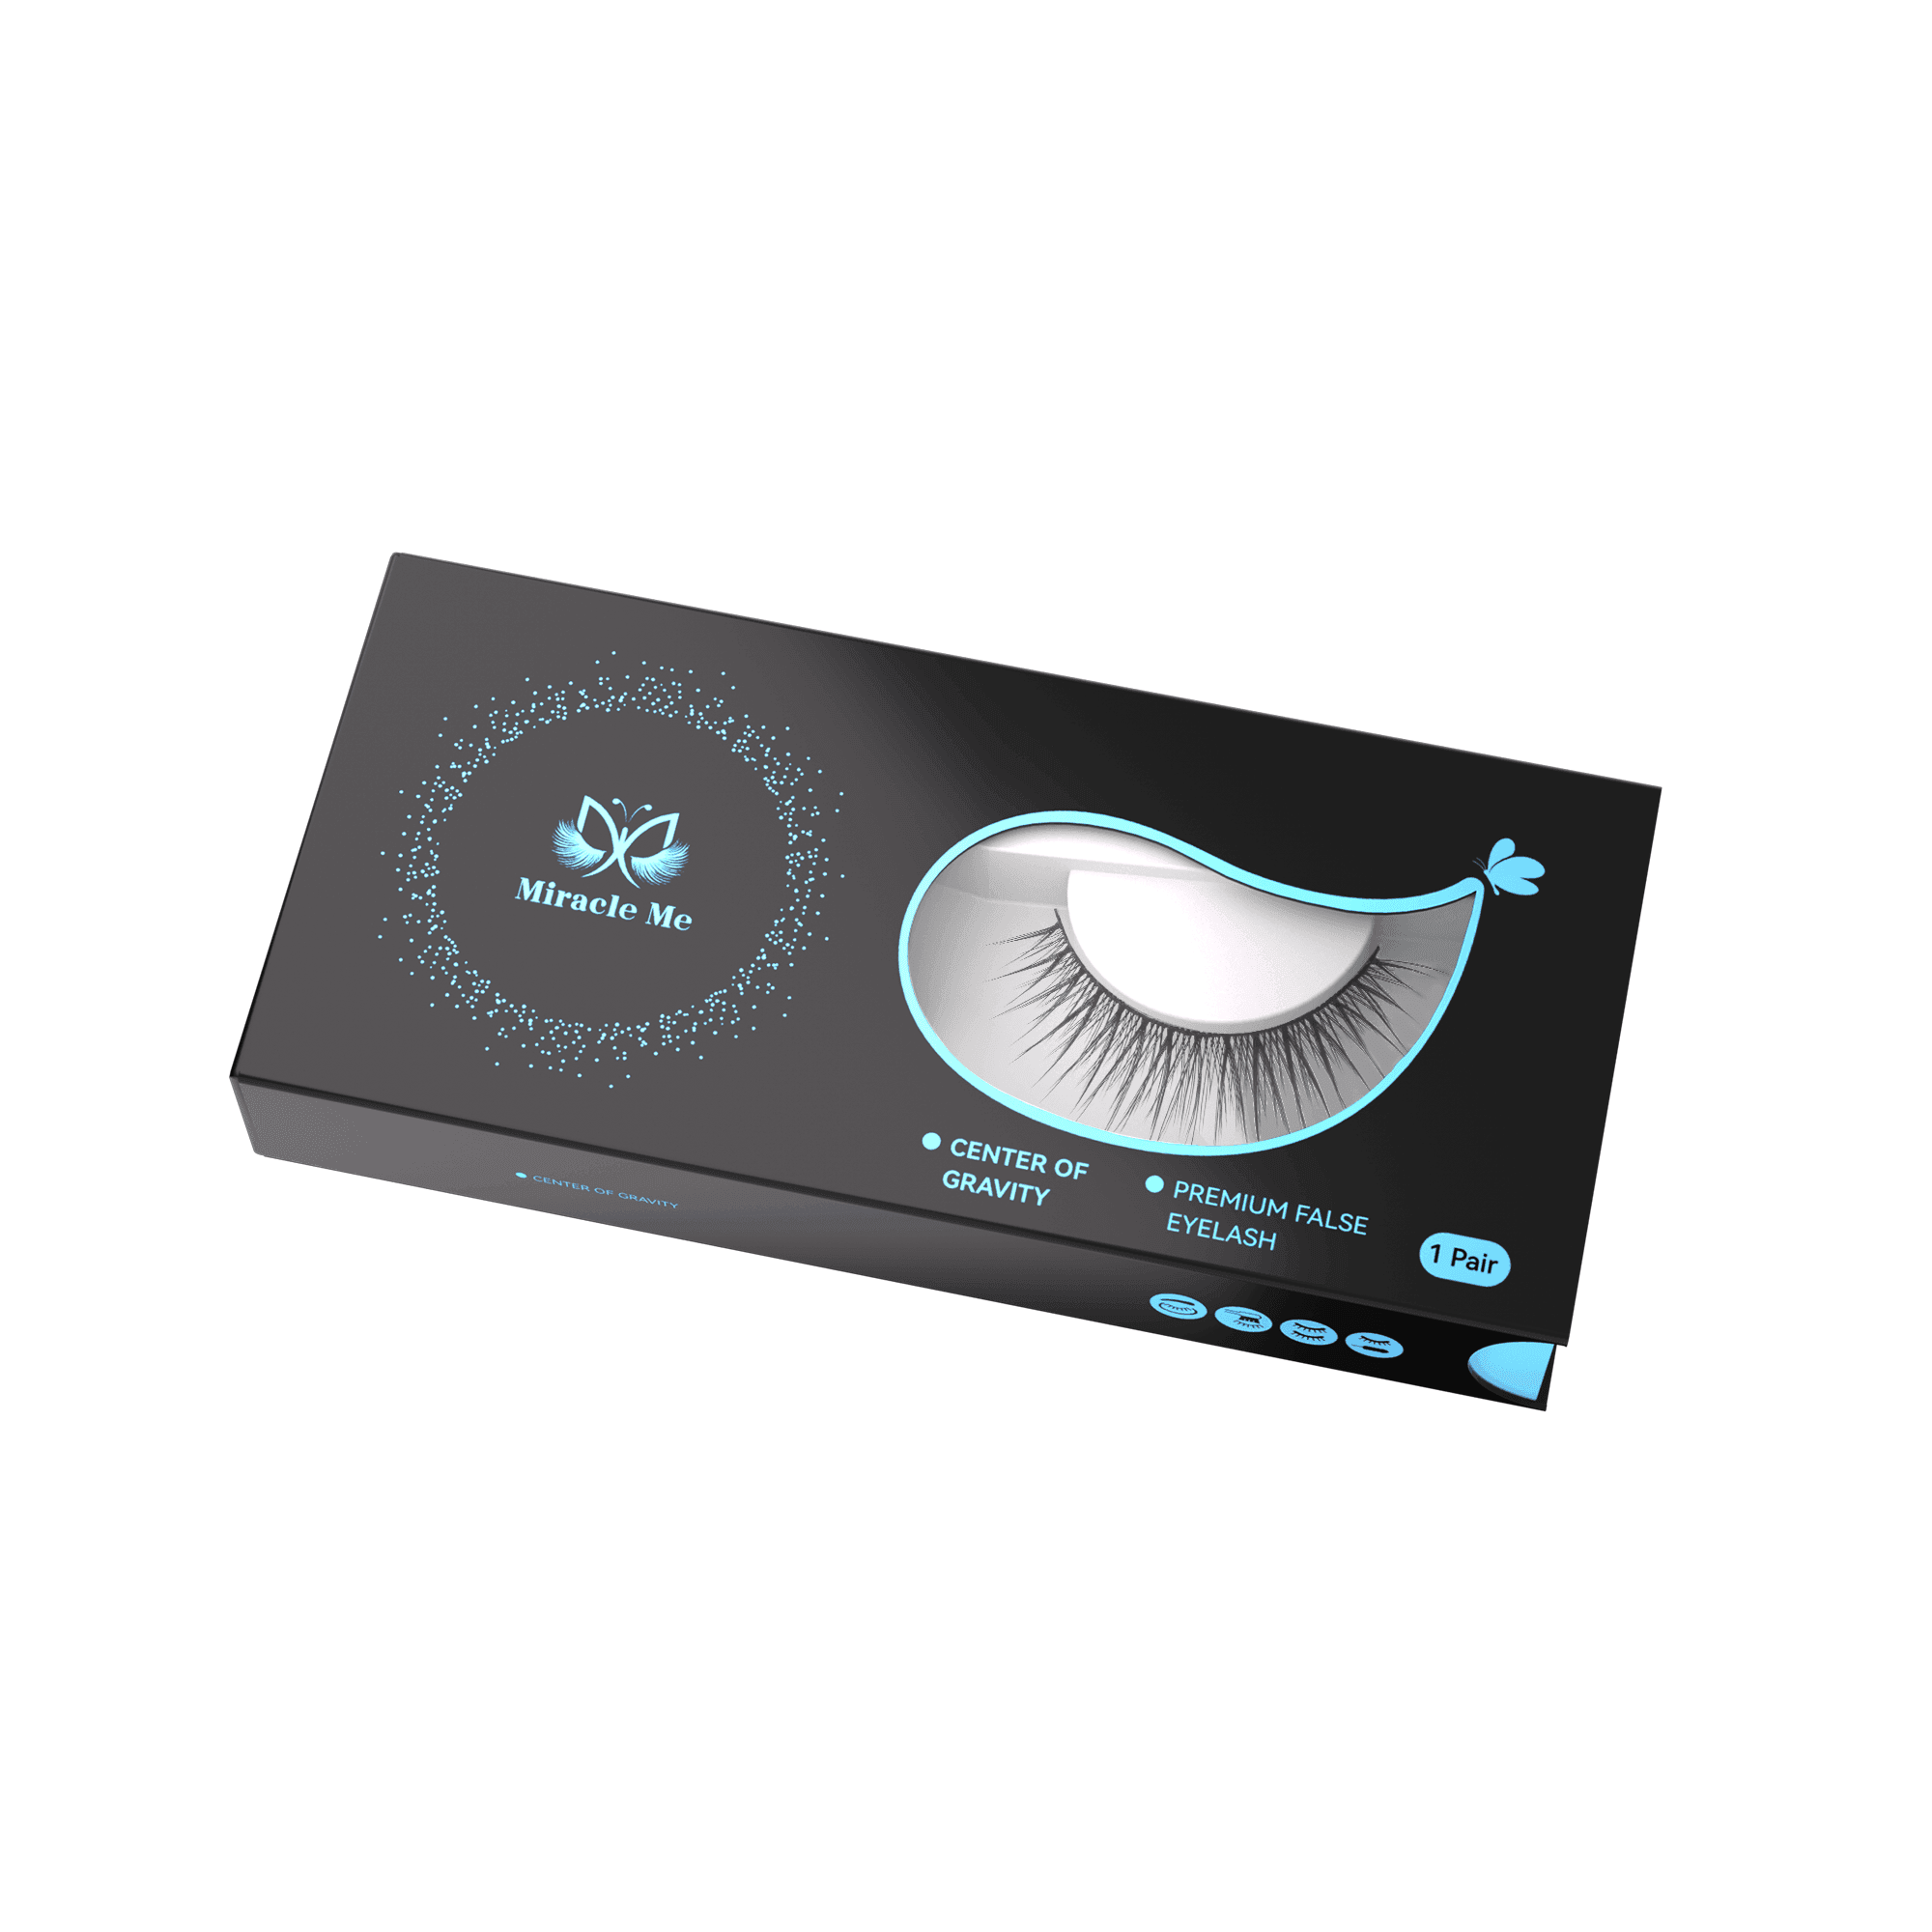
Choosing Self-Adhesive Lashes
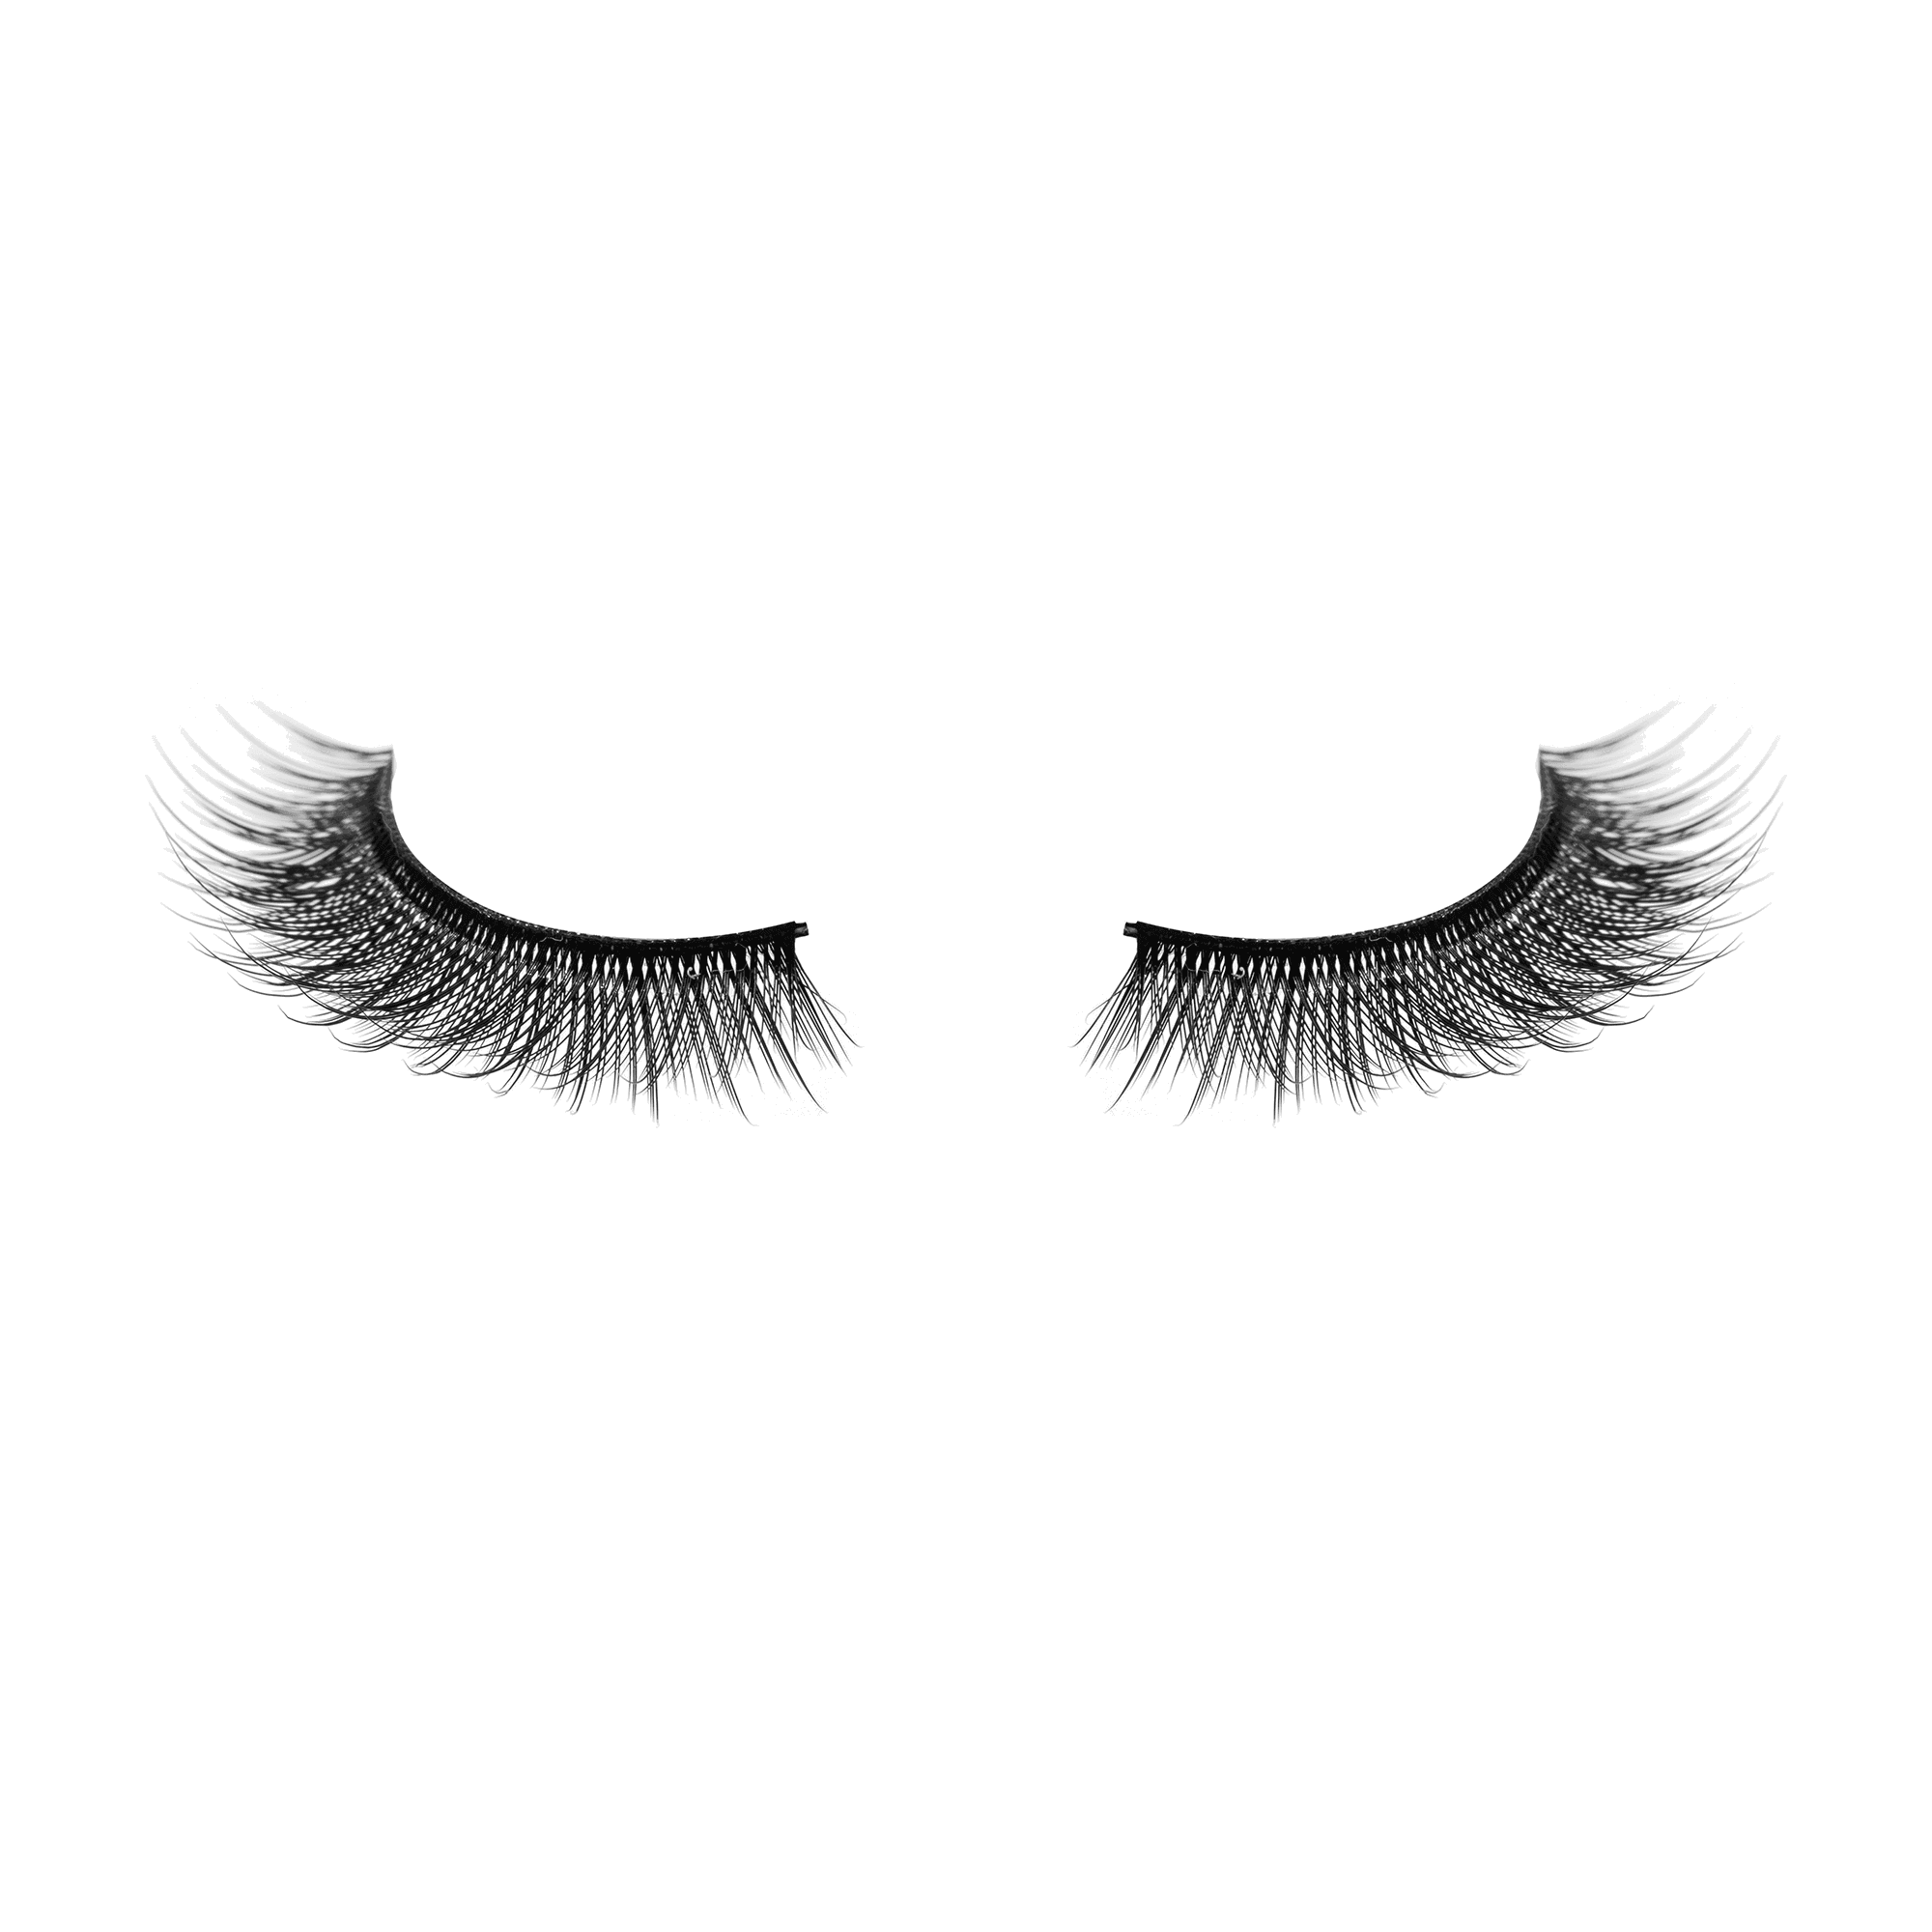
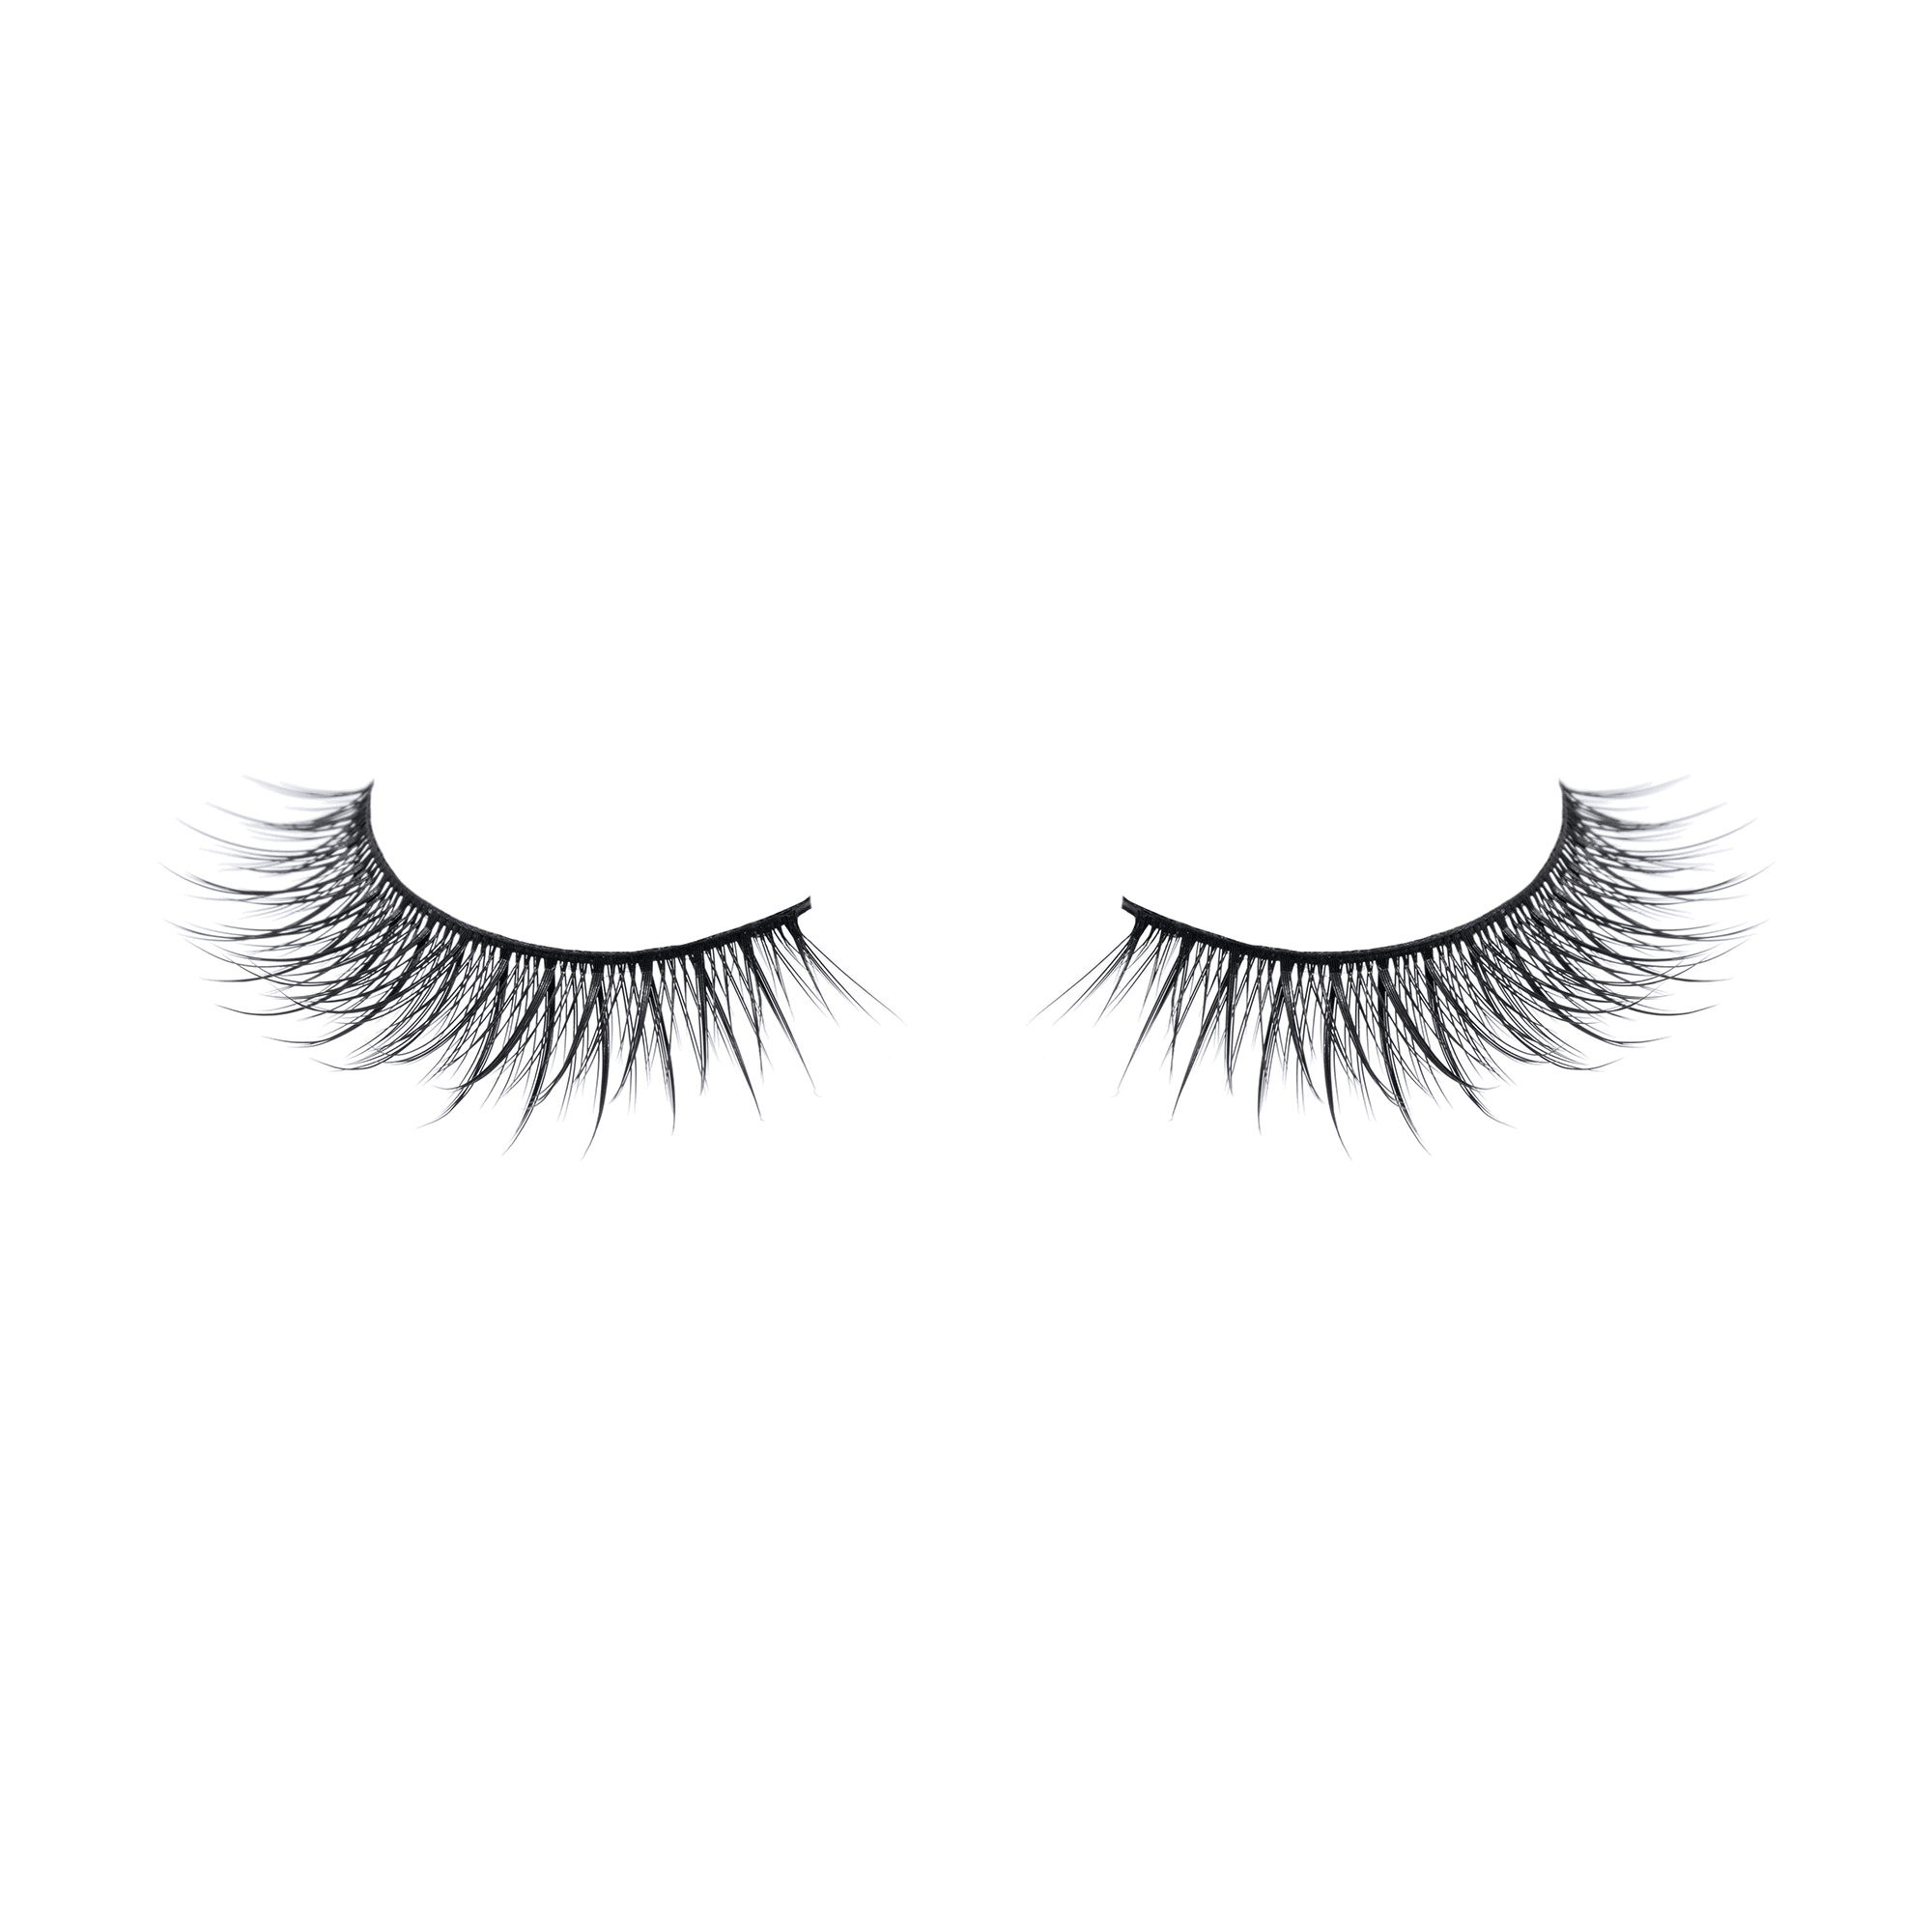
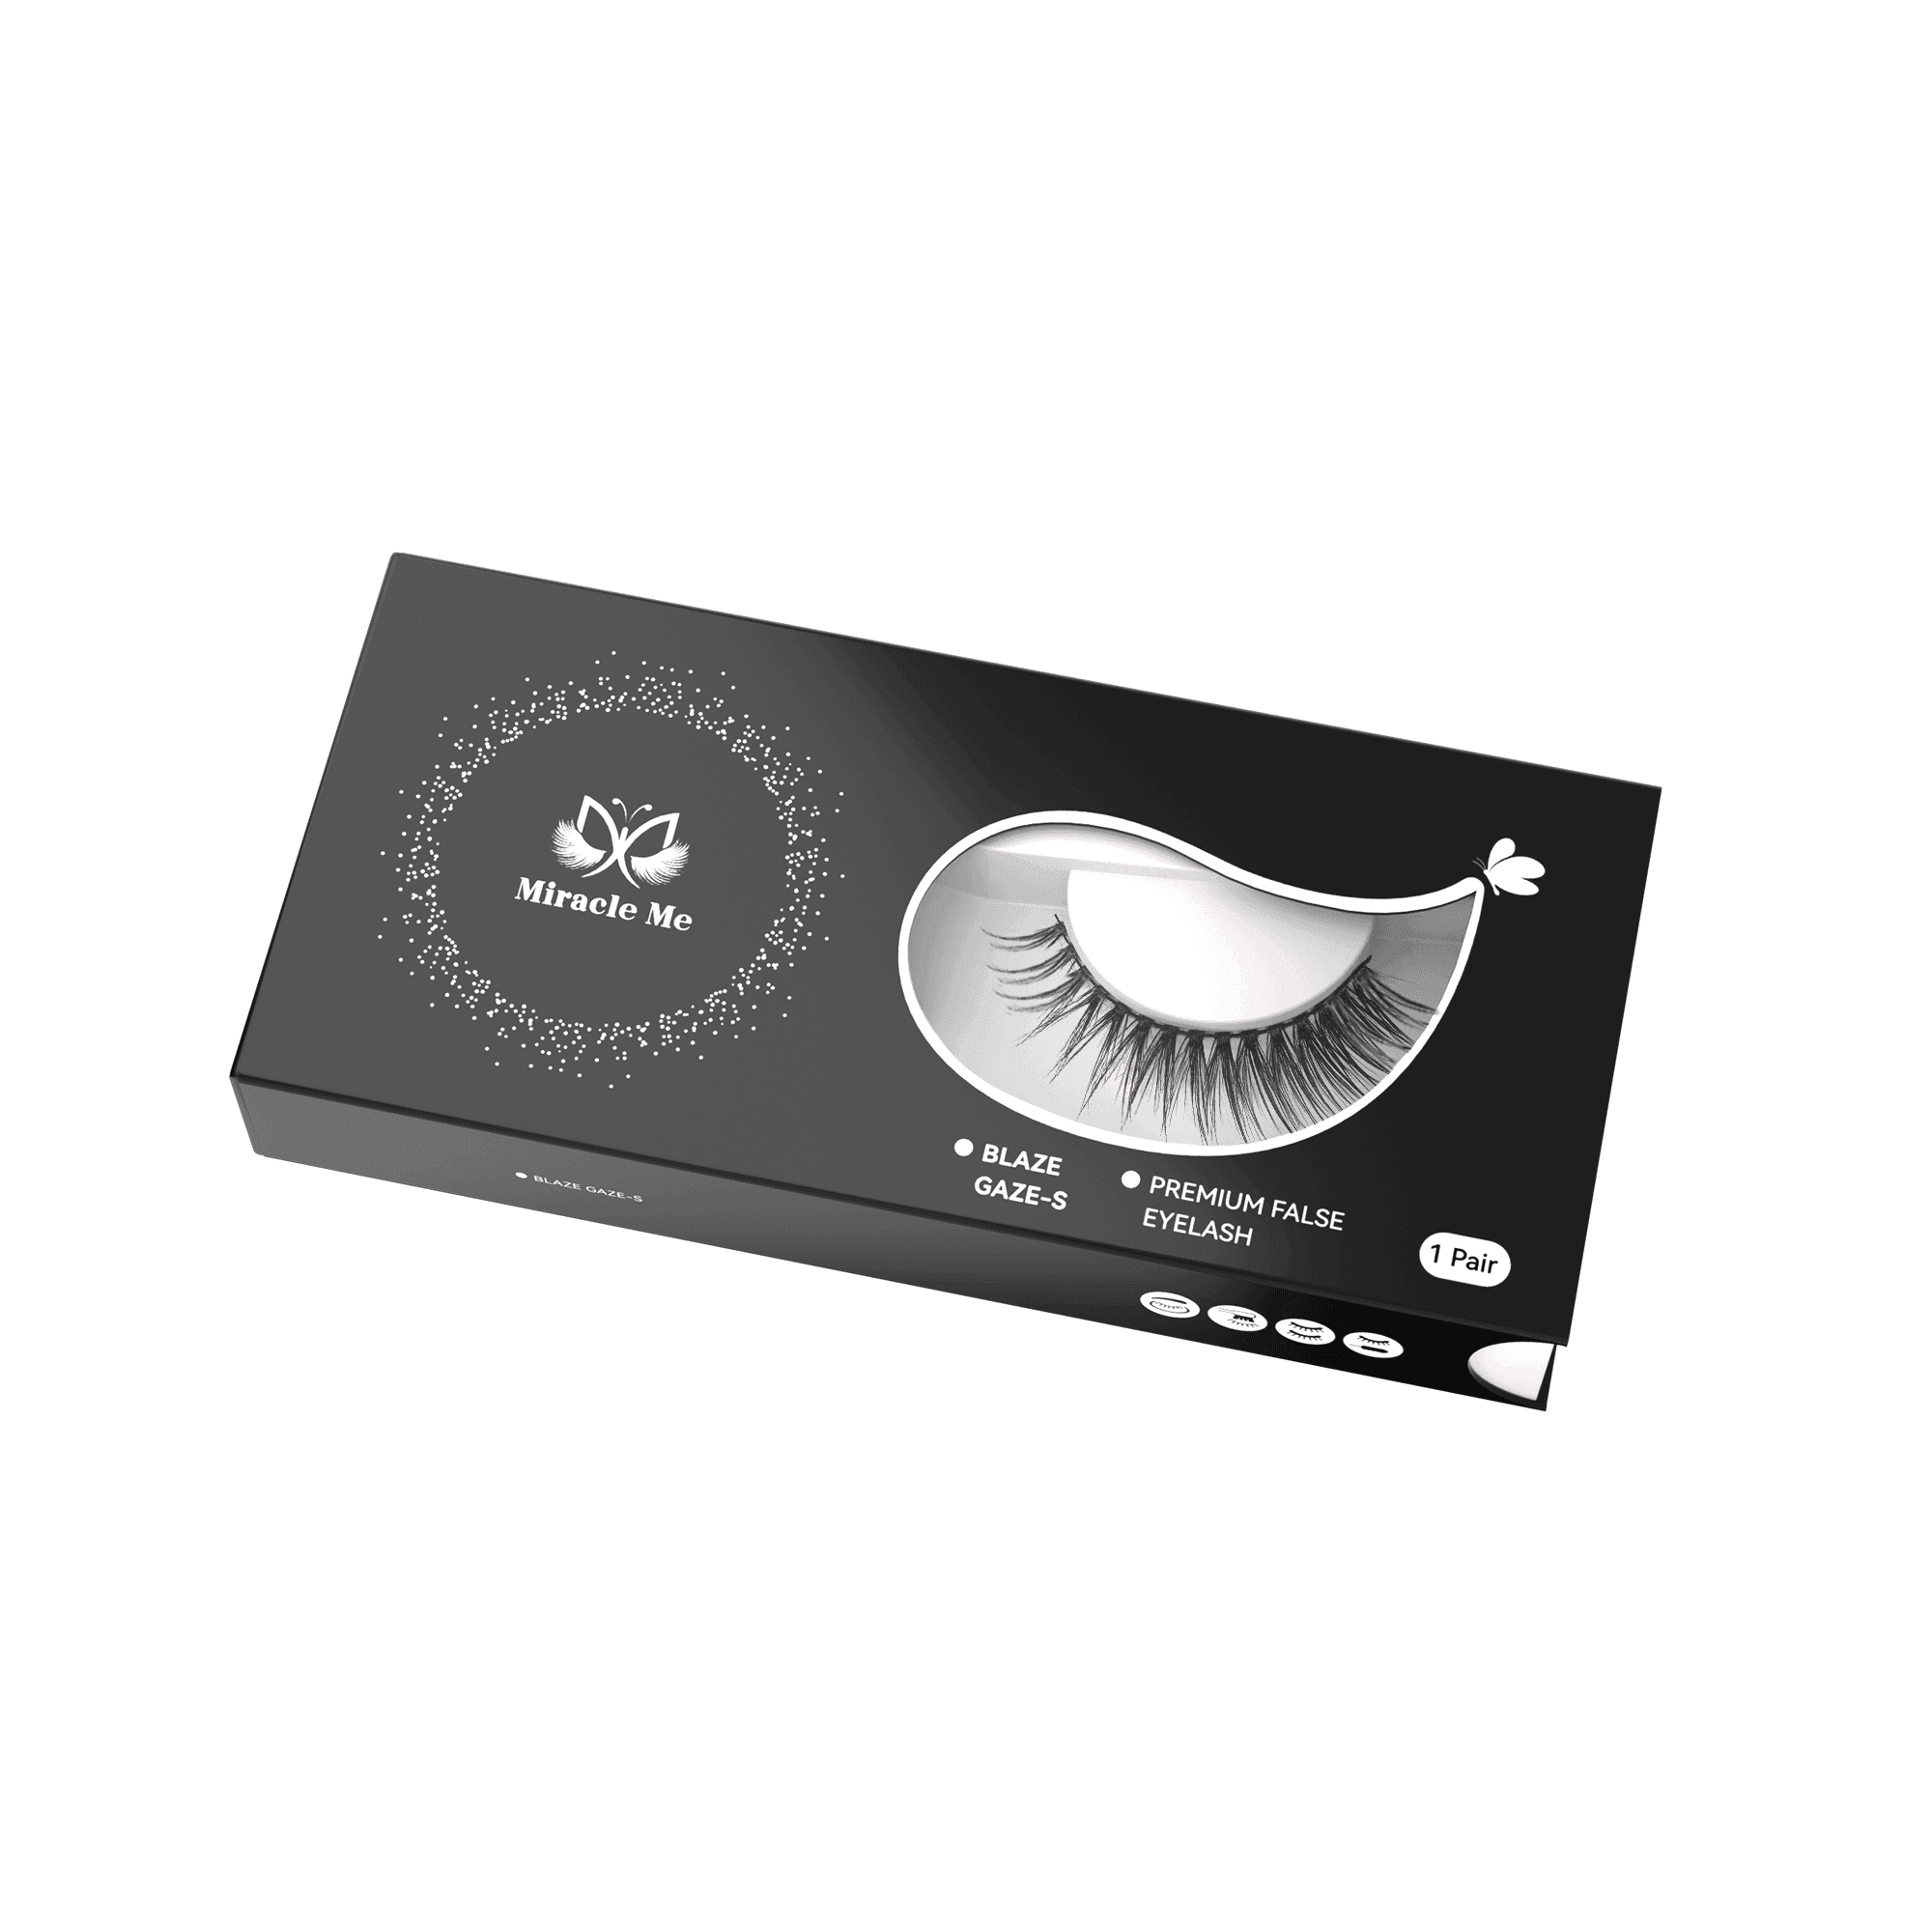
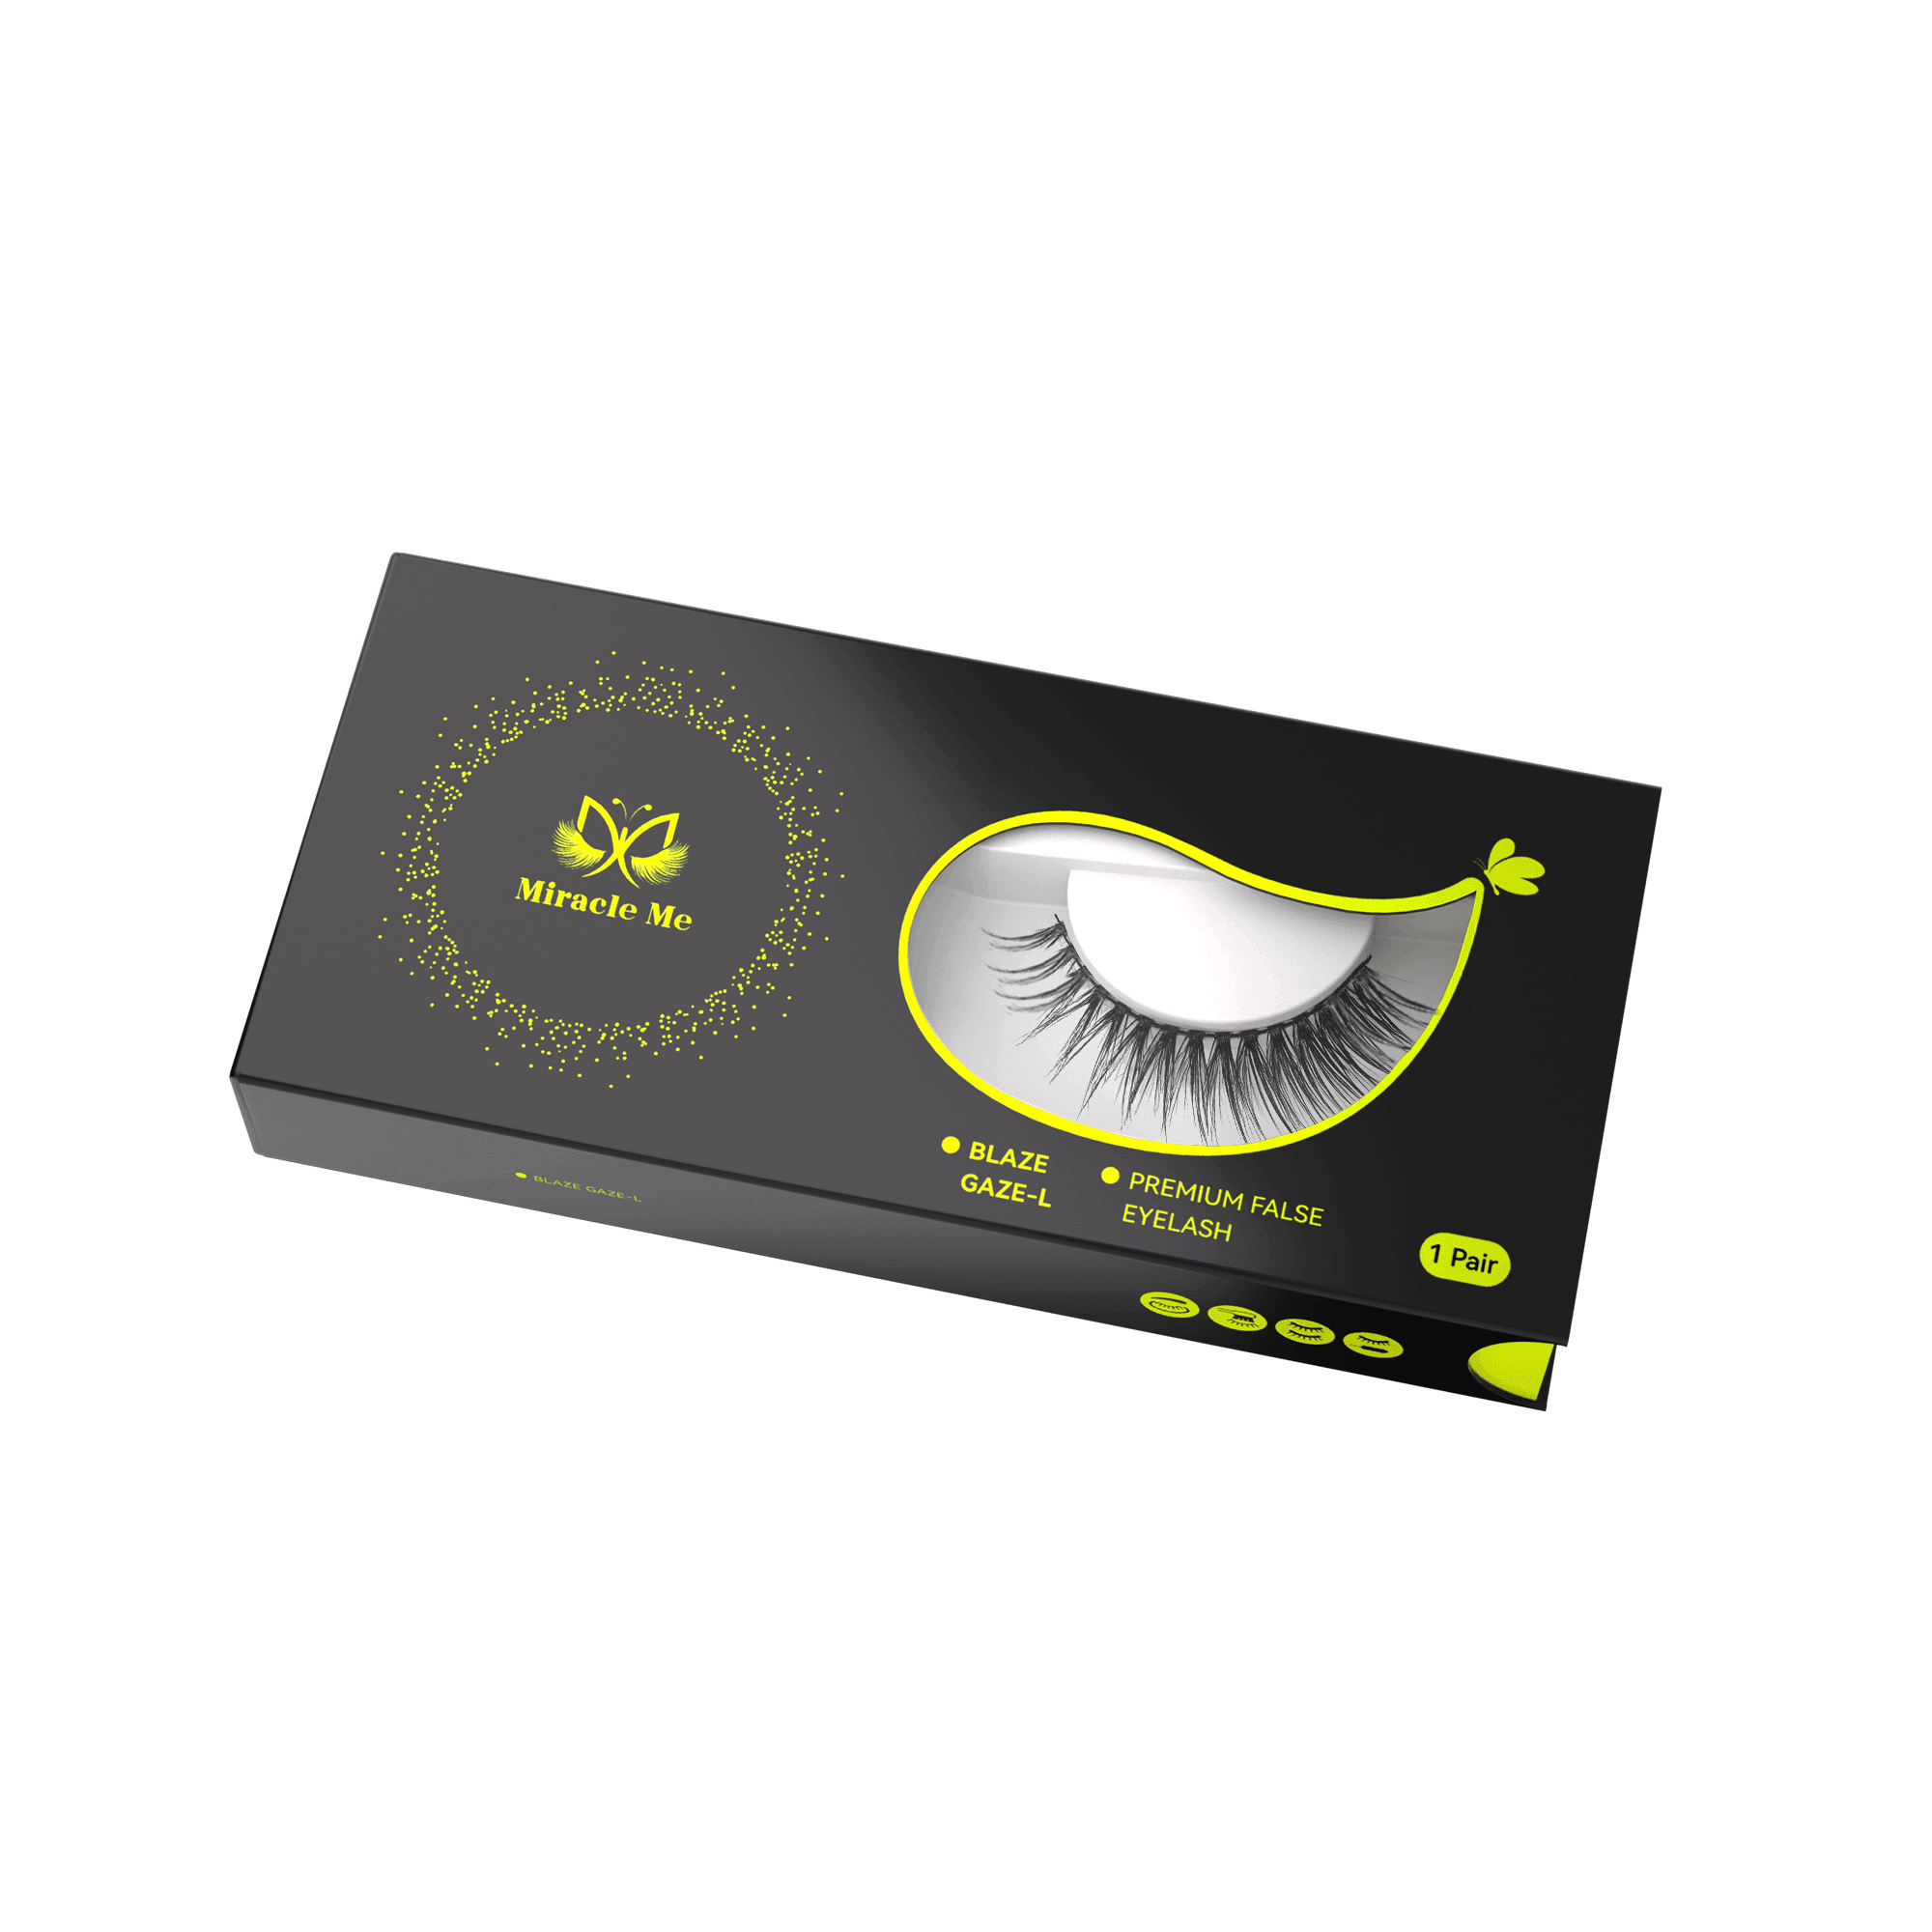
You want lashes that make things easy, not harder. Self-adhesive lashes come with the glue already on the band, so you skip the messy glue step. Look for a lightweight, latex-free band that feels comfortable all day. Many beginners like lashes with a semi-bold volume and a length around 15mm. These work for most eye shapes and give you a little drama without looking over the top. Some brands offer clusters or full bands, so you can pick what fits your style. If you want to reuse your lashes, choose ones that last for at least five wears with gentle care. A good tip: warm the band with your fingers before you apply. This helps the lashes stick better.
Tip: Try lashes that come in different lengths, like short, medium, and long. You can mix and match for a custom look!
Gather Supplies
Before you start, gather everything you need. Having your tools ready makes the process smoother and less stressful. Here’s a quick checklist:
- A small mirror (a standing one works best)
- Tweezers or a lash applicator tool
- Small scissors (for trimming the lash band)
- Oil-free cleanser or makeup remover
- Cotton swabs or pads
- Eyelash curler
| Tool | Why You Need It |
| Mirror | Helps you see up close |
| Tweezers | Gives you control for placement |
| Scissors | Lets you trim lashes for a perfect fit |
| Cleanser | Removes oil and makeup |
| Curler | Blends your natural and false lashes |
Clean & Curl Lashes
Start with clean, dry lashes. Use an oil-free cleanser to remove any makeup or oils from your eyelids and lashes. Oils can make self-adhesive lashes slip or not stick well. After cleaning, grab your eyelash curler. Curling your natural lashes lifts them up and helps them blend with the false ones. This step makes your lashes look more natural and helps the self-adhesive lashes stay put longer. Avoid using any oily products around your eyes before you apply the lashes.
Note: Clean and curled lashes give you the best results. You’ll notice your lashes look fuller and stay on better!
Trim & Fit
Measure Lash Band
Getting the right fit starts with measuring the lash band. You want your lashes to look natural and feel comfortable all day. Here’s how you can do it:
- Gently remove the lash strip from the tray.
- Place the lash strip along your upper lash line, as close as possible to where your natural lashes grow.
- Check if the band hangs over the outer corner of your eye. If it does, it’s too long.
- Repeat this step for each eye. Sometimes, your eyes are not exactly the same size.
Tip: Always measure before you trim. This helps you avoid cutting off too much and keeps your lashes looking even.
Trim for Comfort
Now that you know how much extra length you have, it’s time to trim. A good fit means your lashes won’t poke or lift at the corners. Here’s a simple way to trim for comfort:
- Use small scissors or cuticle scissors for better control.
- Always trim from the outer edge of the lash band, not the inner corner. This keeps the natural shape and style.
- Start by cutting a tiny bit—about 1-2mm—from the outer edge.
- After each trim, place the lash back on your eye to check the fit.
- Keep trimming in small sections until the band lines up perfectly with your lash line.
Note: Trimming little by little helps you avoid cutting too much. You want the band to fit just right, so the lashes blend in and feel light.
A well-fitted lash band makes all the difference. You’ll notice your lashes stay put and look like they belong to you. Comfort and a natural look go hand in hand!
Apply Lashes

Start at Inner Corner
You’re ready to put on your lashes! Start by lifting your eyelid gently with one hand. Hold the lash strip with tweezers or your fingers. Place the band right at the inner corner of your eye, as close as you can to your natural lash line. This spot is important. When you begin at the inner corner, your lashes look balanced and natural. The shorter lashes at the inner corner help your eyes look bigger and more awake. You also avoid that awkward gap or poking feeling that sometimes happens if you start in the middle or at the outer edge.
Tip: Use a small mirror and look down into it. This gives you a better view of your lash line and helps you place the band exactly where you want it.
Here’s why starting at the inner corner works so well:
- You get a smooth transition from short to long lashes.
- Your eyes look more polished and even.
- You avoid discomfort by not overextending the lash band.
Press Along Lash Line
Once you’ve set the inner corner, use your tweezers or fingertip to press the rest of the lash band along your lash line. Work slowly from the inner corner to the outer edge. Press gently but firmly so the band sticks all the way across. This step helps your self-adhesive lashes stay put all day.
You want even pressure along the whole band. Try this simple method:
- Use your fingertip or the flat side of your tweezers.
- Tap along the band in small sections, moving from the inside out.
- Make sure both corners are secure.
Note: If you have hooded or deep-set eyes, lift your eyelid slightly to see your lash line better. This makes it easier to press the band down evenly.
Use Tweezers or Fingers
You can use tweezers or your fingers—whichever feels easier for you. Tweezers give you more control, especially if you want to be precise. They also help you avoid touching the sticky part of the band too much. If you use your fingers, make sure they’re clean and dry.
Want a fuller look? Try adding lash clusters. These are small groups of lashes you can place along your lash line for extra volume. Start at the outer corner and work your way in, spacing them out for a natural effect. Pinch the clusters and your natural lashes together with tweezers or your fingers. This blends everything and gives you a seamless, fluffy finish.
| Tool | Best For |
| Tweezers | Precision and control |
| Fingers | Quick and easy placing |
Pro Tip: If you want dramatic lashes, add more clusters. For a softer look, use fewer and space them out.
With these steps, you’ll see how easy it is to apply self-adhesive lashes. You get comfort, a natural look, and the option to go bold—all in just a few minutes.
Finishing Touches
Blend with Eyeliner
You want your lashes to look seamless. Eyeliner helps hide the lash band and makes your eyes pop. Choose the right type for the best results. Here are some top picks:
- Waterproof or long-lasting eyeliners work well. They stay put and do not smudge.
- Liquid or gel eyeliners give you sharp lines and do not flake.
- A fine-tipped brush or pen lets you draw a thin line close to your lashes.
Draw a line right above the lash band. Try not to put eyeliner directly on the false lashes. This keeps them looking fresh for longer. Oil-free eyeliners are best. Oil can break down the glue and make your lashes fall off sooner. If you want to blend your natural and false lashes, you can add a little mascara. Just remember, waterproof mascara is hard to remove and can damage the lashes. Most people skip mascara to keep their lashes in good shape.
Tip: Use a water-based makeup remover and be gentle when taking off your eyeliner. Rubbing can loosen the lash band.
Adjust & Secure
After you finish with eyeliner, check how your lashes feel. If something feels off, you can fix it. Here are some easy ways to adjust for comfort:
- Brush the lashes gently with a soft brush.
- Smooth them with a slightly damp cotton swab.
- If the band feels too close to your eyelid, lift and move it about 0.5 to 1 mm away from your skin.
- Make sure the band lines up with your natural lashes. This helps avoid poking or awkward angles.
If your lashes still feel uncomfortable, you can remove them and try again. Sometimes, a little lash serum or oil helps make the band softer and more flexible. Try not to touch or rub your eyes right after you apply the lashes. This helps them stay on longer.
| Adhesive Type | Typical Retention Duration |
| Premium strip lash adhesives | 12-24 hours |
| Standard strip lash adhesives | 8-12 hours |
Oil-based products, like some eye creams or removers, can weaken the glue. Stick with oil-free makeup and be gentle when cleaning your eyes. This keeps your lashes looking great all day.
Tips & Troubleshooting
Common Mistakes
Everyone makes mistakes when learning something new. You can avoid many of the most common problems with a little know-how. Here are some things beginners often do wrong and how you can fix them:
- Not measuring the lash band to fit your eye shape. This can make lashes feel uncomfortable or look odd. Always check the fit before you apply.
- Using the wrong glue or too much adhesive. This can cause clumping, irritation, or lashes falling off. Use just a thin layer and pick a glue that works for your skin.
- Placing lashes too close to the inner corner. This makes your eyes look smaller and can feel pokey. Start a little away from the very inside of your eye.
- Skipping the step of curling your natural lashes. If you don’t curl them, your real and false lashes won’t blend well.
- Applying lashes on wet or oily eyelids. Always clean and dry your lids first so the lashes stick better.
- Using low-quality lashes or expired glue. These can irritate your eyes and never look quite right.
- Not following the instructions from the lash brand. Each set can be a little different, so check the directions.
Tip: If you notice your lashes lifting or not sticking, try working in small sections and press each part down right after placing it. This helps the adhesive work better.
Practice & Confidence
You might not get perfect lashes on your first try, and that’s totally normal. Practice makes a huge difference. Here’s how you can build your skills and confidence:
- Practice every day, even if you’re not going out. The more you do it, the faster and better you’ll get.
- Take your time. Rushing leads to mistakes. Go slow and steady.
- Try different lash styles and tools. You’ll find what works best for your eyes and hands.
- Look down into a handheld mirror while applying. This gives you the best view and helps you place lashes right on the line.
- Use a well-lit mirror. Good lighting lets you see every detail and makes the whole process easier.
- Press your natural lashes and falsies together for a seamless look.
- Don’t get discouraged if it feels tricky at first. Every time you practice, you’re getting better. Soon, you’ll feel like a pro.
Note: Patience is key. With regular practice, you’ll build muscle memory and confidence. Before you know it, applying lashes will feel quick and easy!
You just learned how simple self-adhesive lashes can be. Start with clean lashes, trim for comfort, and press them on. Celebrate your progress, even if it takes a few tries. When you share your story online, you help others feel brave enough to try too. Social media trends and beauty tutorials inspire people of all ages, especially millennials and Gen Z, to experiment with new looks. If you can do it, so can anyone! 😊
FAQ
How long do self-adhesive lashes stay on?
Most self-adhesive lashes last 8 to 24 hours. You can wear them all day. If you avoid oil-based products and do not rub your eyes, they stay put even longer.
Tip: Always check the brand’s instructions for best results.
Can I reuse self-adhesive lashes?
Yes, you can reuse them! Gently peel them off and clean the band. Store them in their case. Most brands let you reuse lashes up to five times if you handle them with care.
Do self-adhesive lashes damage my natural lashes?
No, self-adhesive lashes do not damage your natural lashes if you remove them gently. Do not pull or tug. Use a cotton swab with oil-free remover if needed.
Can I wear mascara with self-adhesive lashes?
You can wear mascara, but it is not required. If you want to blend your lashes, apply mascara to your natural lashes before putting on the self-adhesive ones. This keeps the false lashes clean.
What if my lashes start to lift during the day?
If your lashes lift, press them back down with clean fingers or tweezers. Carry a small mirror for quick fixes. Avoid touching your eyes often. If needed, replace the lash or use a fresh pair.